Have you ever considered home canning? It’s probably easier and quicker than you think. Let me walk you through the process step-by-step.
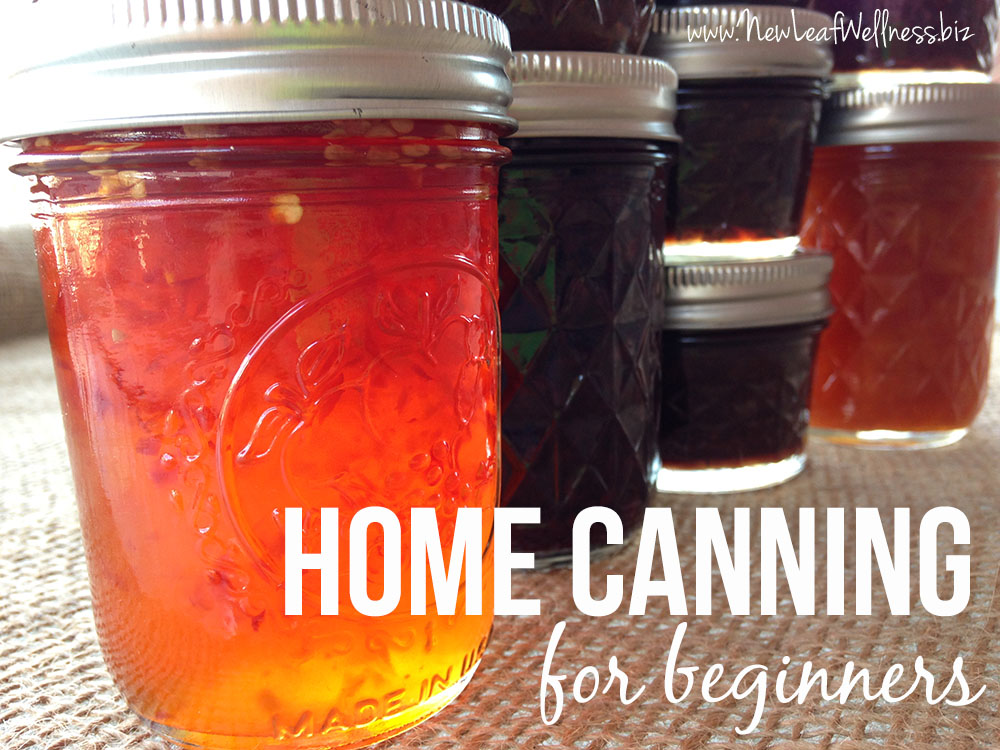
Doing some home canning will let you take advantage of produce when it’s in season and serve it to your family year-round. Plus you’ll save money! Little glass jars of homemade jams and pickles also make great gifts.
If that’s not enough motivation, do it to impress your family and friends. Just don’t tell them how easy it was or how I broke it down for you in this blog post. Let them think you’re Martha Stewart’s hot granddaughter who knows how to run on a treadmill, play with her baby, and can at the same time.
That’s what I would do.
The first time I attempted canning, I did not want to invest a lot of money into supplies. I bought the very basic necessities and everything worked out just fine. If you want to start with the basics, here’s what you’ll need…
Basic Canning Supplies
- food to can
- jars
- one or two dish towels
- one or two big pots with lids (to boil your jars in a single layer)
- one medium-sized pot (to boil your lids)
- a magnetic wand to pick up hot lids
- a pair of large tongs to pick up hot jars
- a small rubber spatula to remove air bubbles
- a wide-mouth funnel (optional, but very helpful)
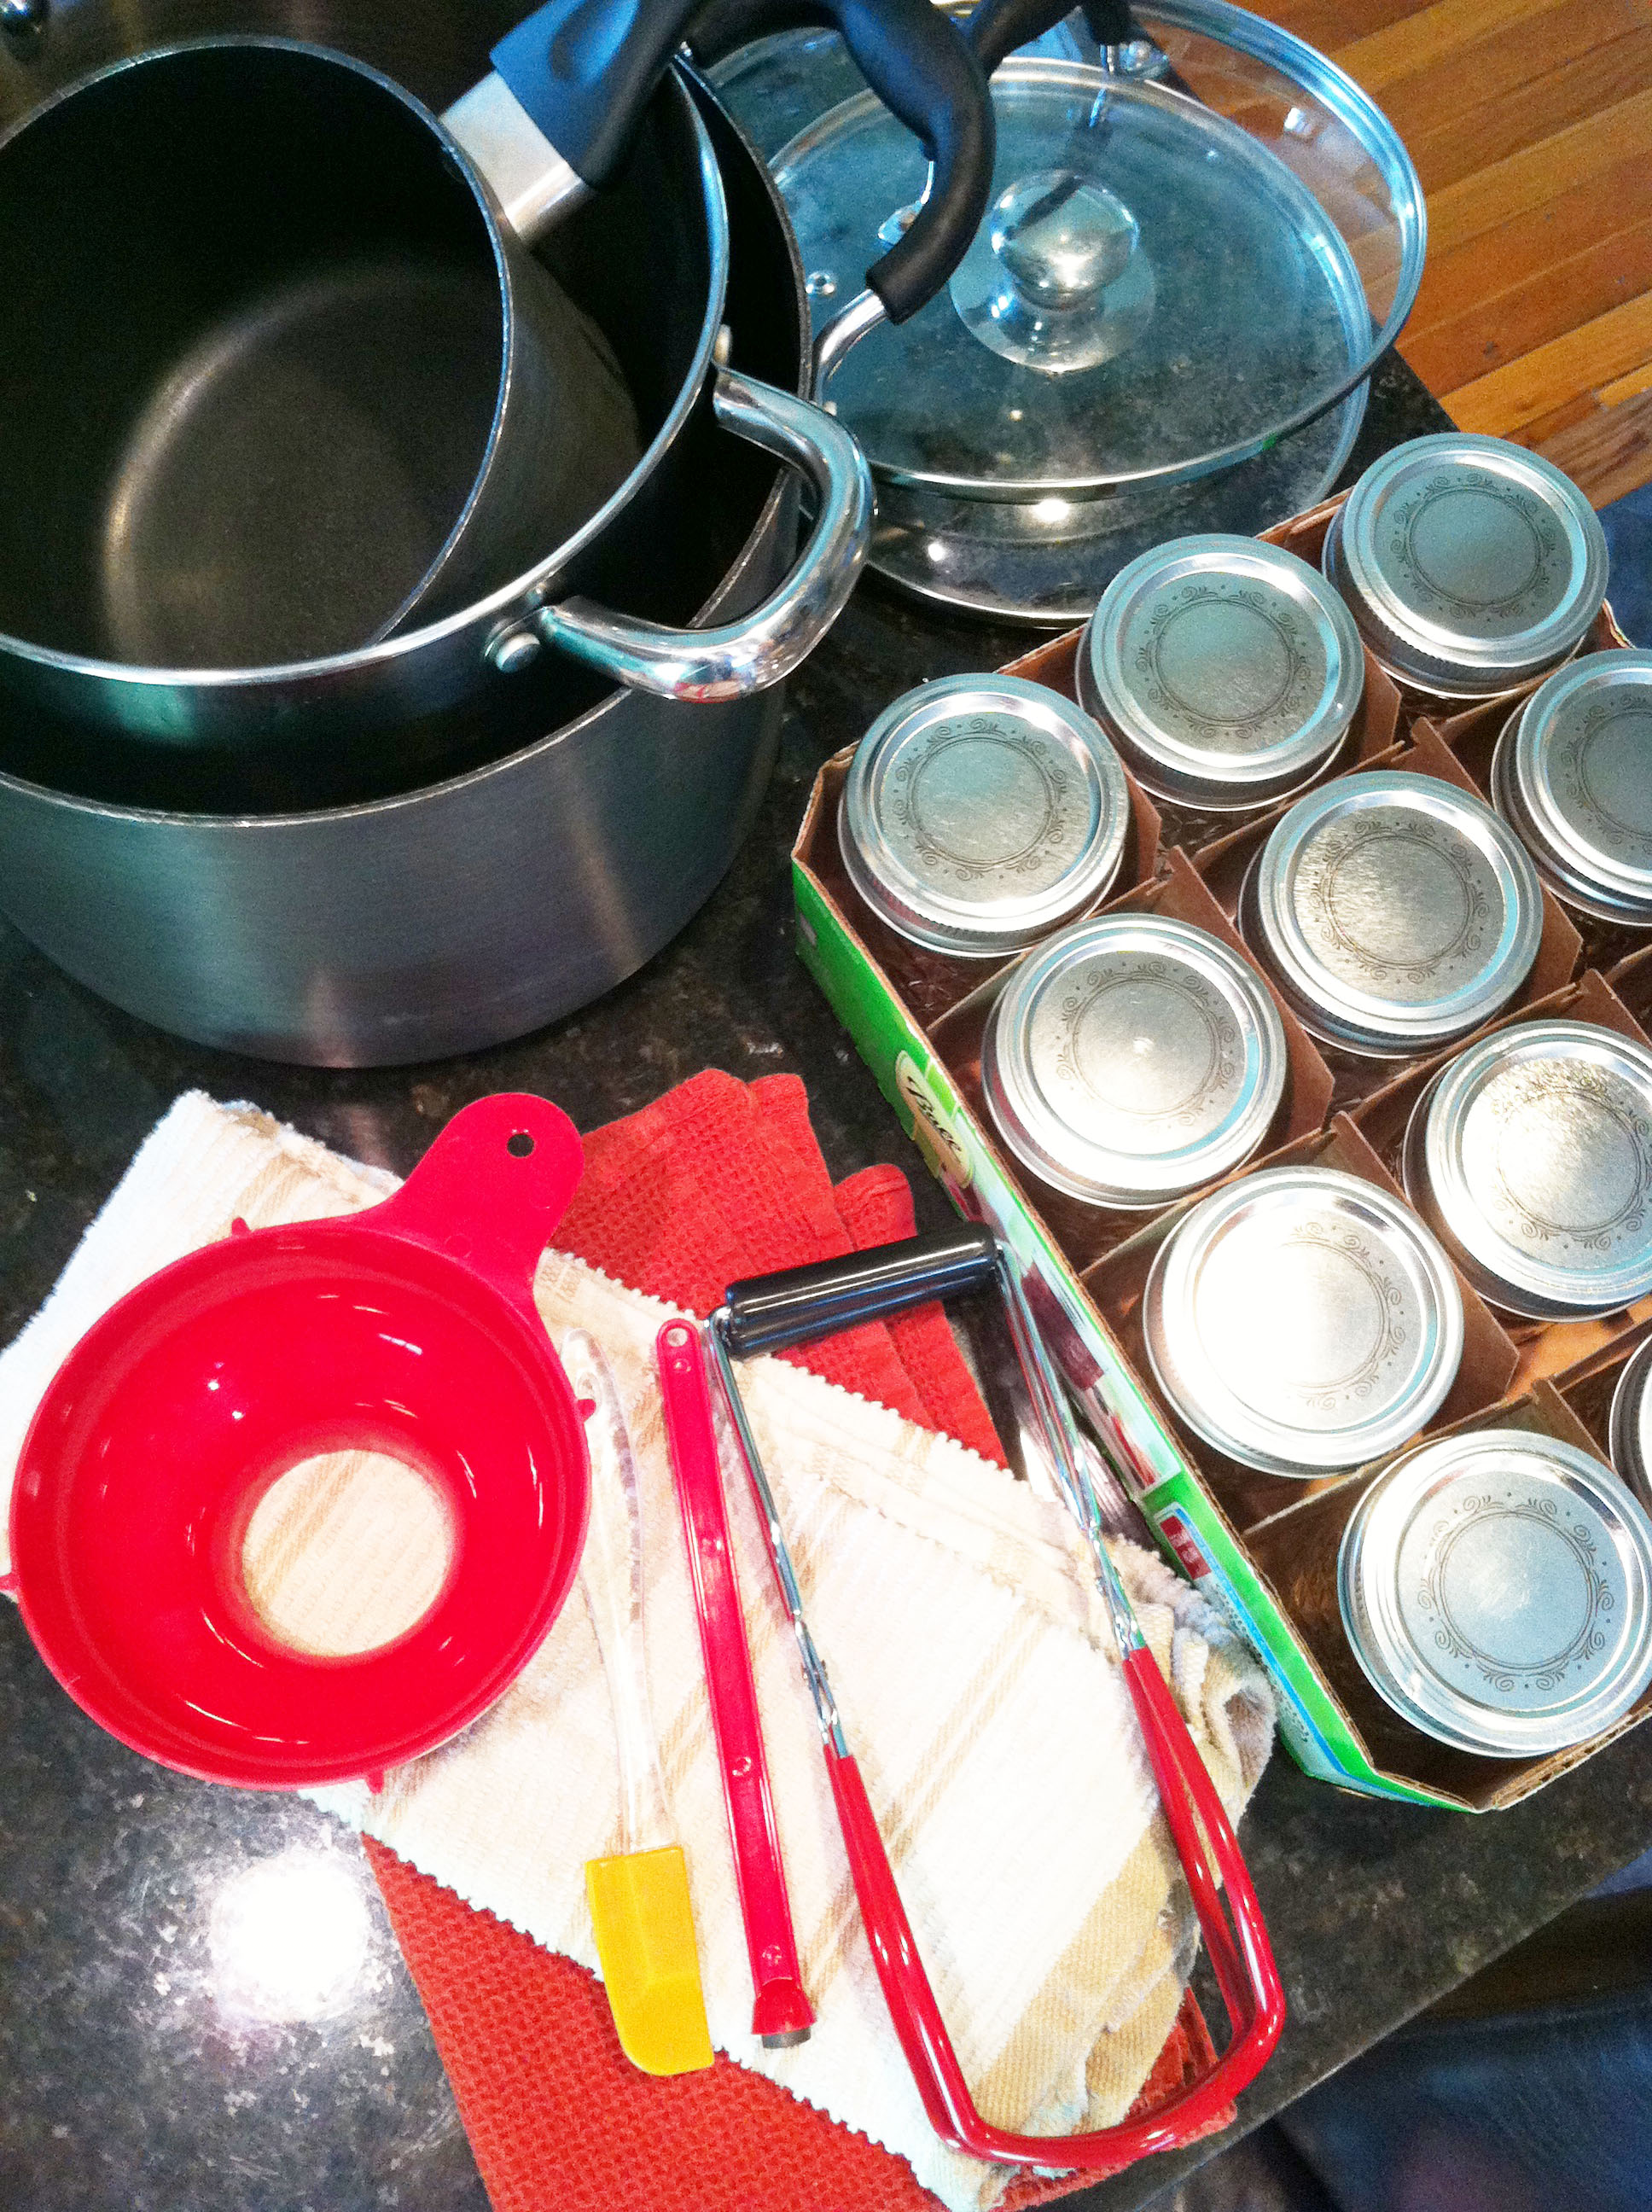
I got my funnel, magnetic wand, and tongs in this basic canning kit from Amazon for $10.50.

I also bought this book of recipes and canning instructions. (You can find the Ball Home Preserving book on Amazon here.)
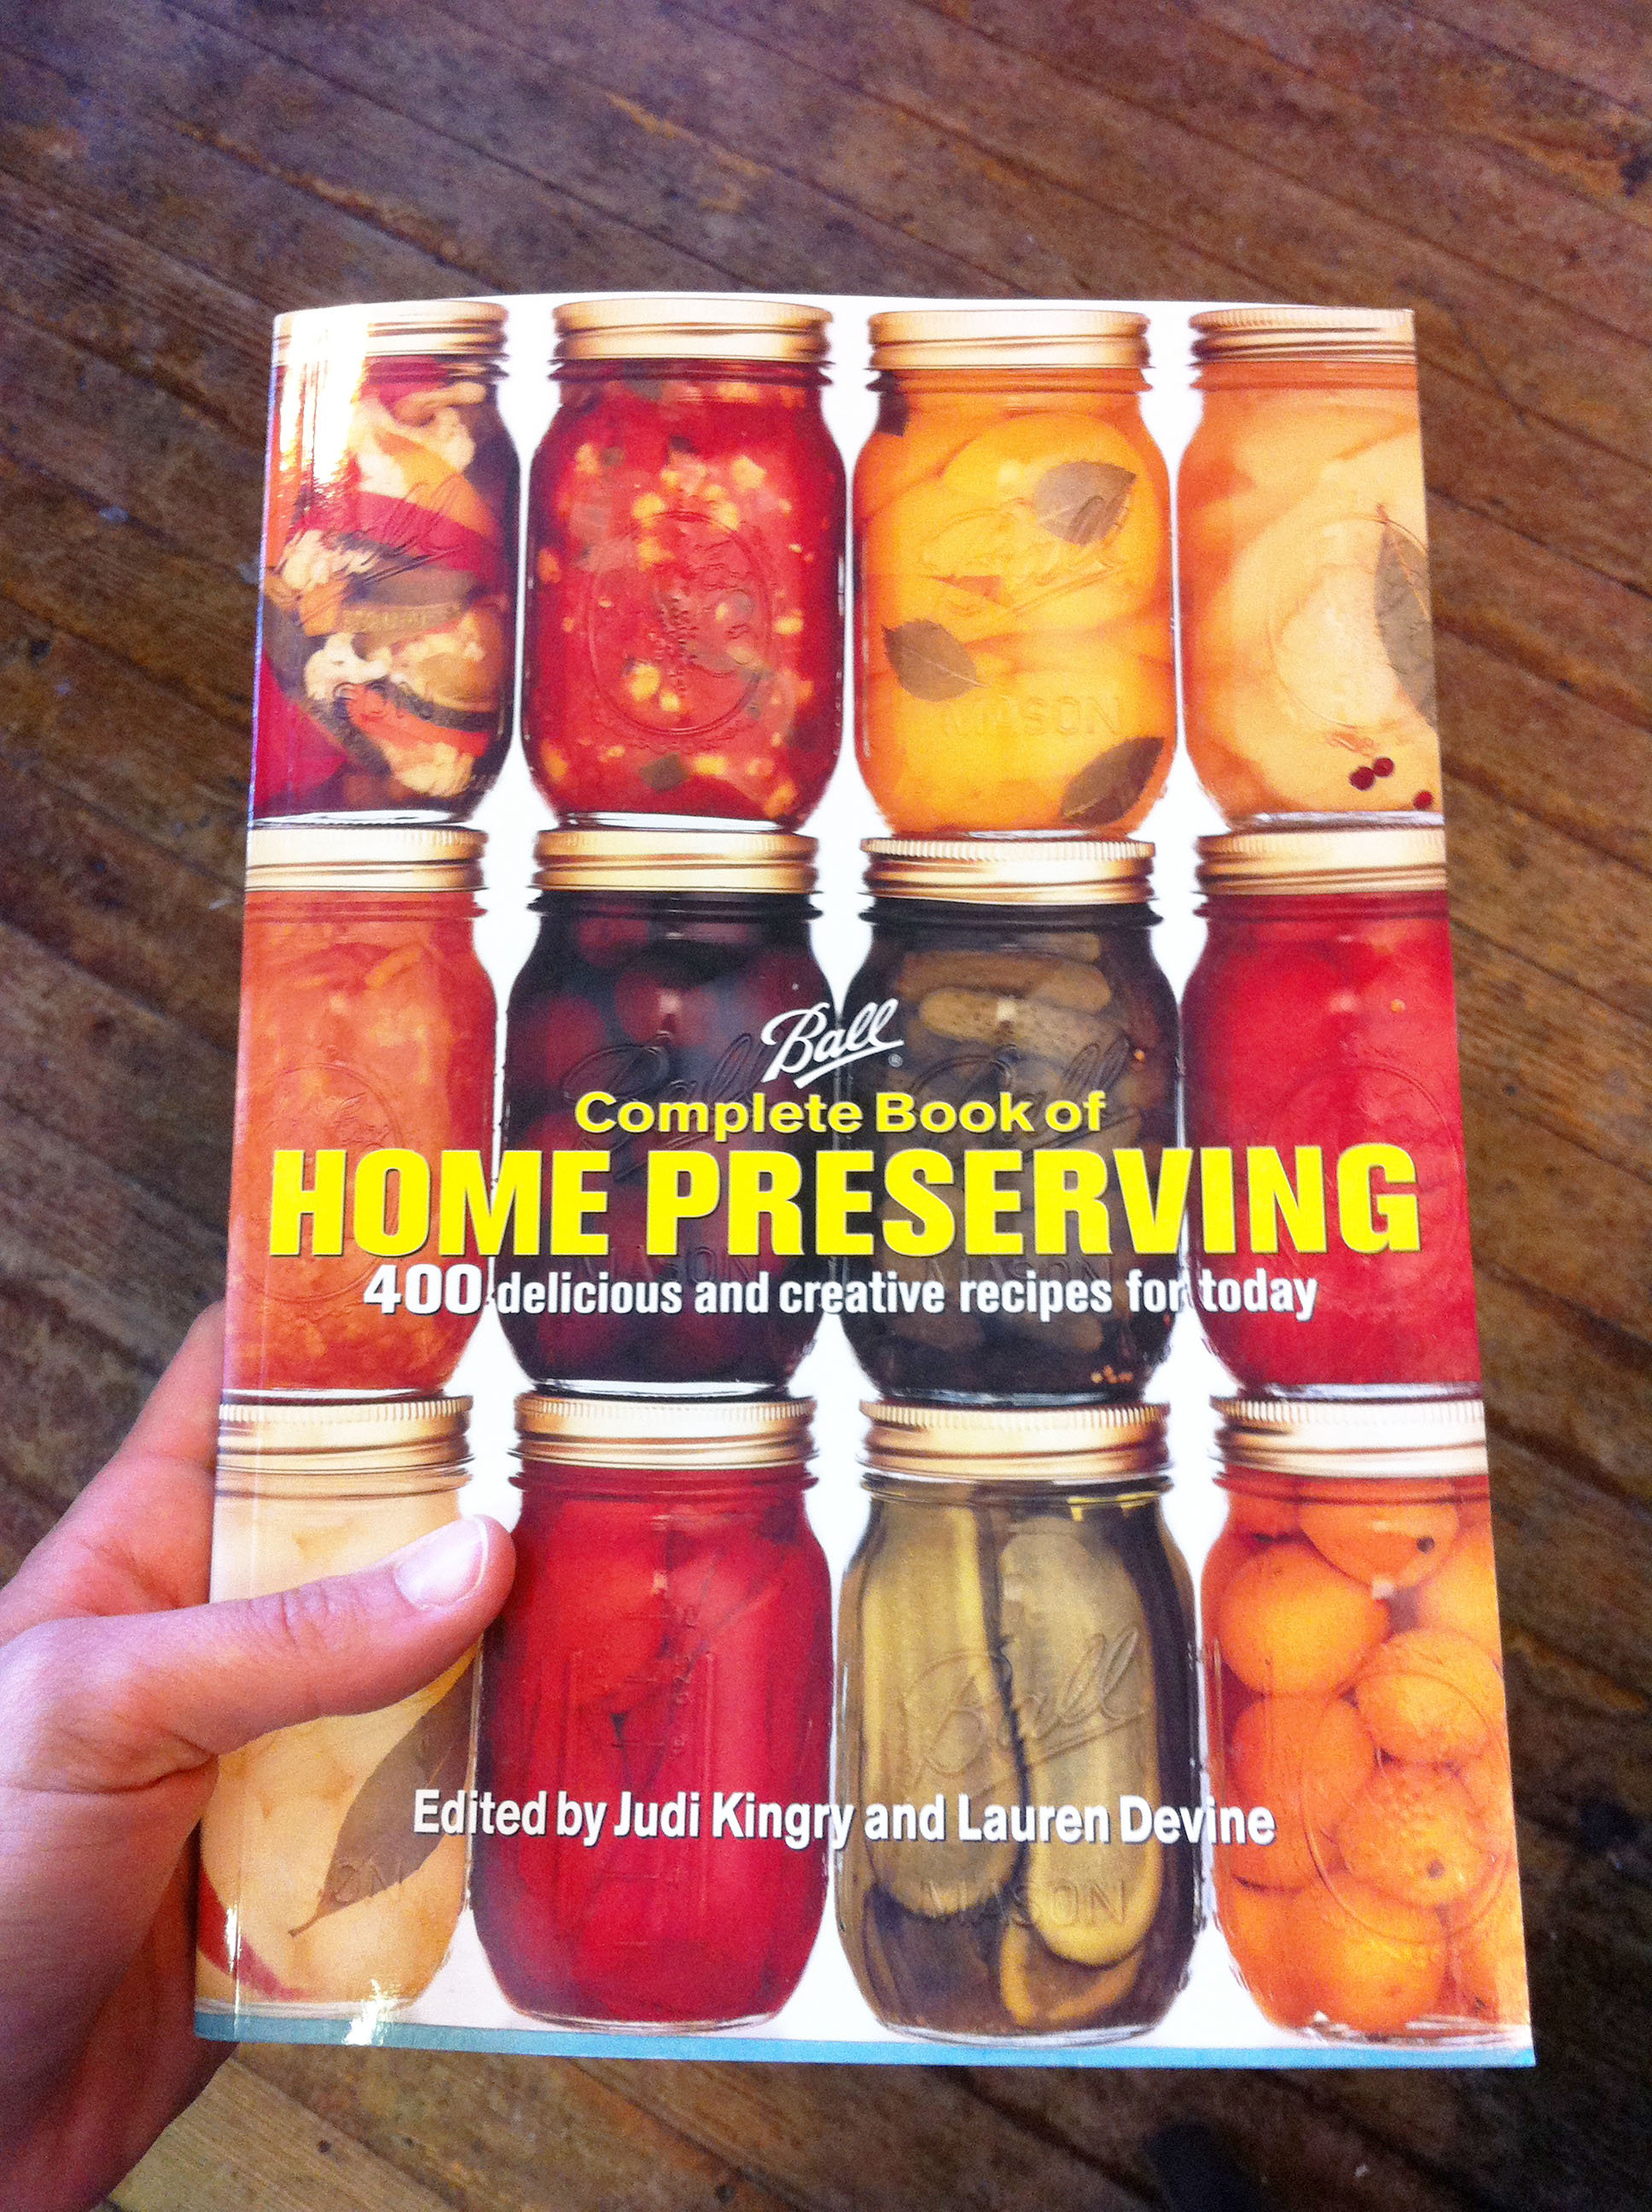
My original plan was to try to can the basics…strawberry jam, apple butter, pickles, tomato sauce, and salsa. The Ball book includes recipes for other foods that I never even thought of canning too – peaches in syrup, apple pie filling, apple juice, relish, barbecue sauce, and more. I’m going to have a lot of fun canning this summer!
I bought glass jars (with new lids and screw bands) at my local grocery store when I bought the ingredients for my canning recipe. (You can also buy 8oz glass jelly jars and 4oz glass jelly jars on Amazon, as well as pretty much any other size jar that you want.)
You can reuse your jars and screw bands over and over again, but you will need to buy new lids every time because their seal can only be used once. (Think of it like a thin sticker that “melts” during the canning process and adheres to the glass jar.)

Overall, my first attempt with canning was pretty cheap. My canning kit + book + glass jars cost less than $35 total. You can skip the book if you want, and just follow these steps that I picked up from it.
Basic Water Bath Canning Instructions
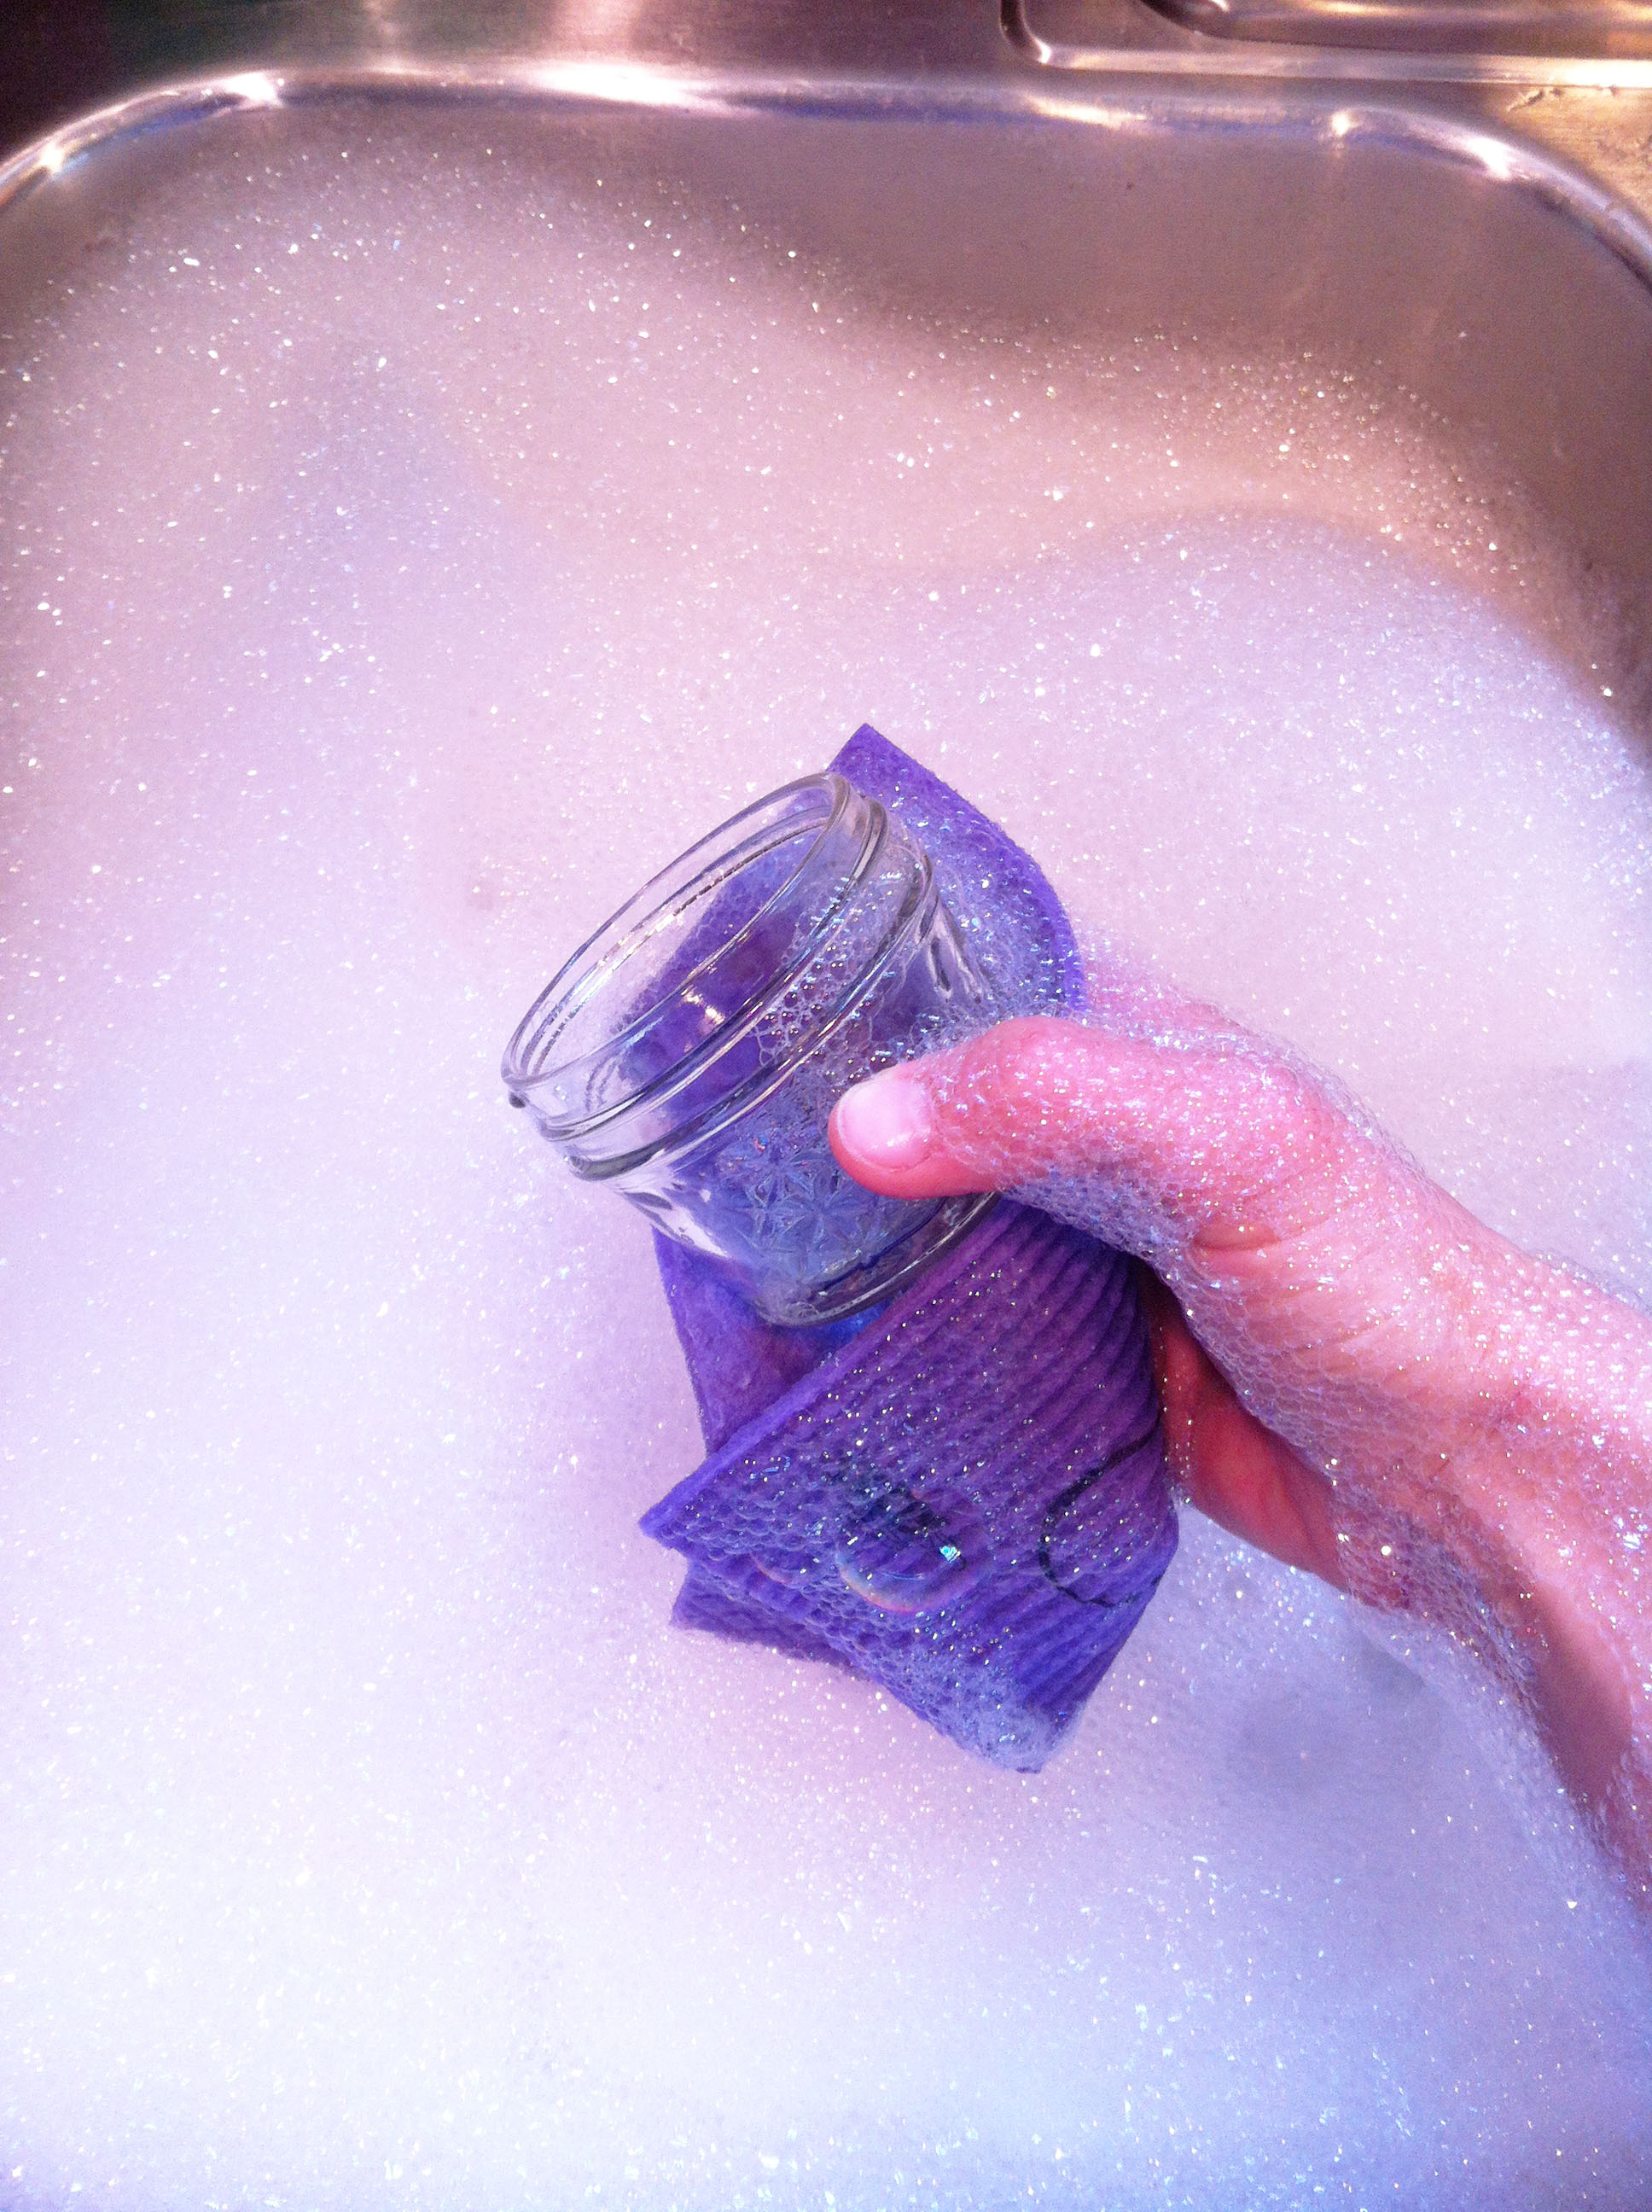
1. Clean your jars, lids, and screw bands.
Wash your jars, lids, and screw bands in hot soapy water. Set your screw bands aside. (The “screw bands” are the hollow circles used to screw the lids onto your jars.)
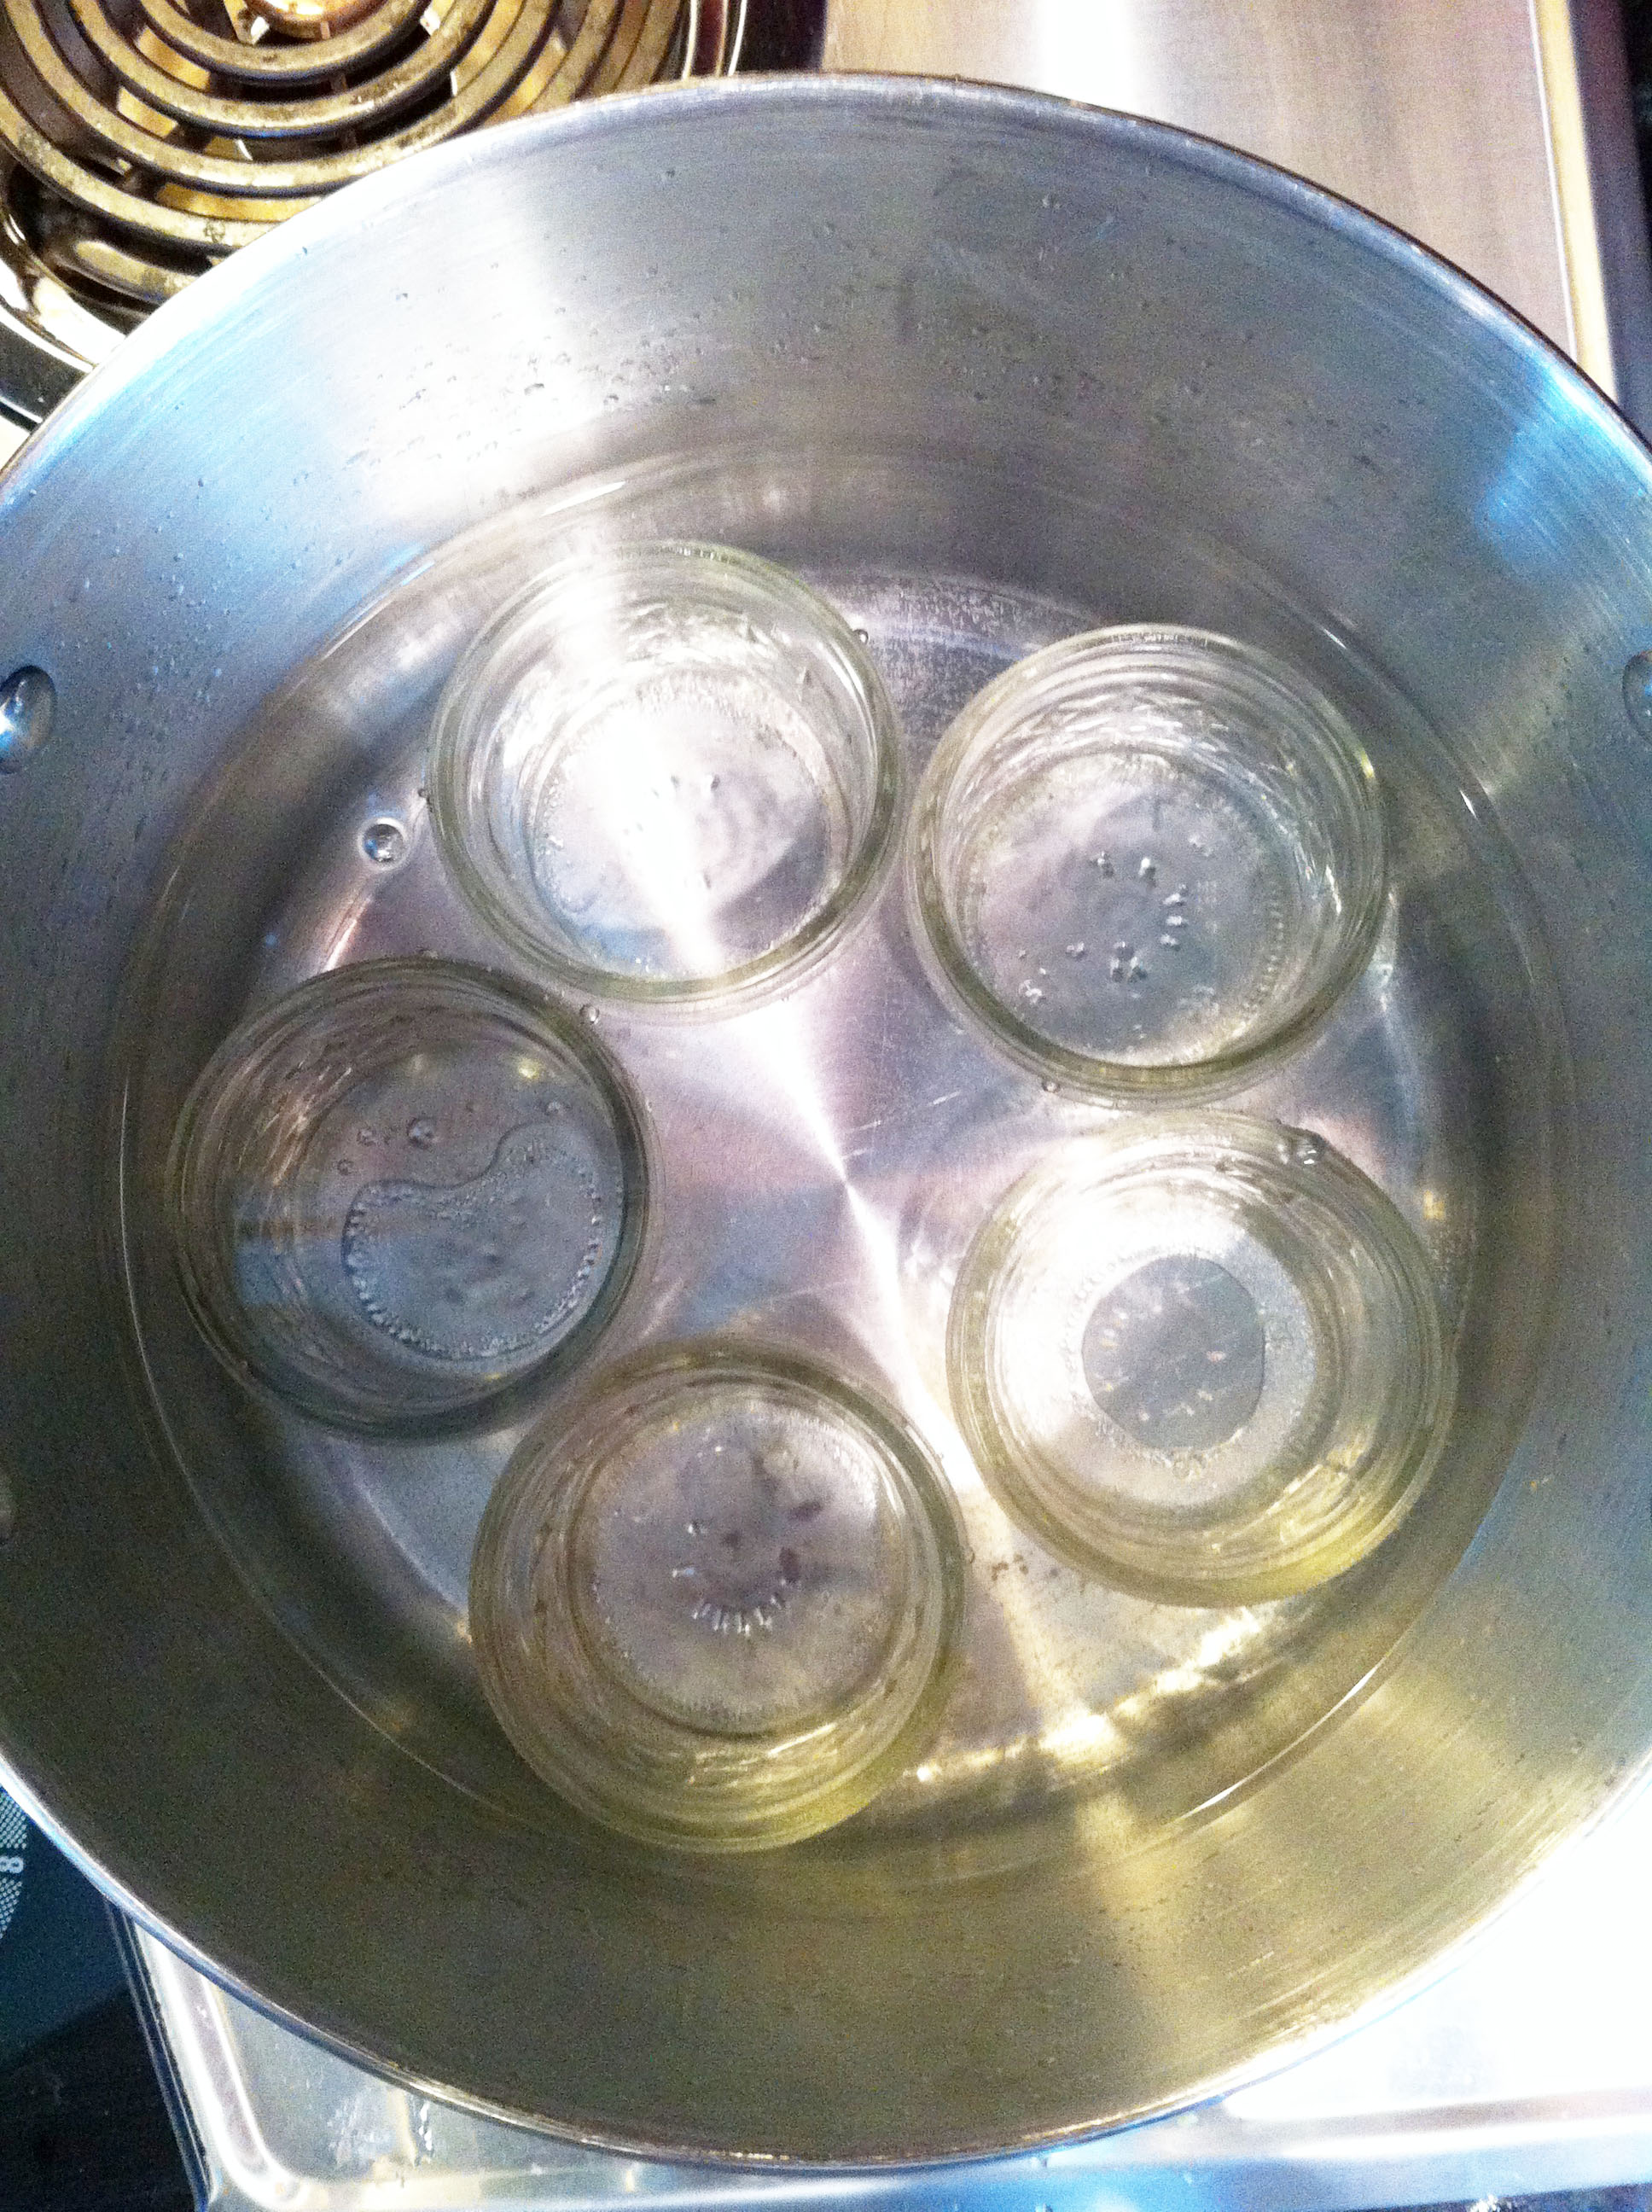
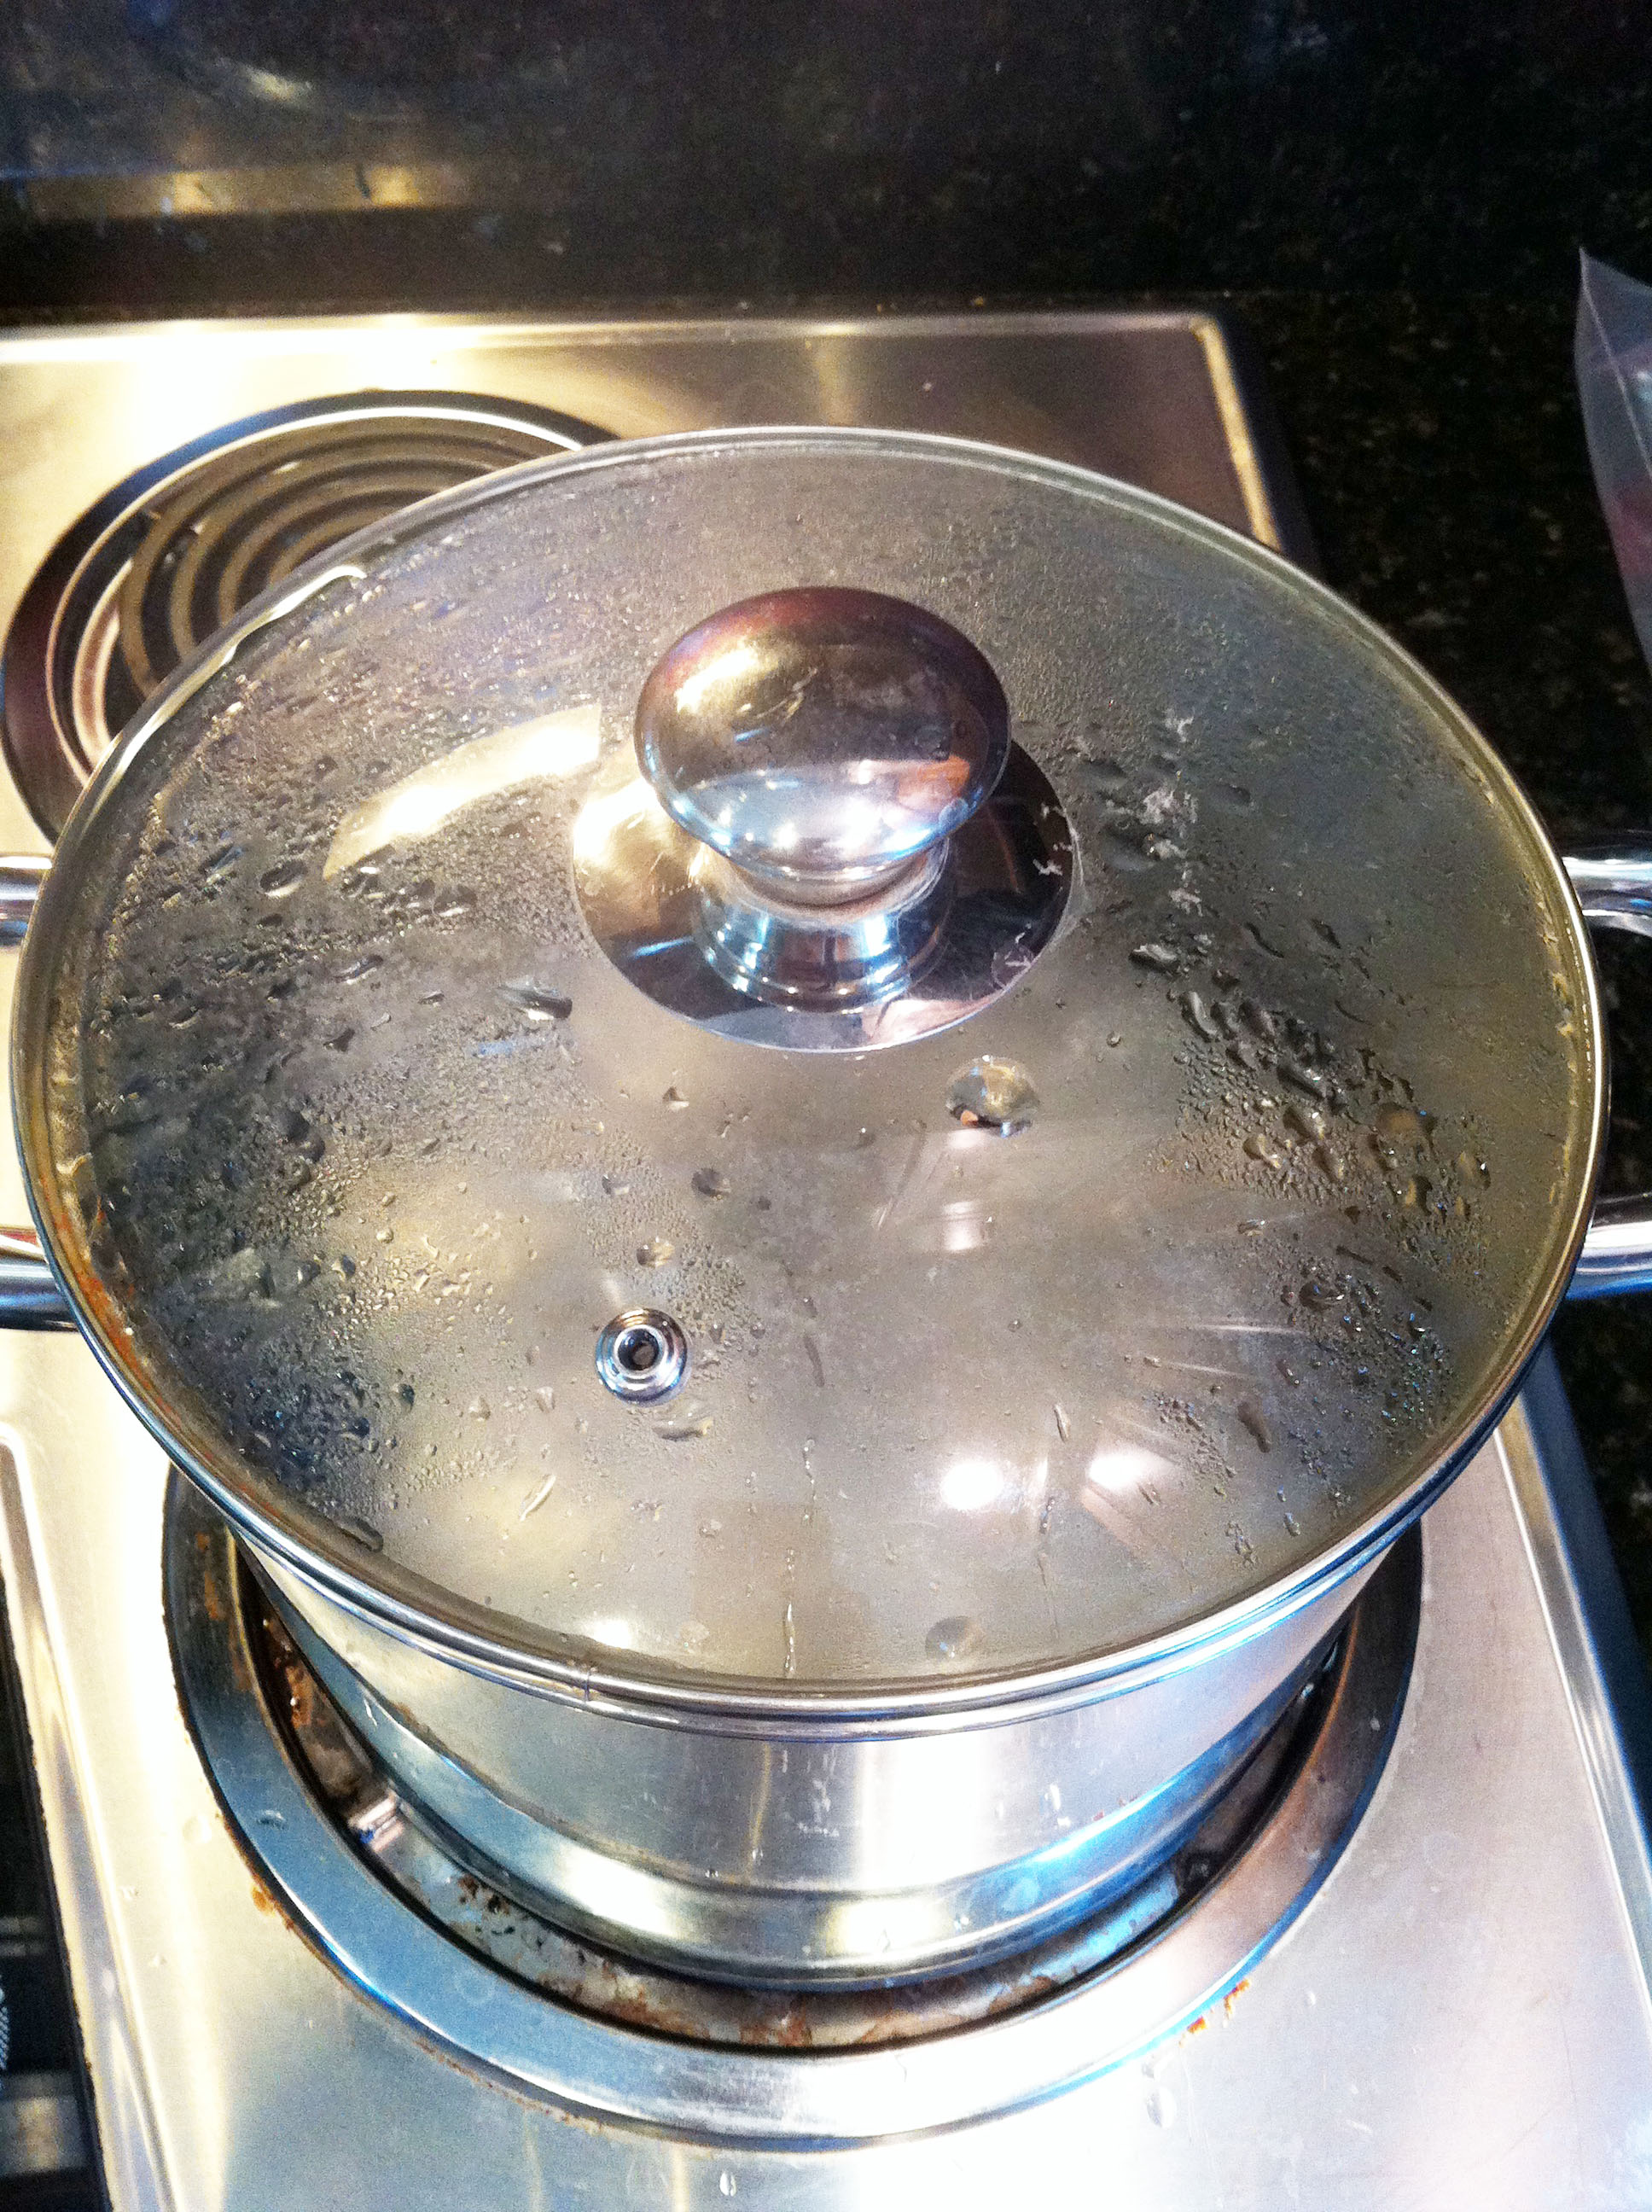
2. Heat your jars.
Place your jars in a large pot. (If you have a lot of jars, you will need several pots.) Make sure you leave enough space between each jar so you’ll be able to pick it up with your tongs. (I learned this the hard way. The jars in the photo below are a little too close.)
For small jars (8oz and 4oz), add water to the pot until it reaches the top of the jars. For pint-sized and larger jars, add water to the jars and pot until the jars are about 2/3 full. Cover the pot with a lid and bring the water to a simmer over medium-high heat. (You do not need to boil the jars.) Keep the jars hot until you’re ready to use them.
I was using 4oz jelly jars to can the strawberry jam from my slow cooker cookbook.
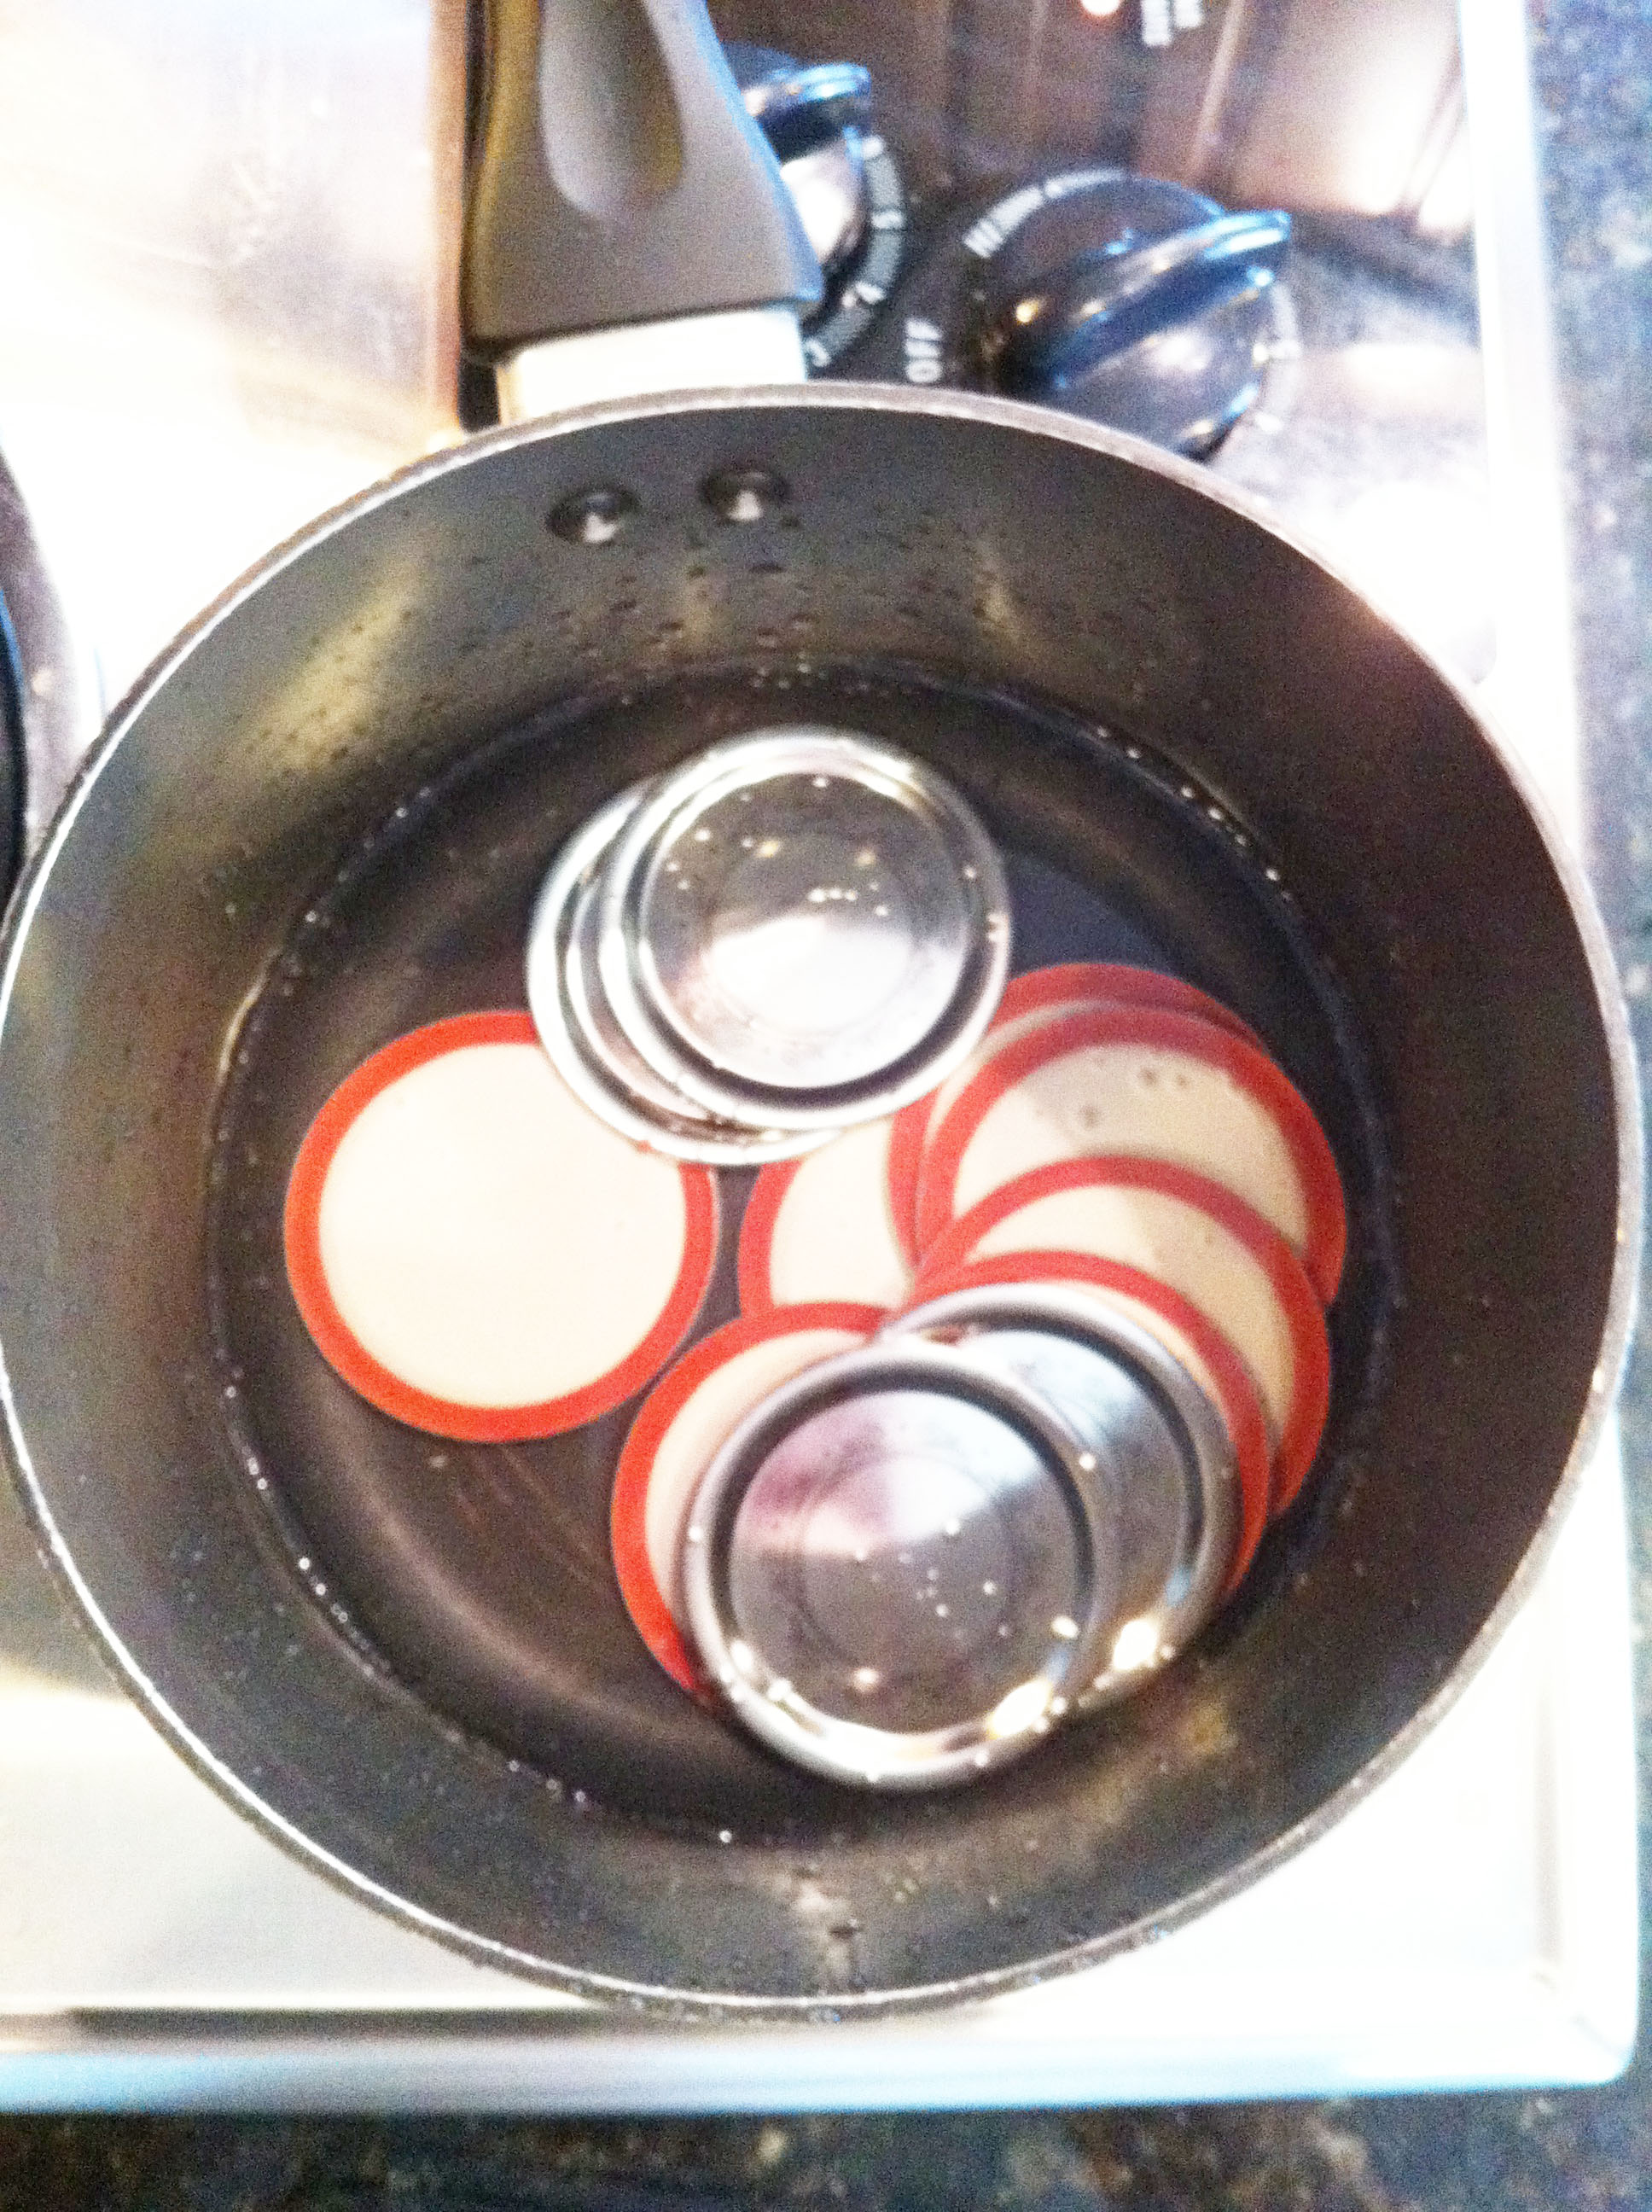
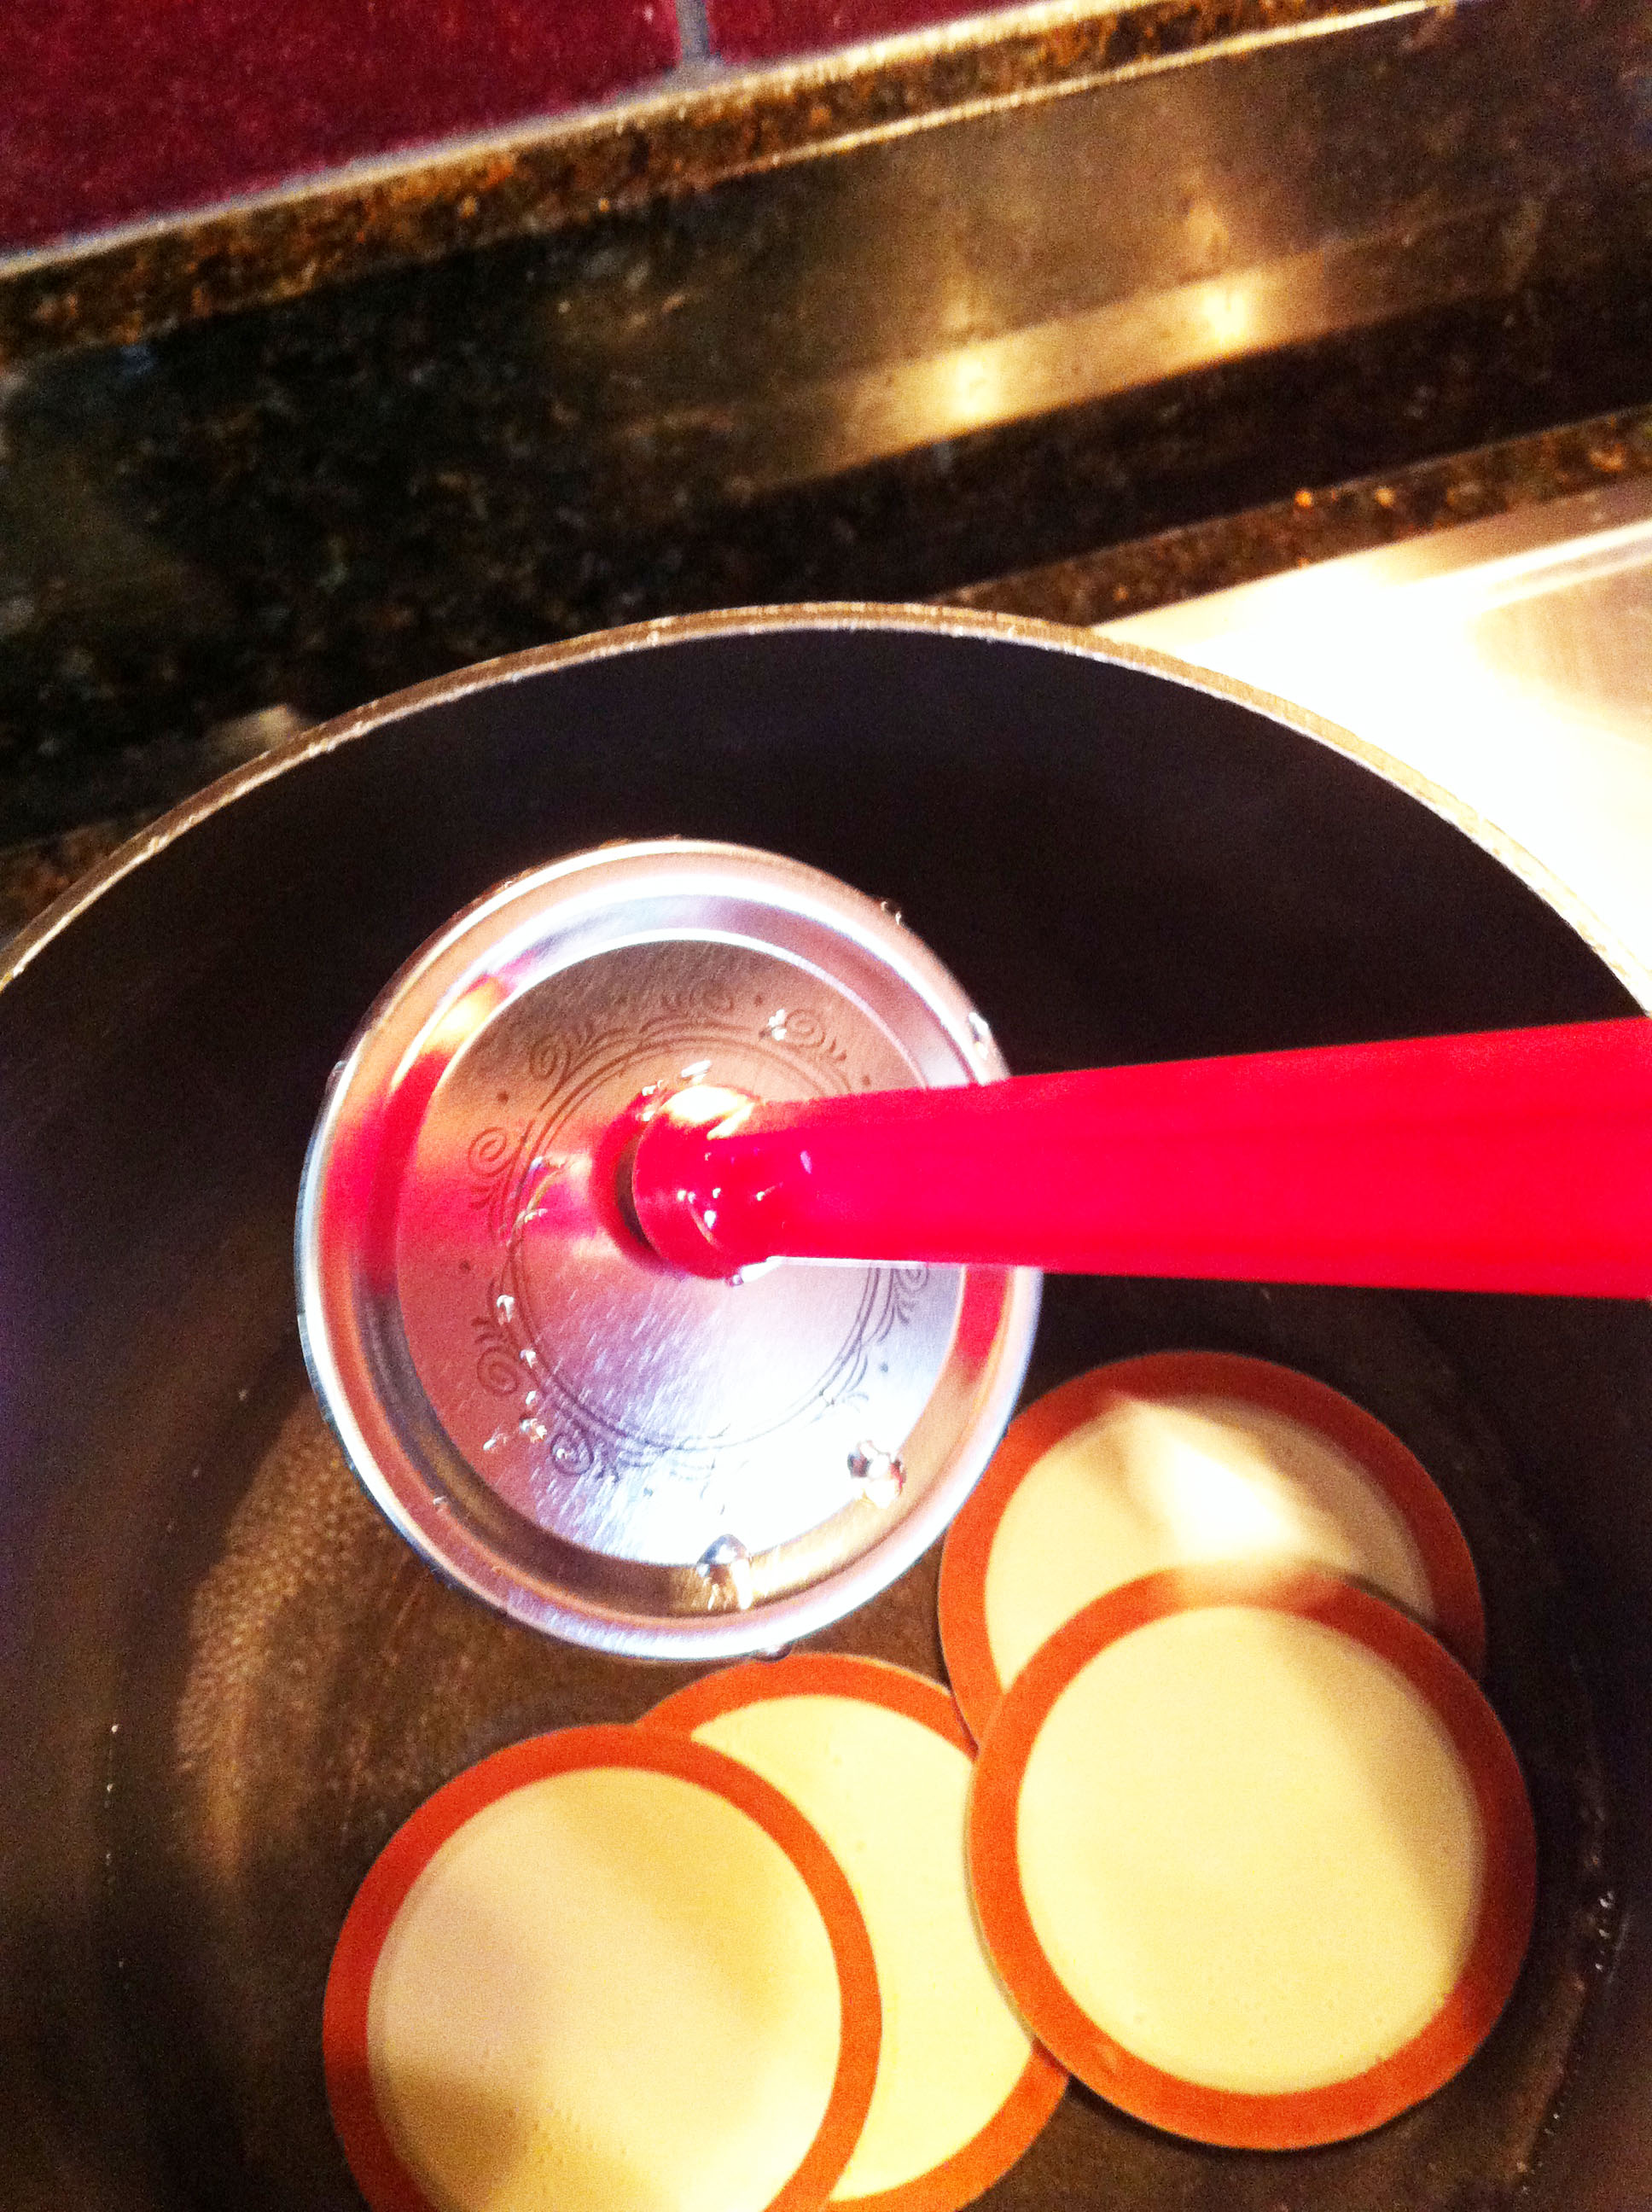
3. Heat your lids.
Place your lids in a medium-sized pot, cover with water, and bring to a simmer over medium-high heat. (Do not boil.) Keep them hot until you’re ready to use them.
(I totally screwed up in this pictured. You want the silver side of each lid facing up because that’s the side that’s magnetic and will stick to your magnetic wand. Classic newbie mistake.)
4. Prepare the food that you’re going to can.
(You can also skip this step and prepare the food ahead of time the day before – that’s what I do to save time.)
Here’s a photo of my slow cooker strawberry jam, cooking away in my slow cooker the day before I canned it. (It’s a super easy and delicious recipe from my newest cookbook.)

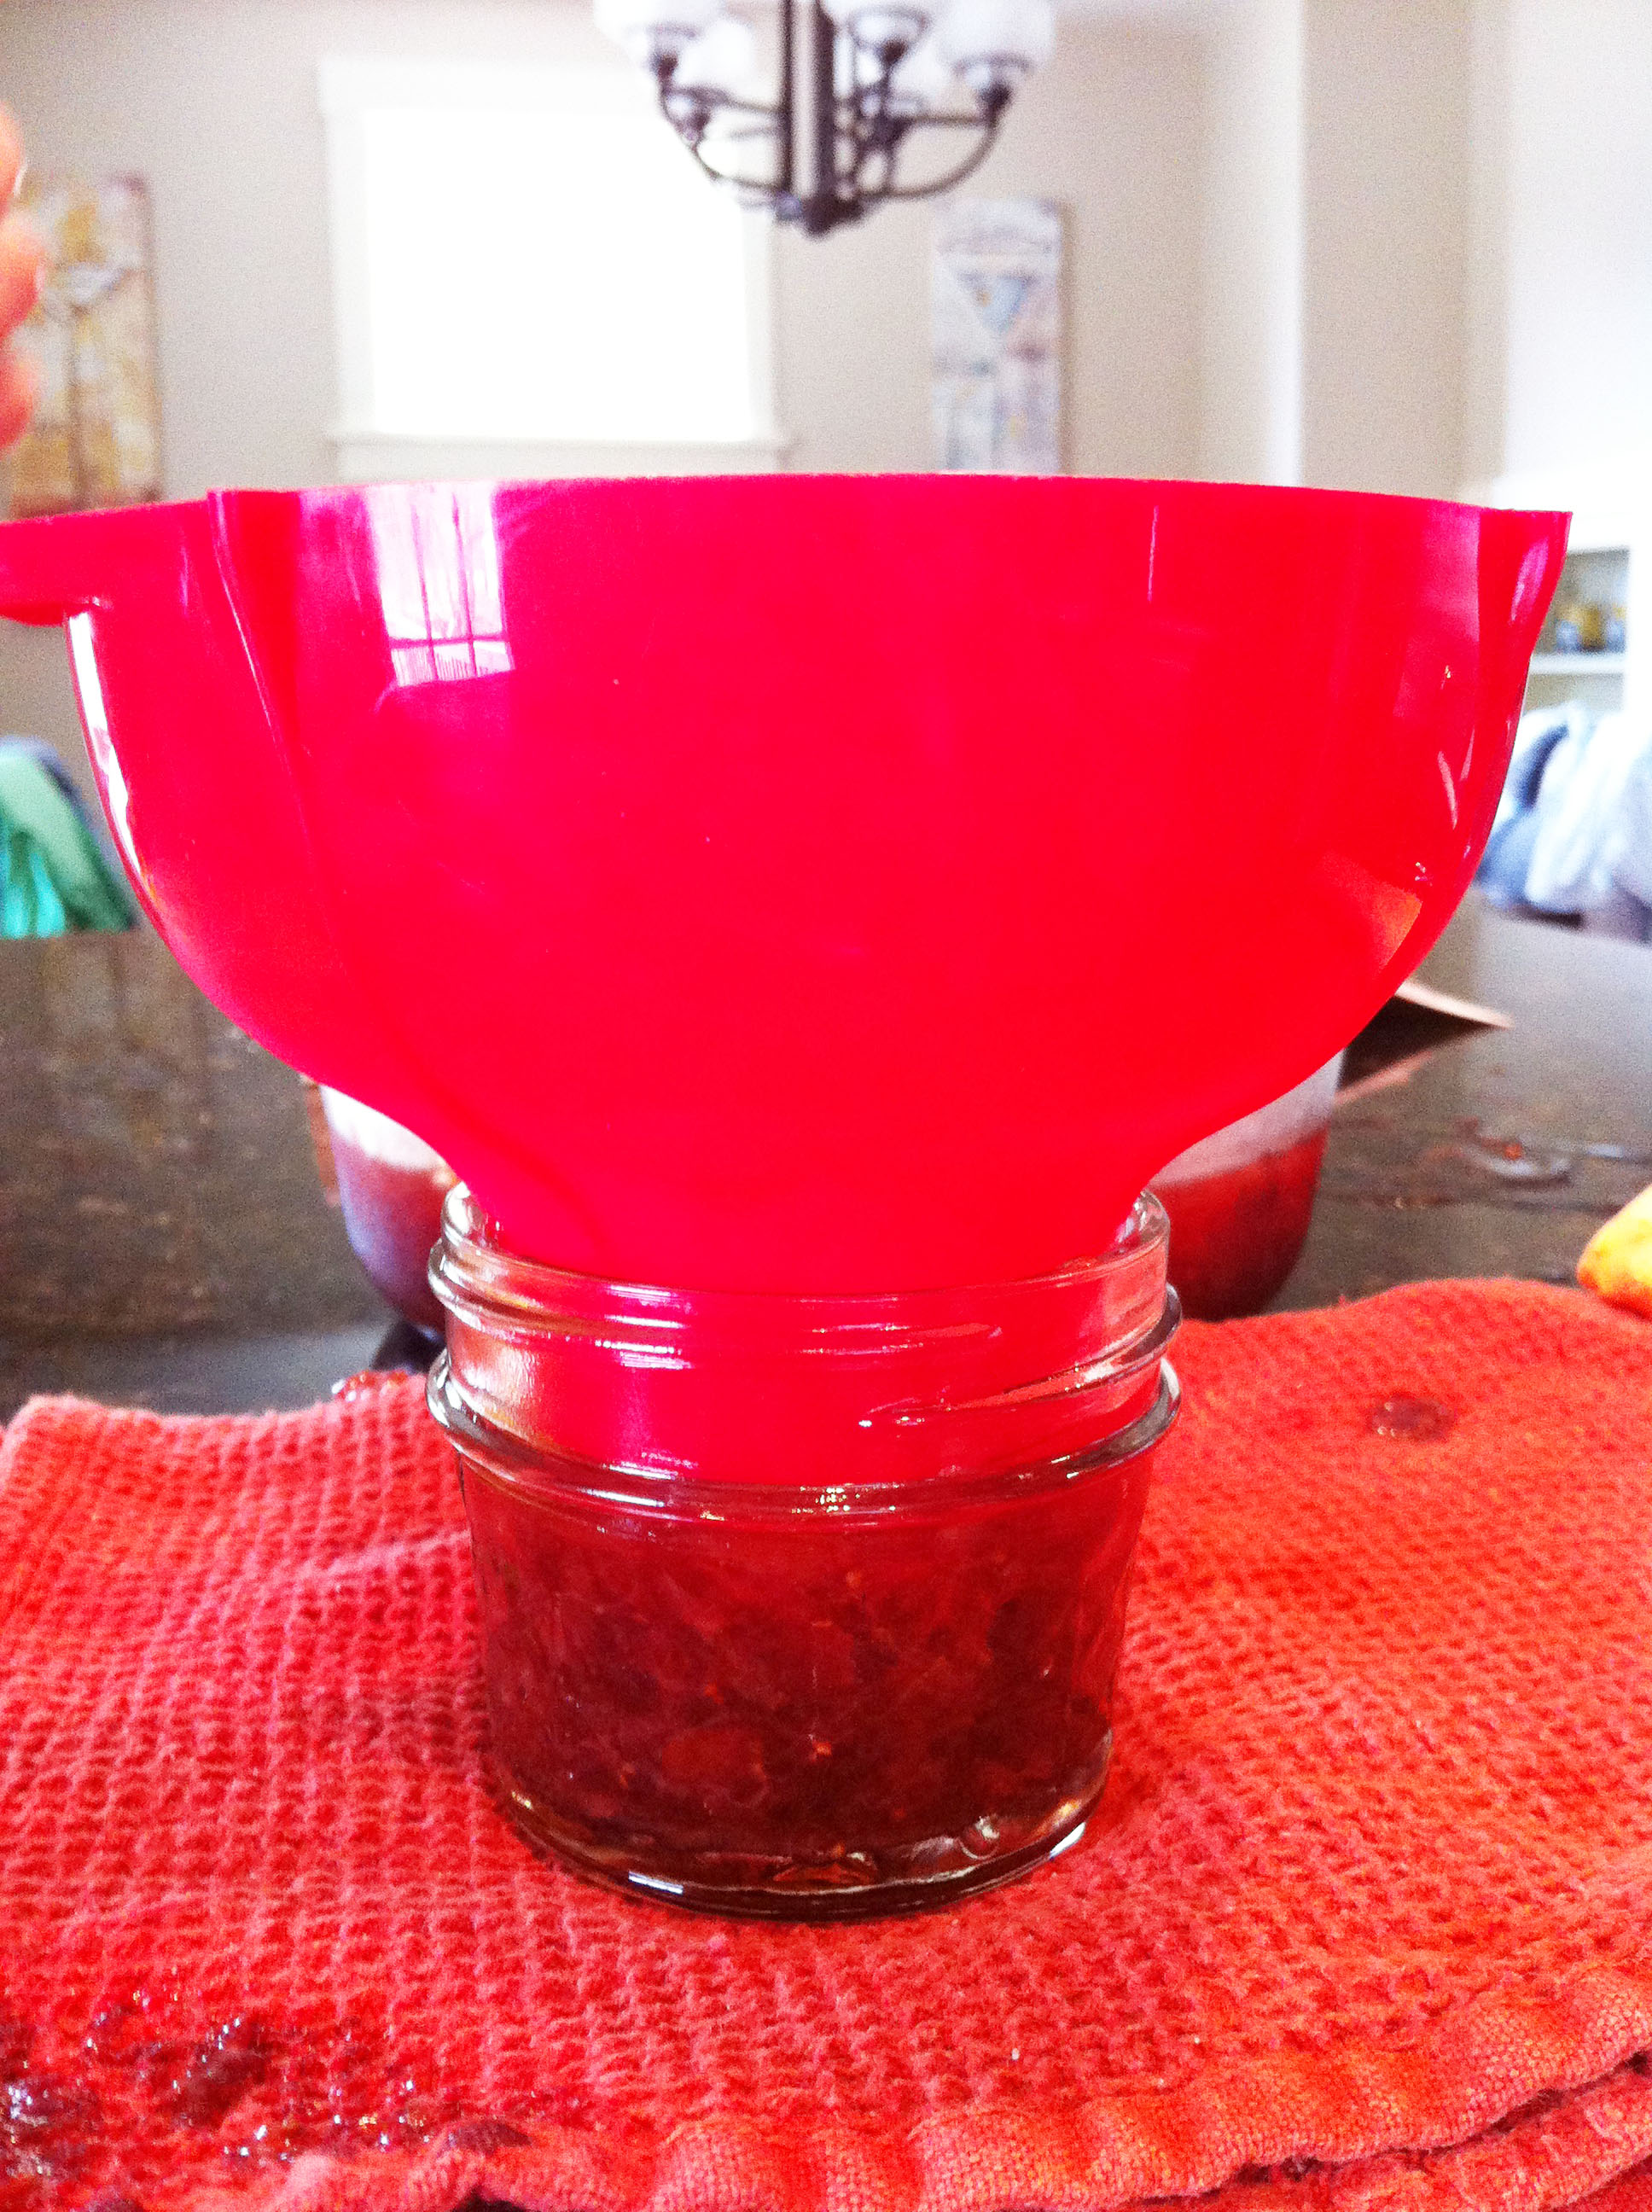
5. Fill each jar.
Work on one jar at a time. First, use your tongs to pick up a hot jar from your pot.

Place your jar on a heat-protected surface, like a towel or wooden cutting board.
(I have faith that you can set your jar on a towel without a photo to explain.)
Place your wide-mouth funnel in your jar and scoop your food into the jar. (The funnel helps keep things neat.) Different foods require leaving different amounts of space at the top of the jar. Pickles, tomatoes, fruit, and condiments need 1/2 inch. Jellies and jams require 1/4 inch.
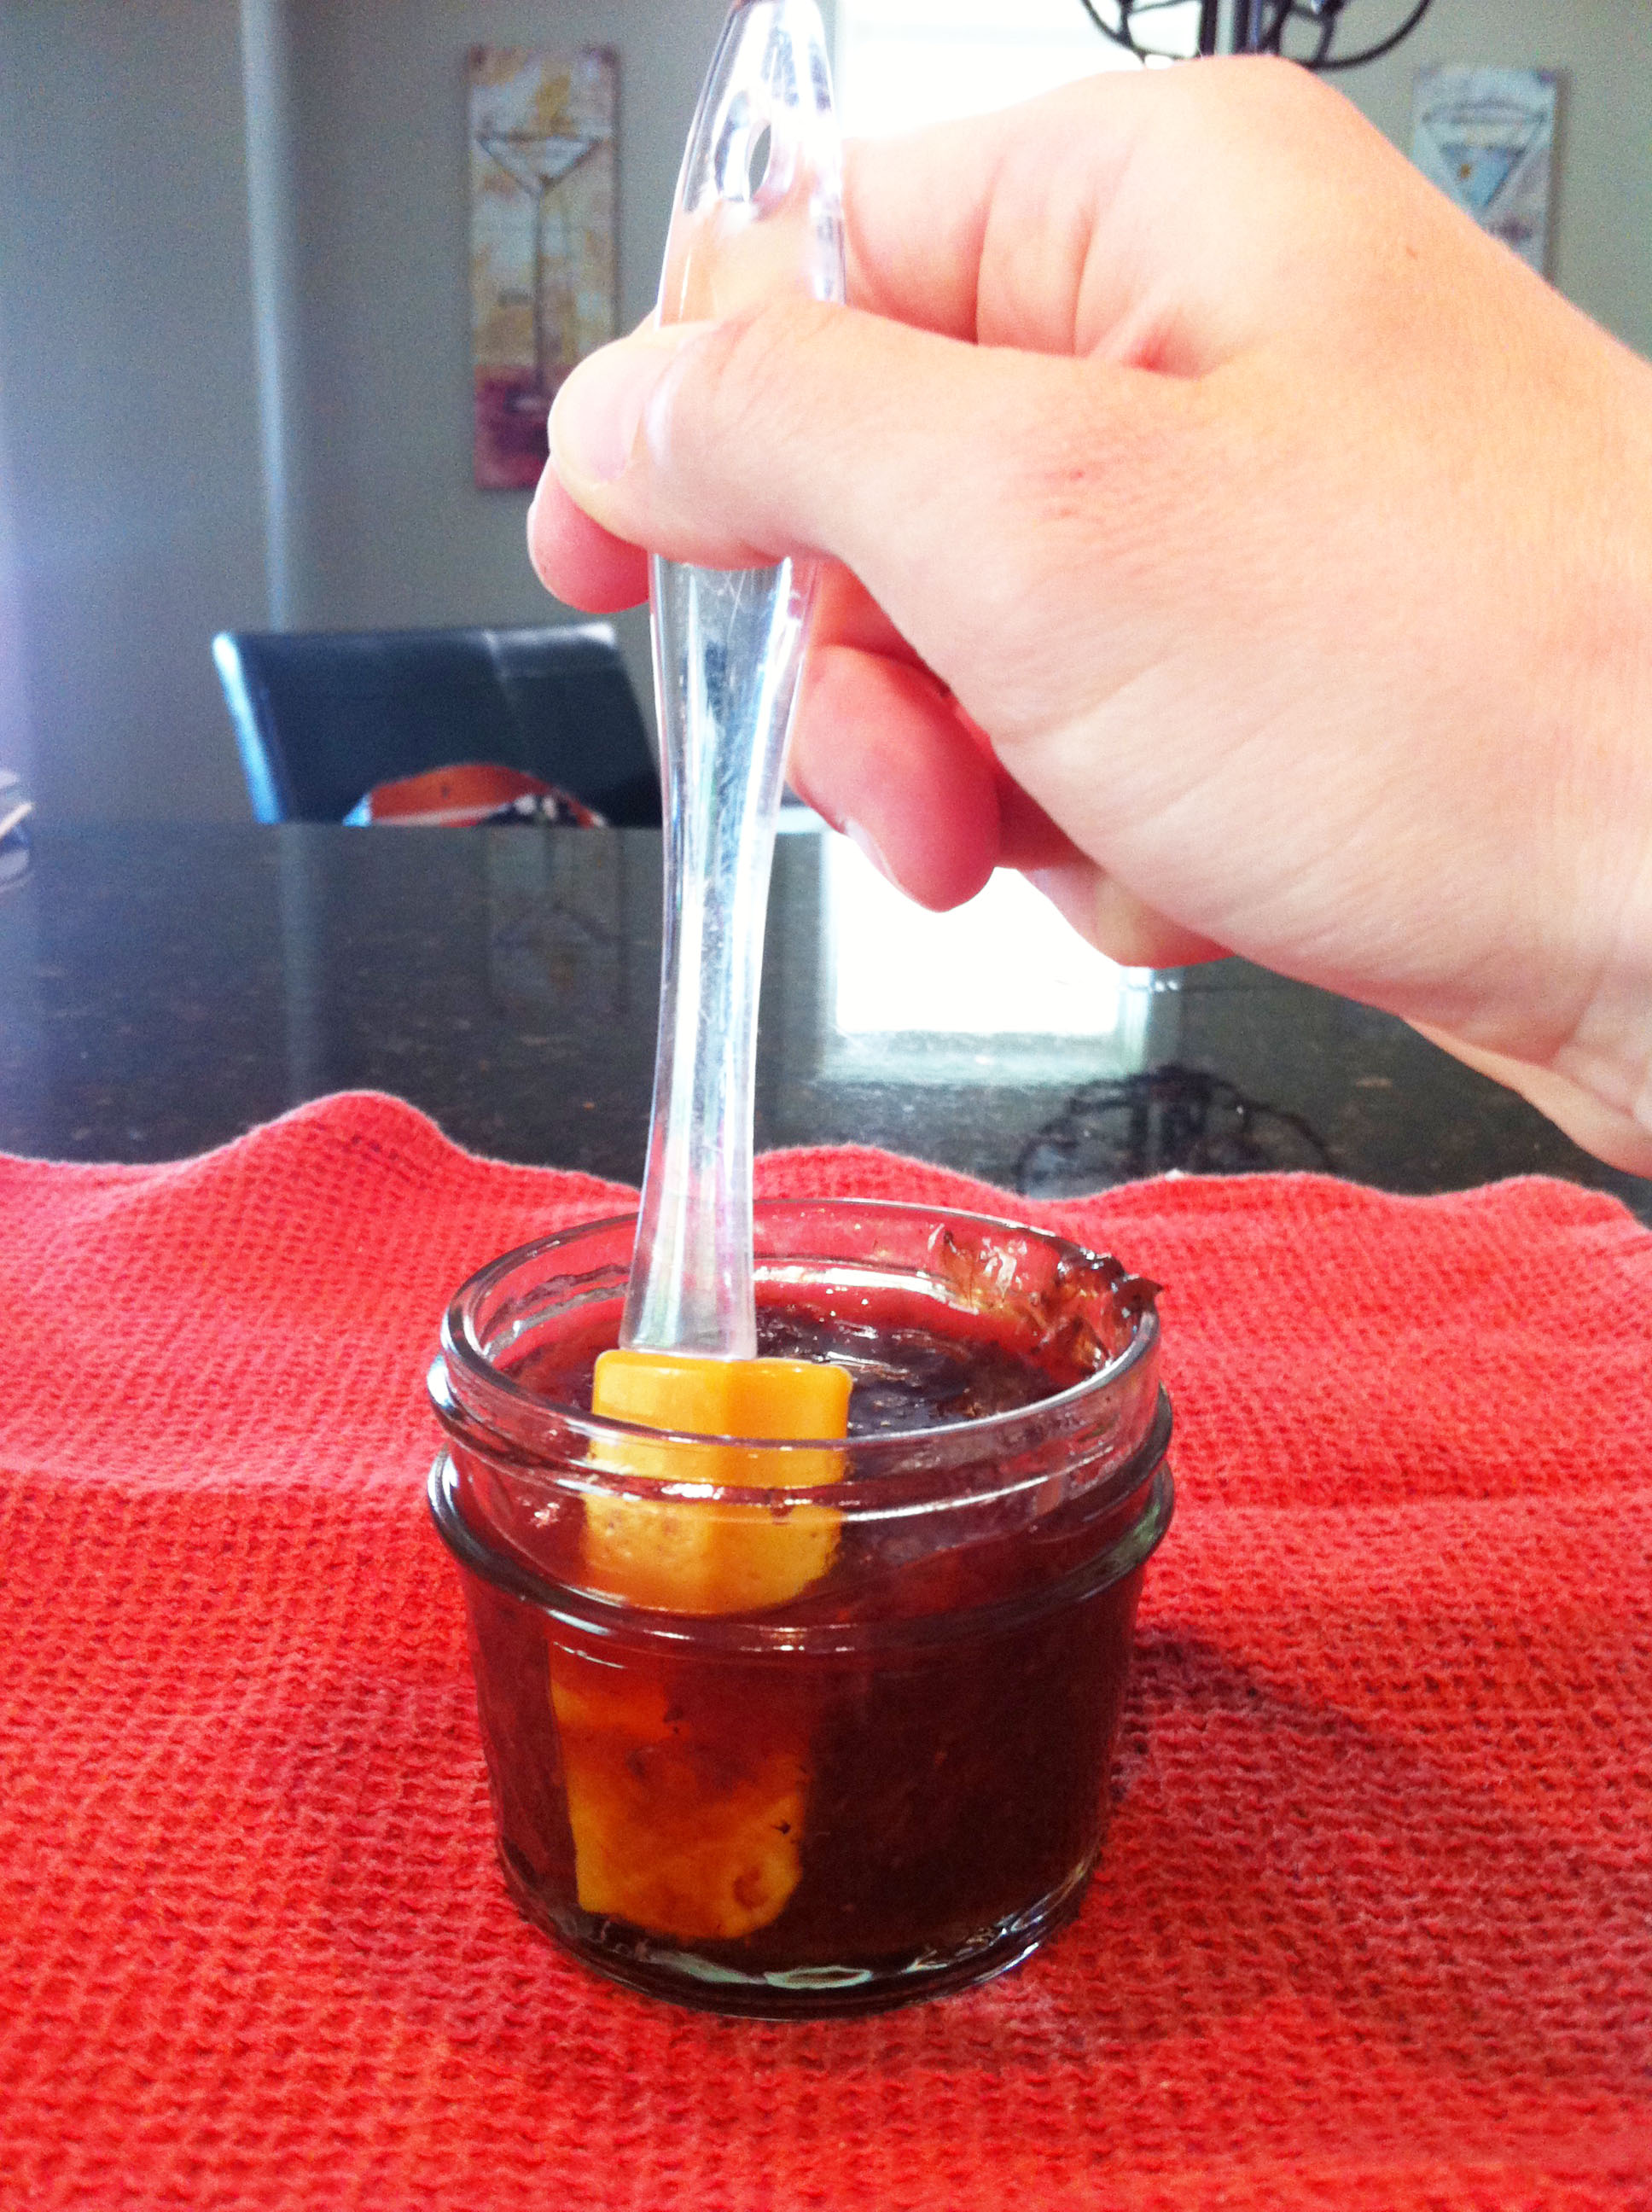
Slide a small, rubber spatula in-between the food and the side of the jar to remove air bubbles.
(Can we just pretend I’m wearing hot pink or some kind of fun nailpolish in this photo?)
Wipe the rim of the jar.
Use your magnetic wand to lift a hot lid from your medium-sized pot and center it on the top of your jar.
Place a screw band on the jar and screw it on. There is no need to muscle it or try to make it super tight. Most canning instructions say “fingertip-tight” is just right.
Put the jar back in the big, hot pot.
Repeat this process – filling one jar at a time – until all of your jars are full and back in the big pot.
6. Process your filled jars.
Add more water to the pot until it covers the jars by at least one inch. Cover with a lid and bring to a full boil. Boil the jars according to your recipe. (Most jams and jellies take 10 minutes. I process my applesauce for 20 minutes and my tomato soup for 35 minutes. I recommend buying the Ball canning book – pictured above – for awesome recipes and proper boiling times.)
7. Cool your jars for five minutes.
Remove the lid on the pot and let jars cool for five minutes.
8. Remove your jars from your pot and cool.
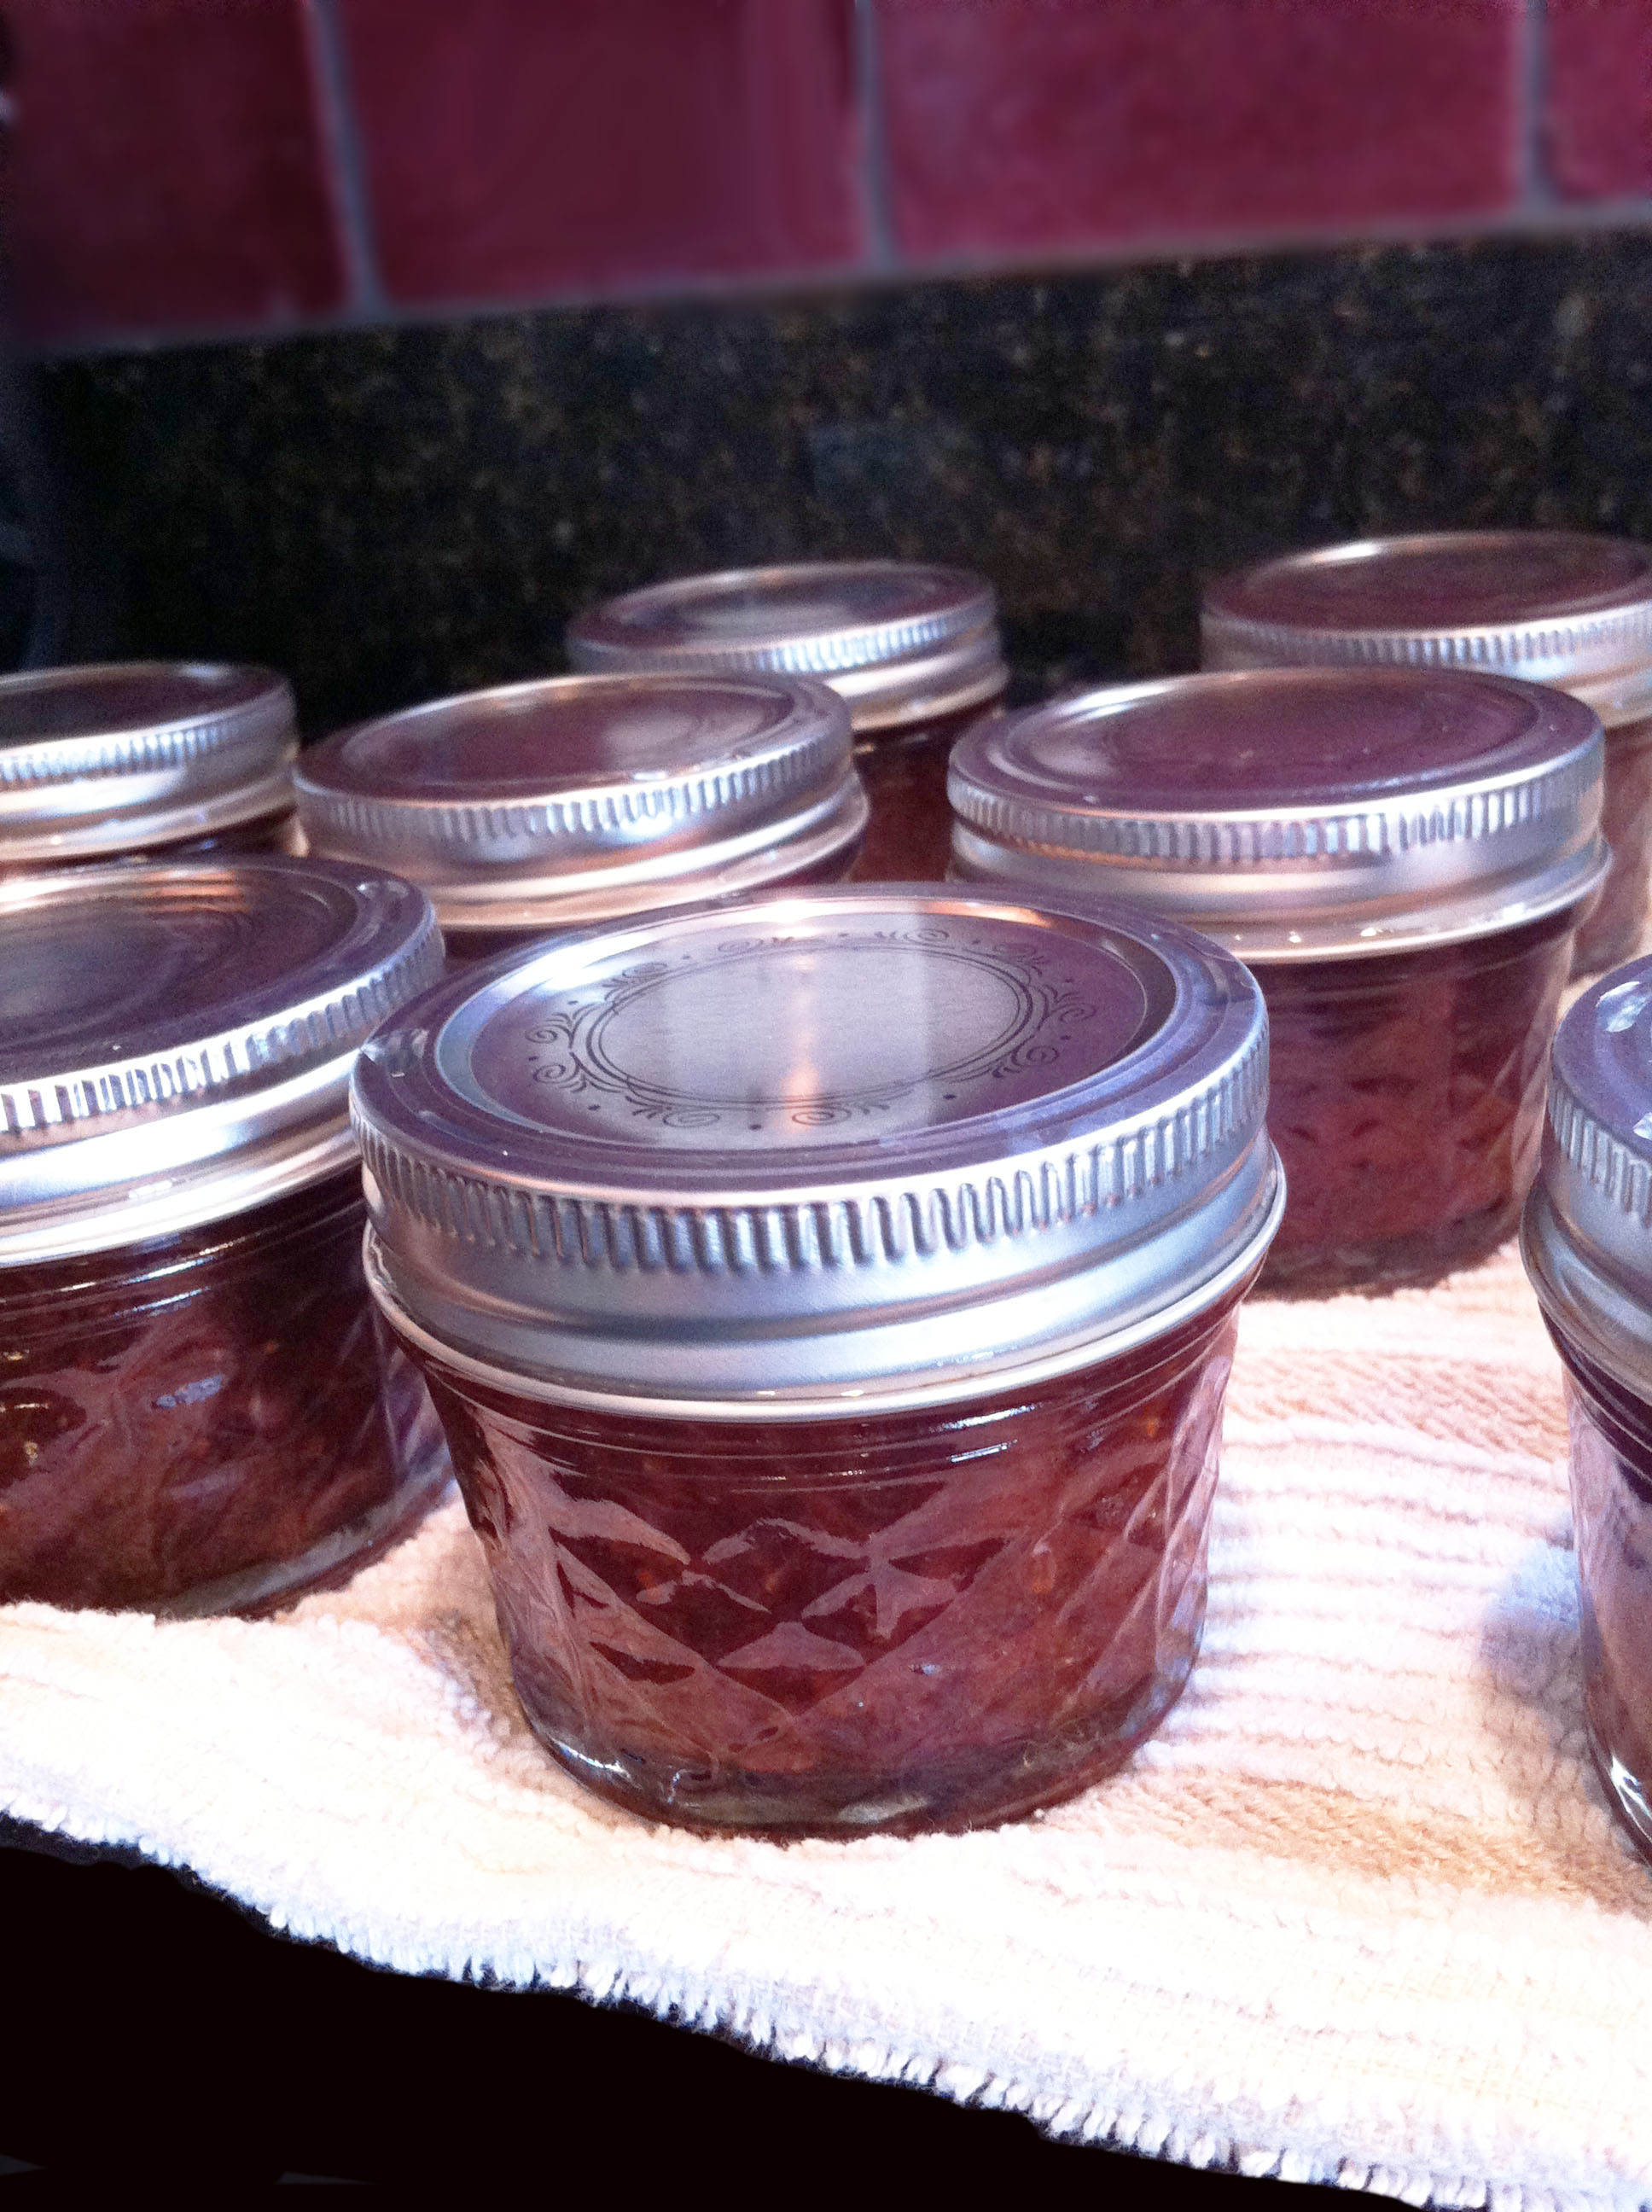
After 5 minutes, remove the jars one-by-one with your large tongs (without tilting them). Place jars upright on a towel to cool. Do not worry about water on top of the lids. (You don’t want to disturb the seal.) Leave jars to cool for 24 hours. If you hear little “popping” sounds, you did something right!
9. Check your seals.
After 24 hours have passed, check your seals by removing the screw bands and pressing down on the center of each lid. There should be no movement when pressed. Jars that do not seal properly must be re-sealed immediately or refrigerated and eaten over the next few days. (All of my jars sealed perfectly the very first time that I canned. Yay!)
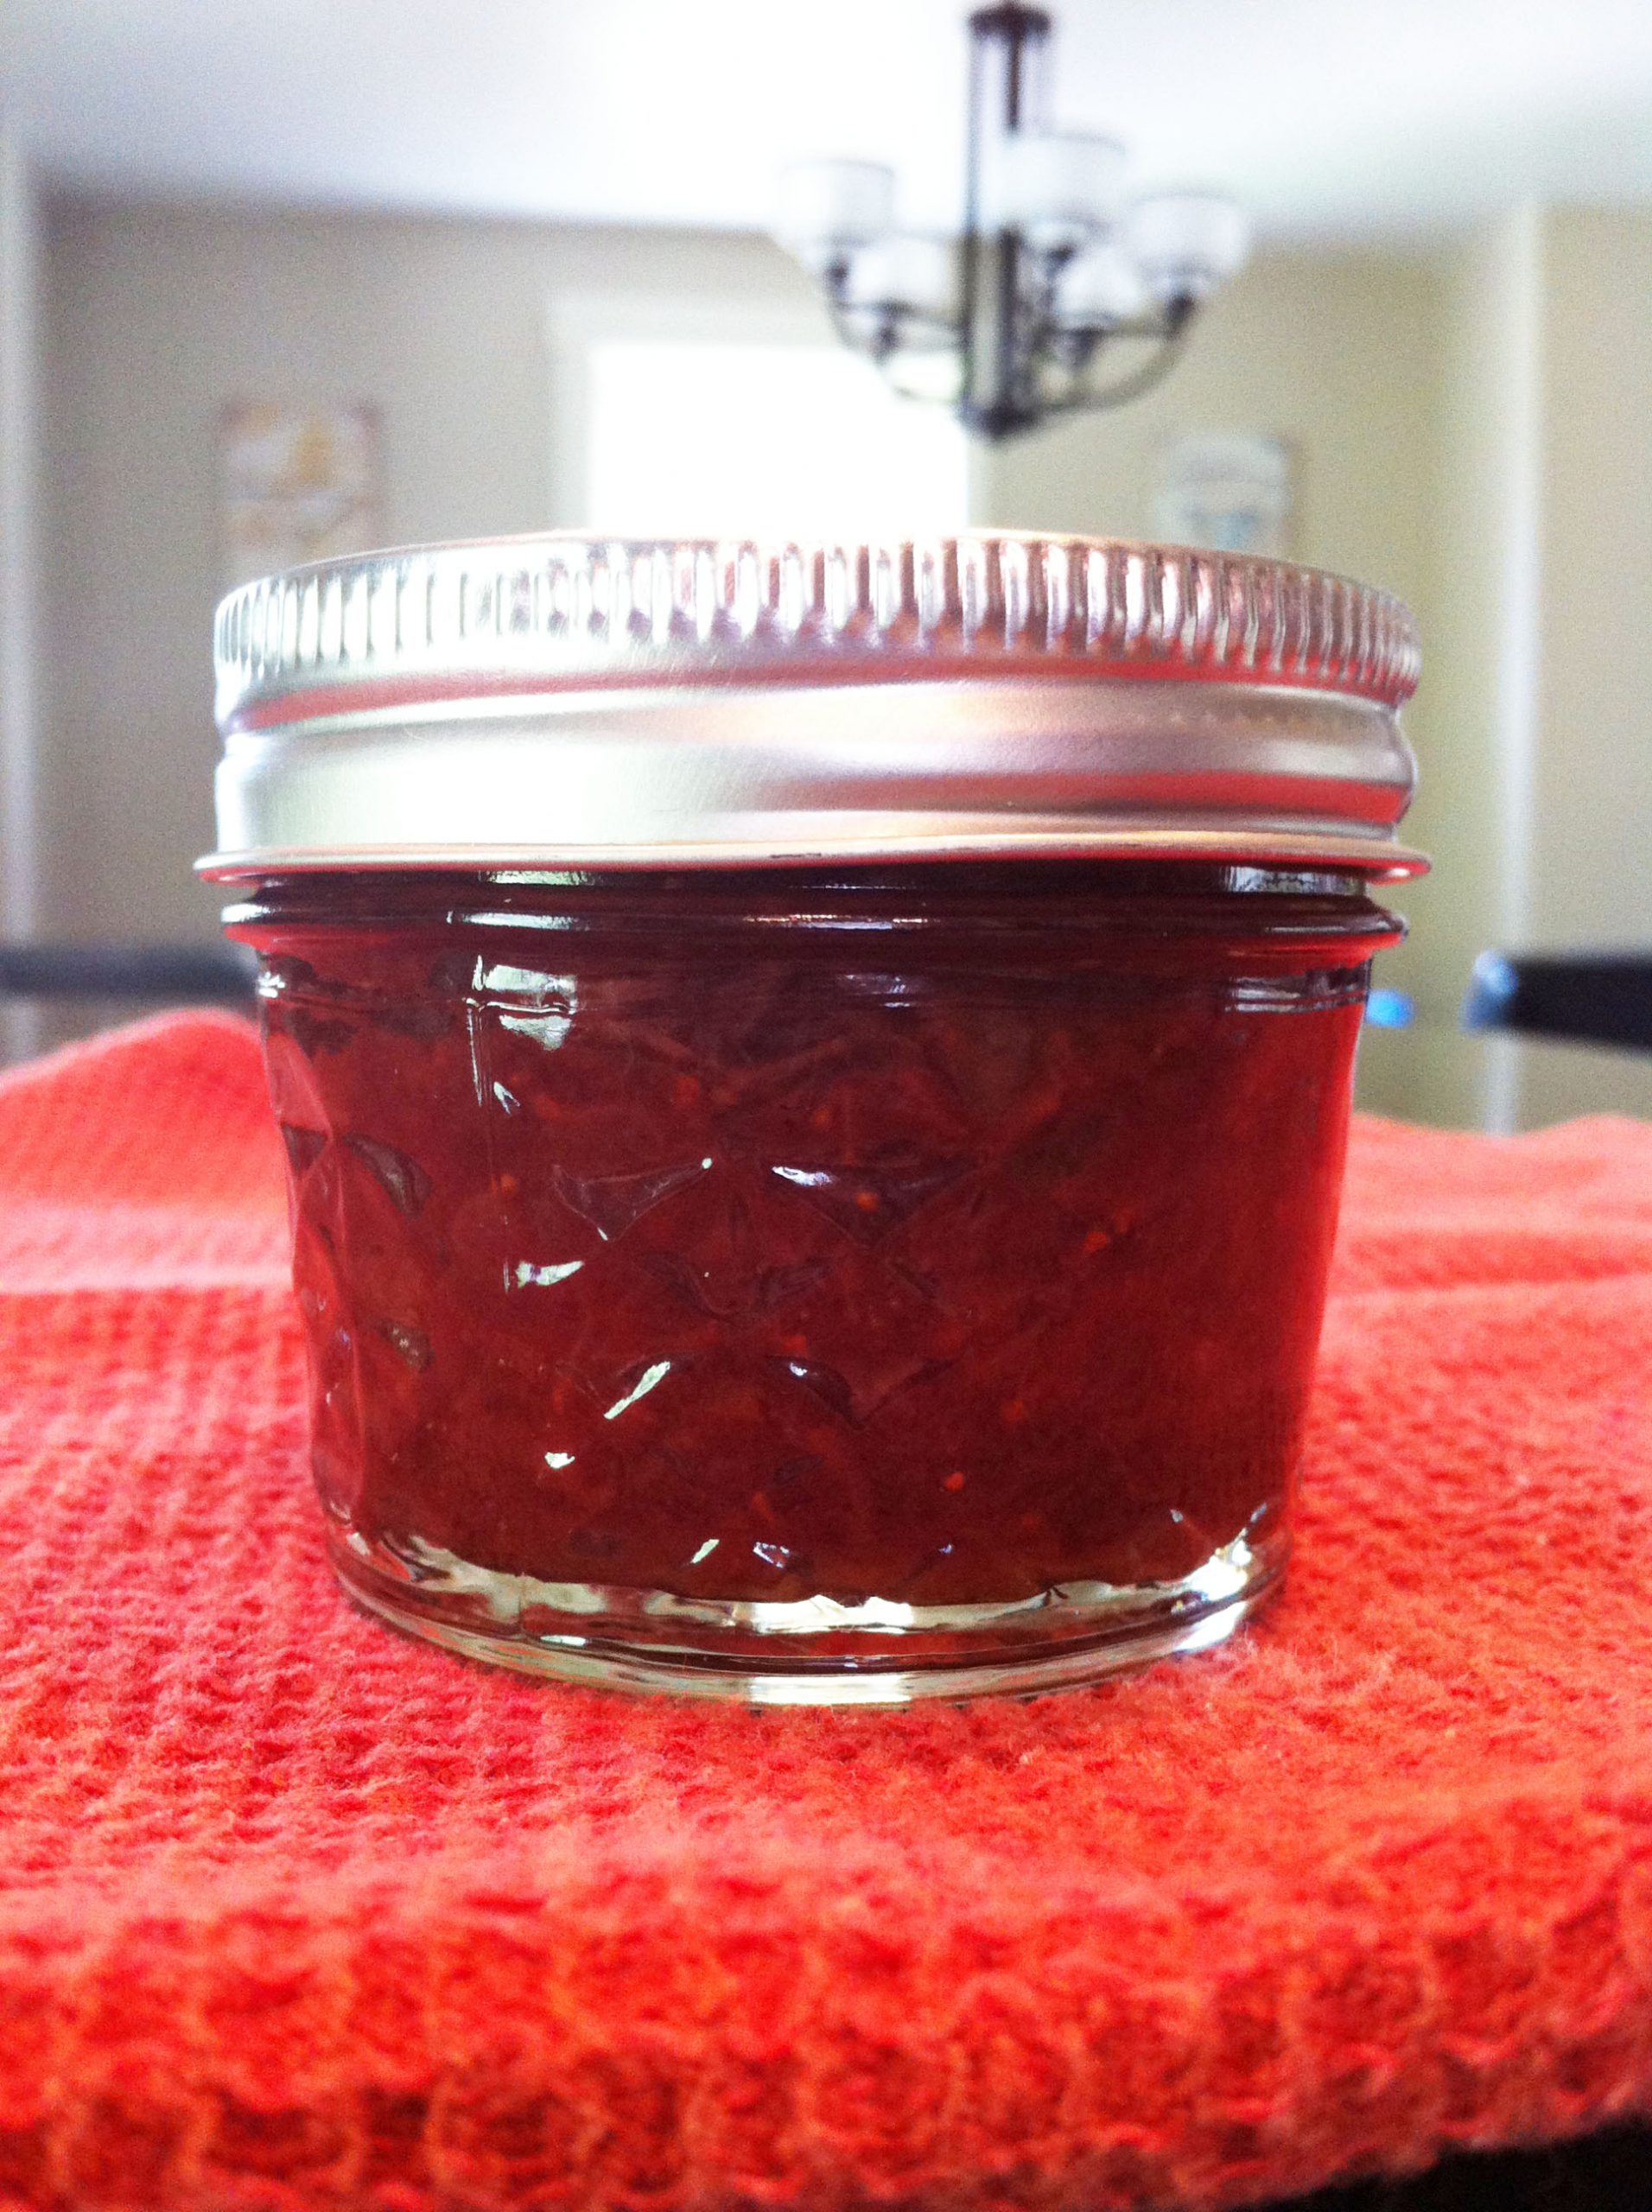
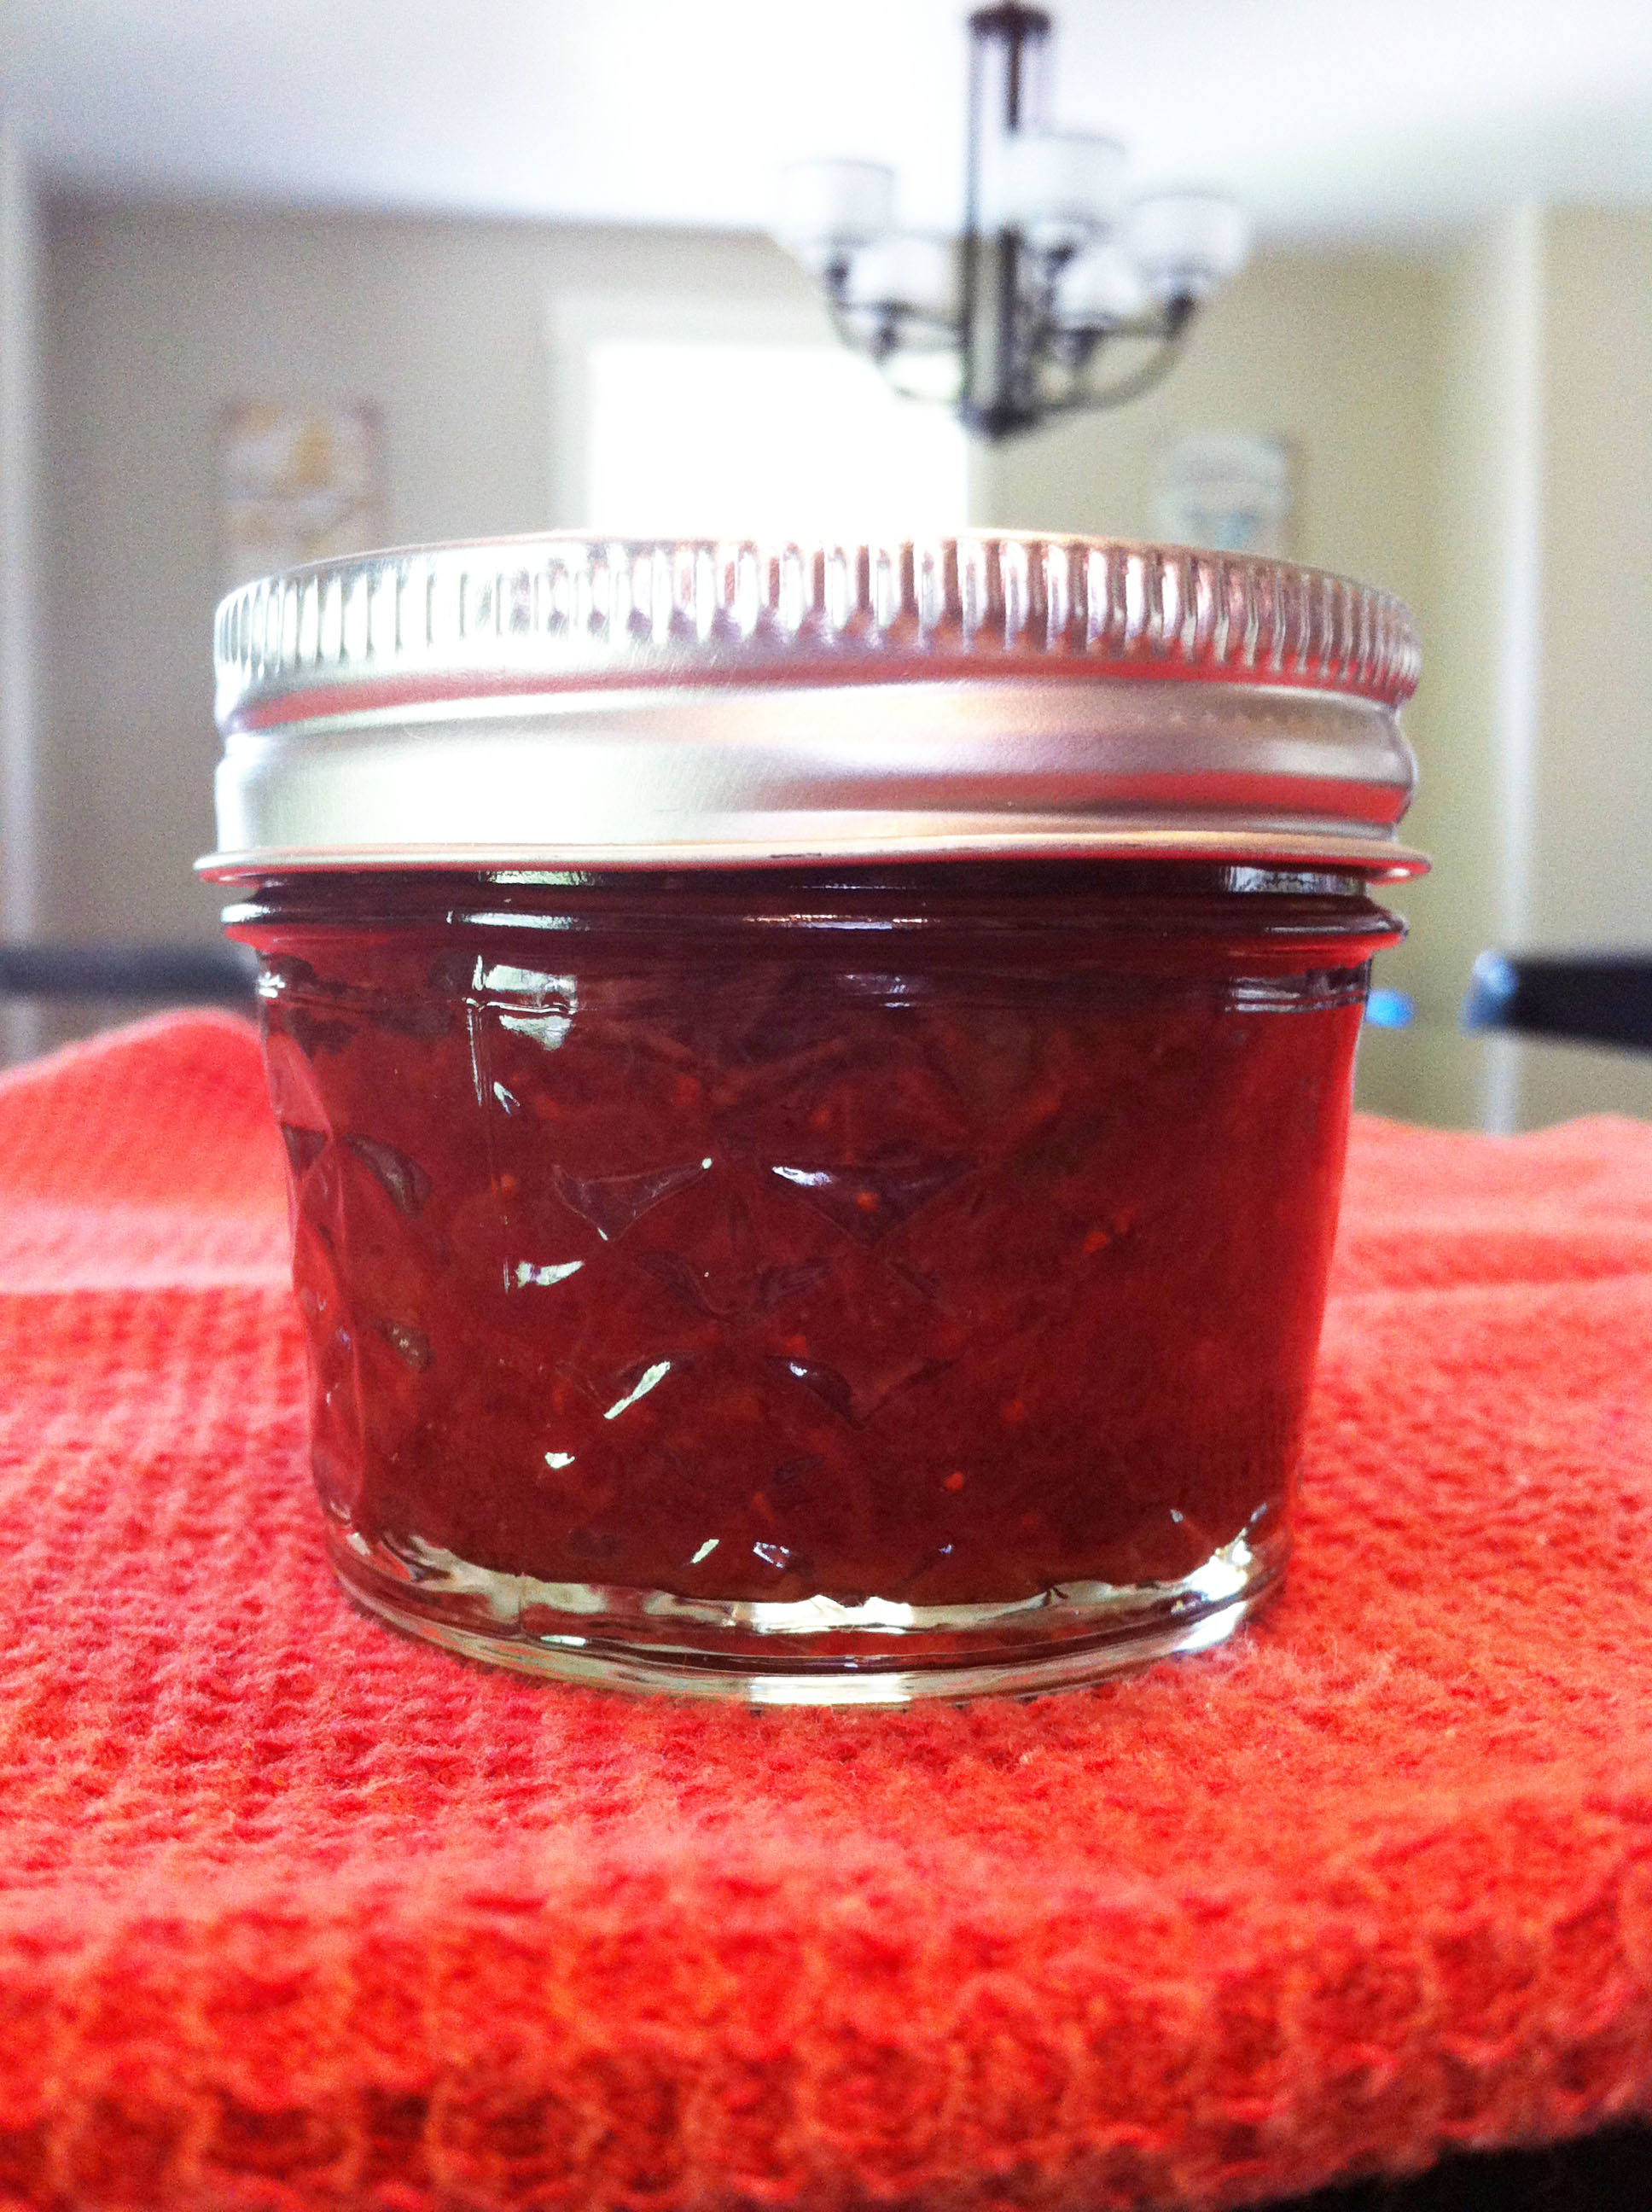
10. Enjoy, store, and share with friends!
Now you can store your canned foods or share them with friends. First, wipe the jars clean. Then you’ll want to store them in a cool, dark place, like a pantry or basement.
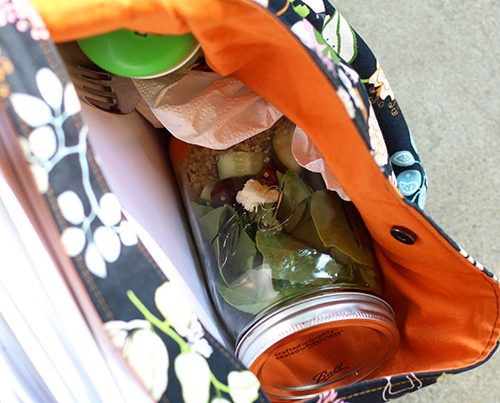
Before giving any away, whip up some of my DIY fabric jar covers. So cute!
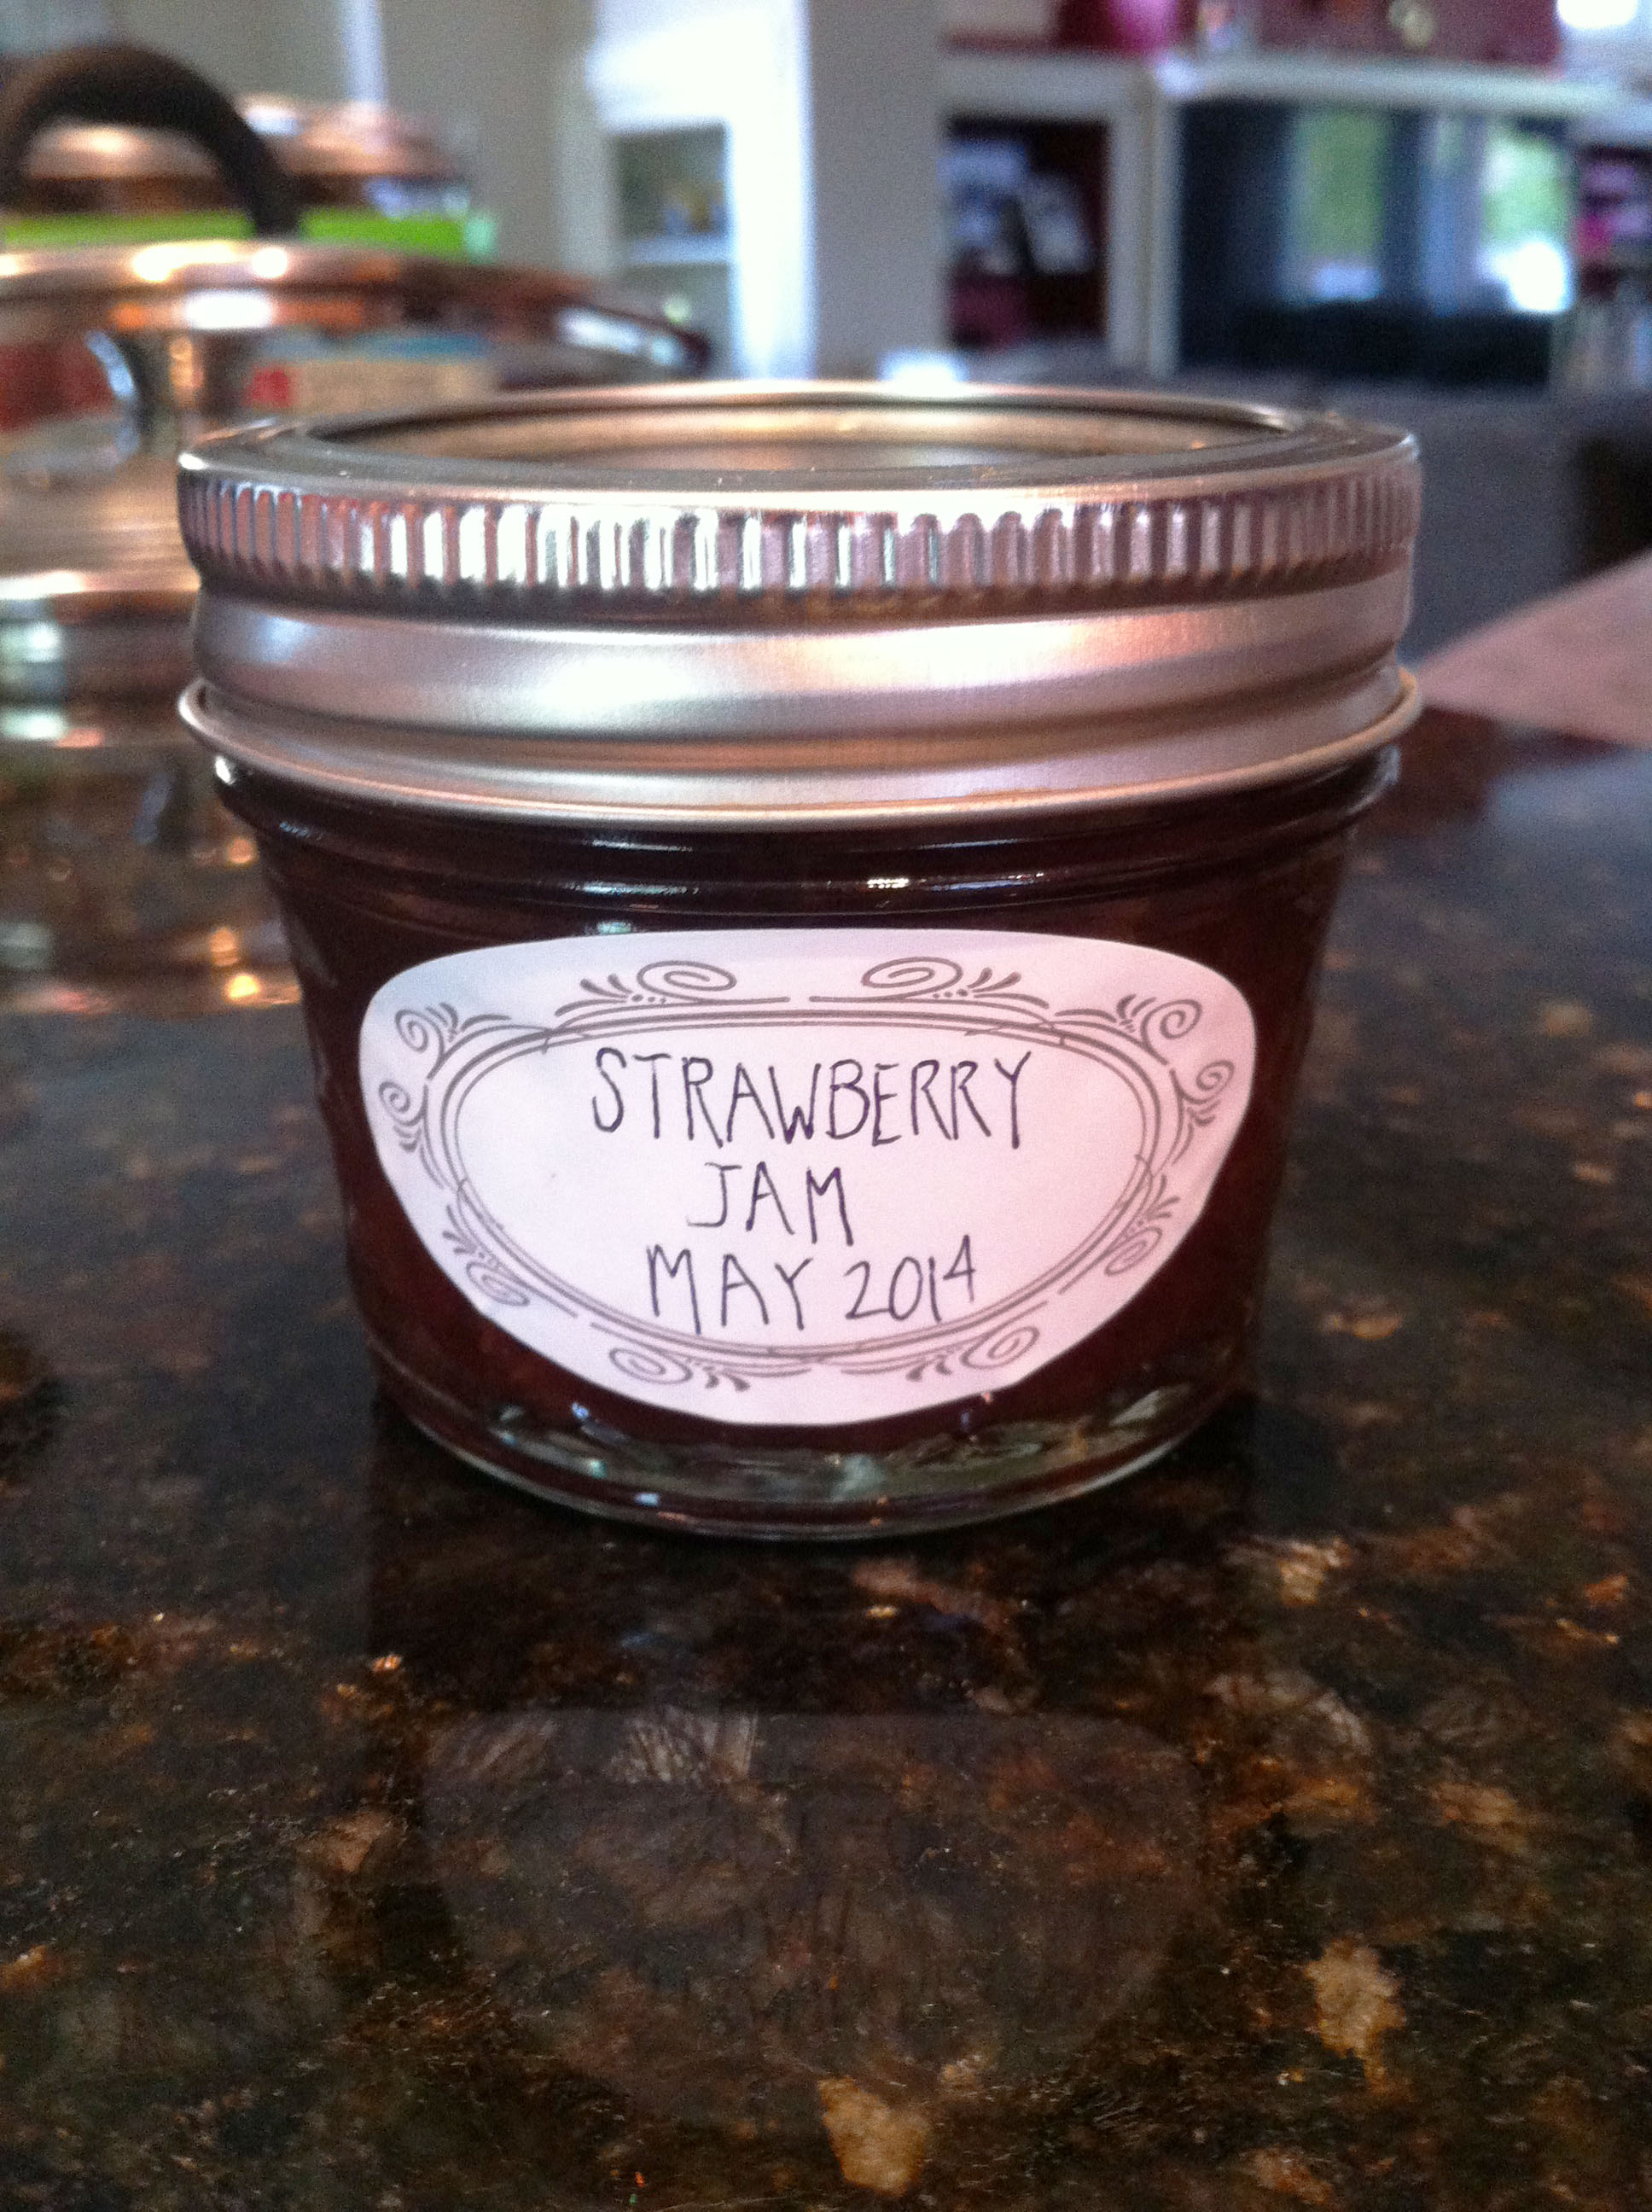
Your canned foods will last for at least a year! (Yes, this is my neatest handwriting. Scary, isn’t it?)
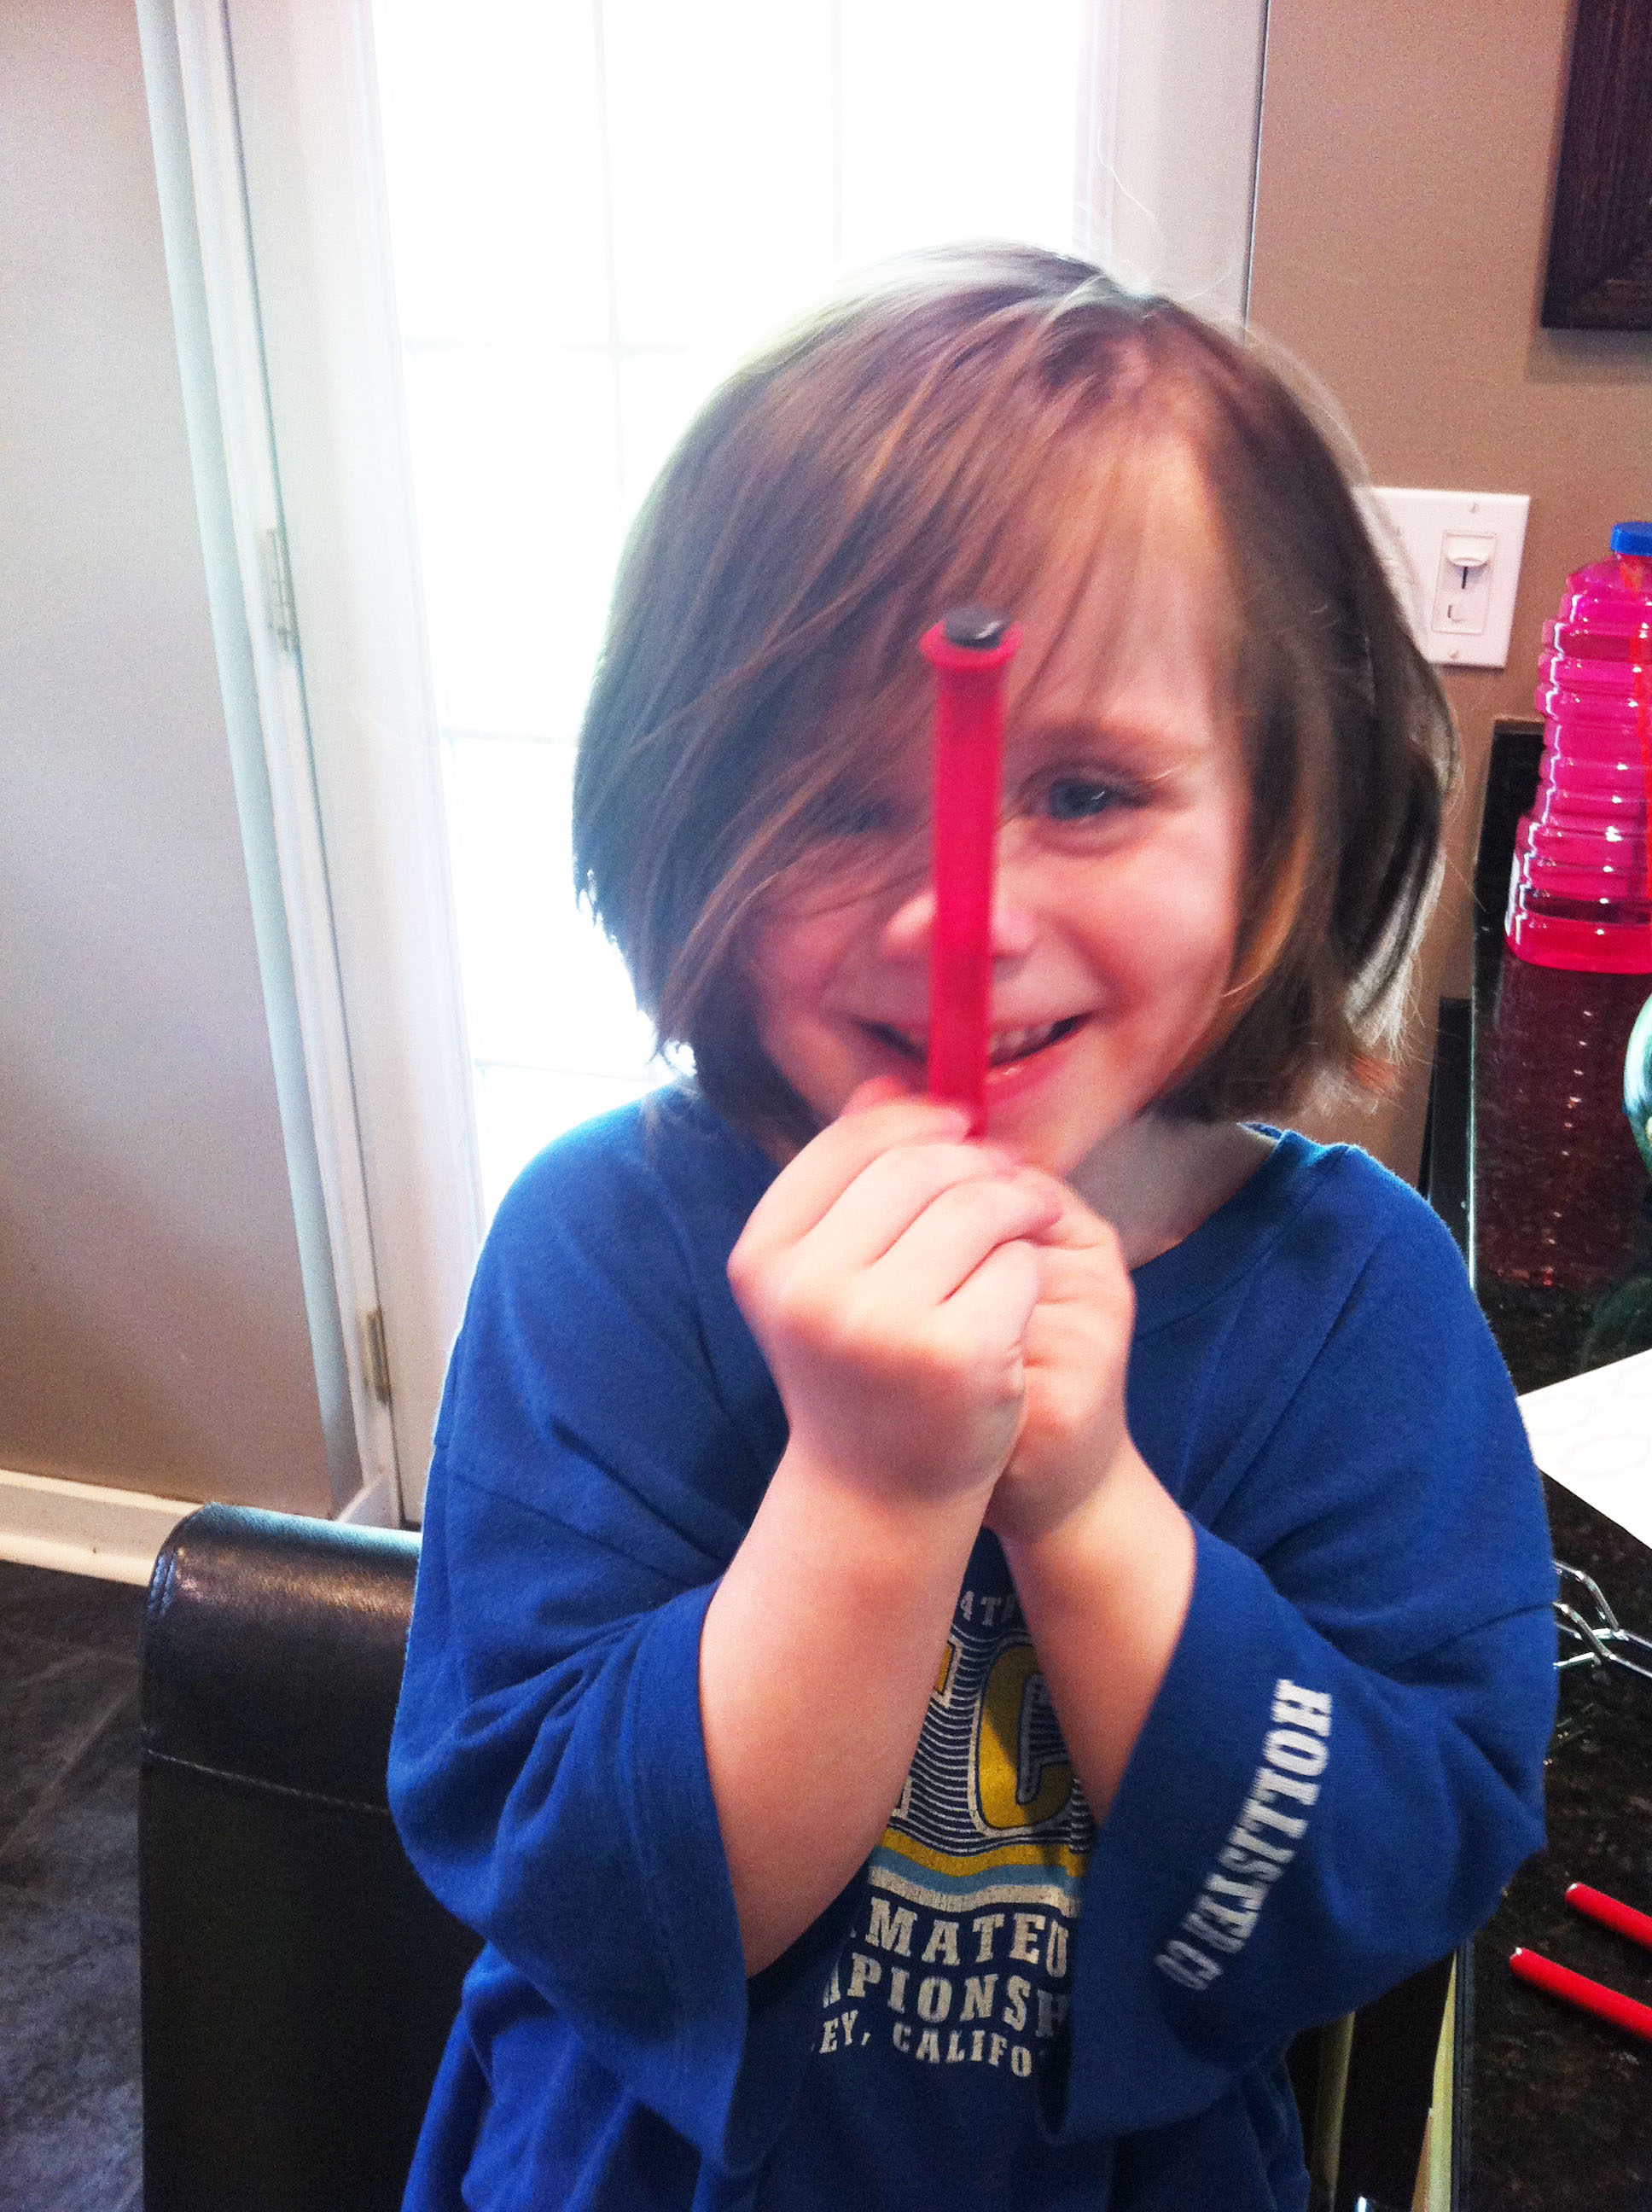
Did I mention that my 3 year old helped me with my very first canning attempt? It took me 31 years to try canning and my little girl had her first experience at age 3.
If you attempt canning with little ones, please be careful with the boiling water and hot materials. My 3 year old was able to help by spooning the strawberry jam into the funnel and putting the lid on each jar. She thought the magnetic wand was super cool.
I love spending time with my daughters in the kitchen.
Here are some of my other blog posts that will help your family eat healthier:
- How to grow a garden in pots on your back deck
- How to grocery shop once every two weeks
- Homemade freezer meal 101
- How to organize a freezer meal swap with friends
- Plus, don’t forget all of the awesome recipes in my cookbooks!
Question: Have you ever canned anything before?
———————
Stay up-to-date with everything that I’m cooking by following me on Pinterest @kellymcnelis!
Is the screwband the piece inside the lid?
Eileen- the screw bands are the hollow circles that you use to “screw” the lids onto your jars. The lids are the flat circles that sit on top of the jars. Does that make sense? The photo of me picking up a lid with a magnetic wand may clear up any confusion.
I know I’m late… by exactly 1 year.. lol. But if your blog is still active….. Can you just answer one simple question….
After your done do you leave the screw band on?
I do, but you don’t have to.
Great Thank you!
Some people take the bands off to have a visual to see if the seal fails, but you don’t have to take them off. They say that if the bands are on, they could corrode and you wouldn’t see the failed seal but if you are making small batches, you will probably go through the jars quickly.
The screw band is actually the outside band of the lid
Kelly,
What a fantastic article for beginner canners. It’s so encouraging to see that there are people that actually want to keep the art of canning alive and well. I really enjoyed the picture of your adorable daughter as well. Nice to meet you by the way. I found you on Pinterest, and I will be following your boards. Brandi
Thanks, Brandi! I just checked out your website and followed you on FB/Twitter/Pinterest/Instagram. Looking forward to getting to “know” you better!
This makes it seem so easy! I just canned Pickles for the first time last week because a co-worker had a ton of extra cucumbers. They aren’t ready to eat yet so I don’t know how I did, but ever since I really wanted to can more! Thanks!
Thanks, Ashleigh! It IS easy. 🙂 When I can 6 jars of jam, it takes less than 40 minutes overall, and most of that time is spent watching boiling water. You can do it!
I’ve heard that you should use a rack in the bottom of the canning pot so jars are completely surrounded by water. Did you do that and I missed it or did you bypass that step? I’m researching to begin my first attempt at canning!
I’m not an expert, but I don’t use a rack and I’ve never had an issue with my jars breaking or not sealing. Good luck with your first attempt! It’s really not that hard. I’ve canned tons of jam since first writing this blog post and I’m gearing up to can soup and my favorite tomato-based enchilada sauce. YUM.
This is a great article for beginners! However, what is the process to re-seal if a lid does not seal properly?
Repeat steps 6-10.
good simple instructions. I’ve been canning for a long time (and agree with your enthusiasm!) and here’s another tip. If it’s not the middle of a very hot summer and you can stand to turn on your oven, heat your jars in a 200 degree oven instead of putting them in hot water. It keeps them hot — and you want them to be hot so that you don’t break your jars by filling cold jars with hot product – but means you aren’t making your kitchen steamy, and let’s you can without as many big pots. Also, if you… Read more »
Awesome! Thank you so much for sharing!
Oven canning is no longer accepted as a safe method for canning. Please check current guidelines at the NCHFP website. (National Canning and Home Food Preservation) nchfp.uga.edu