
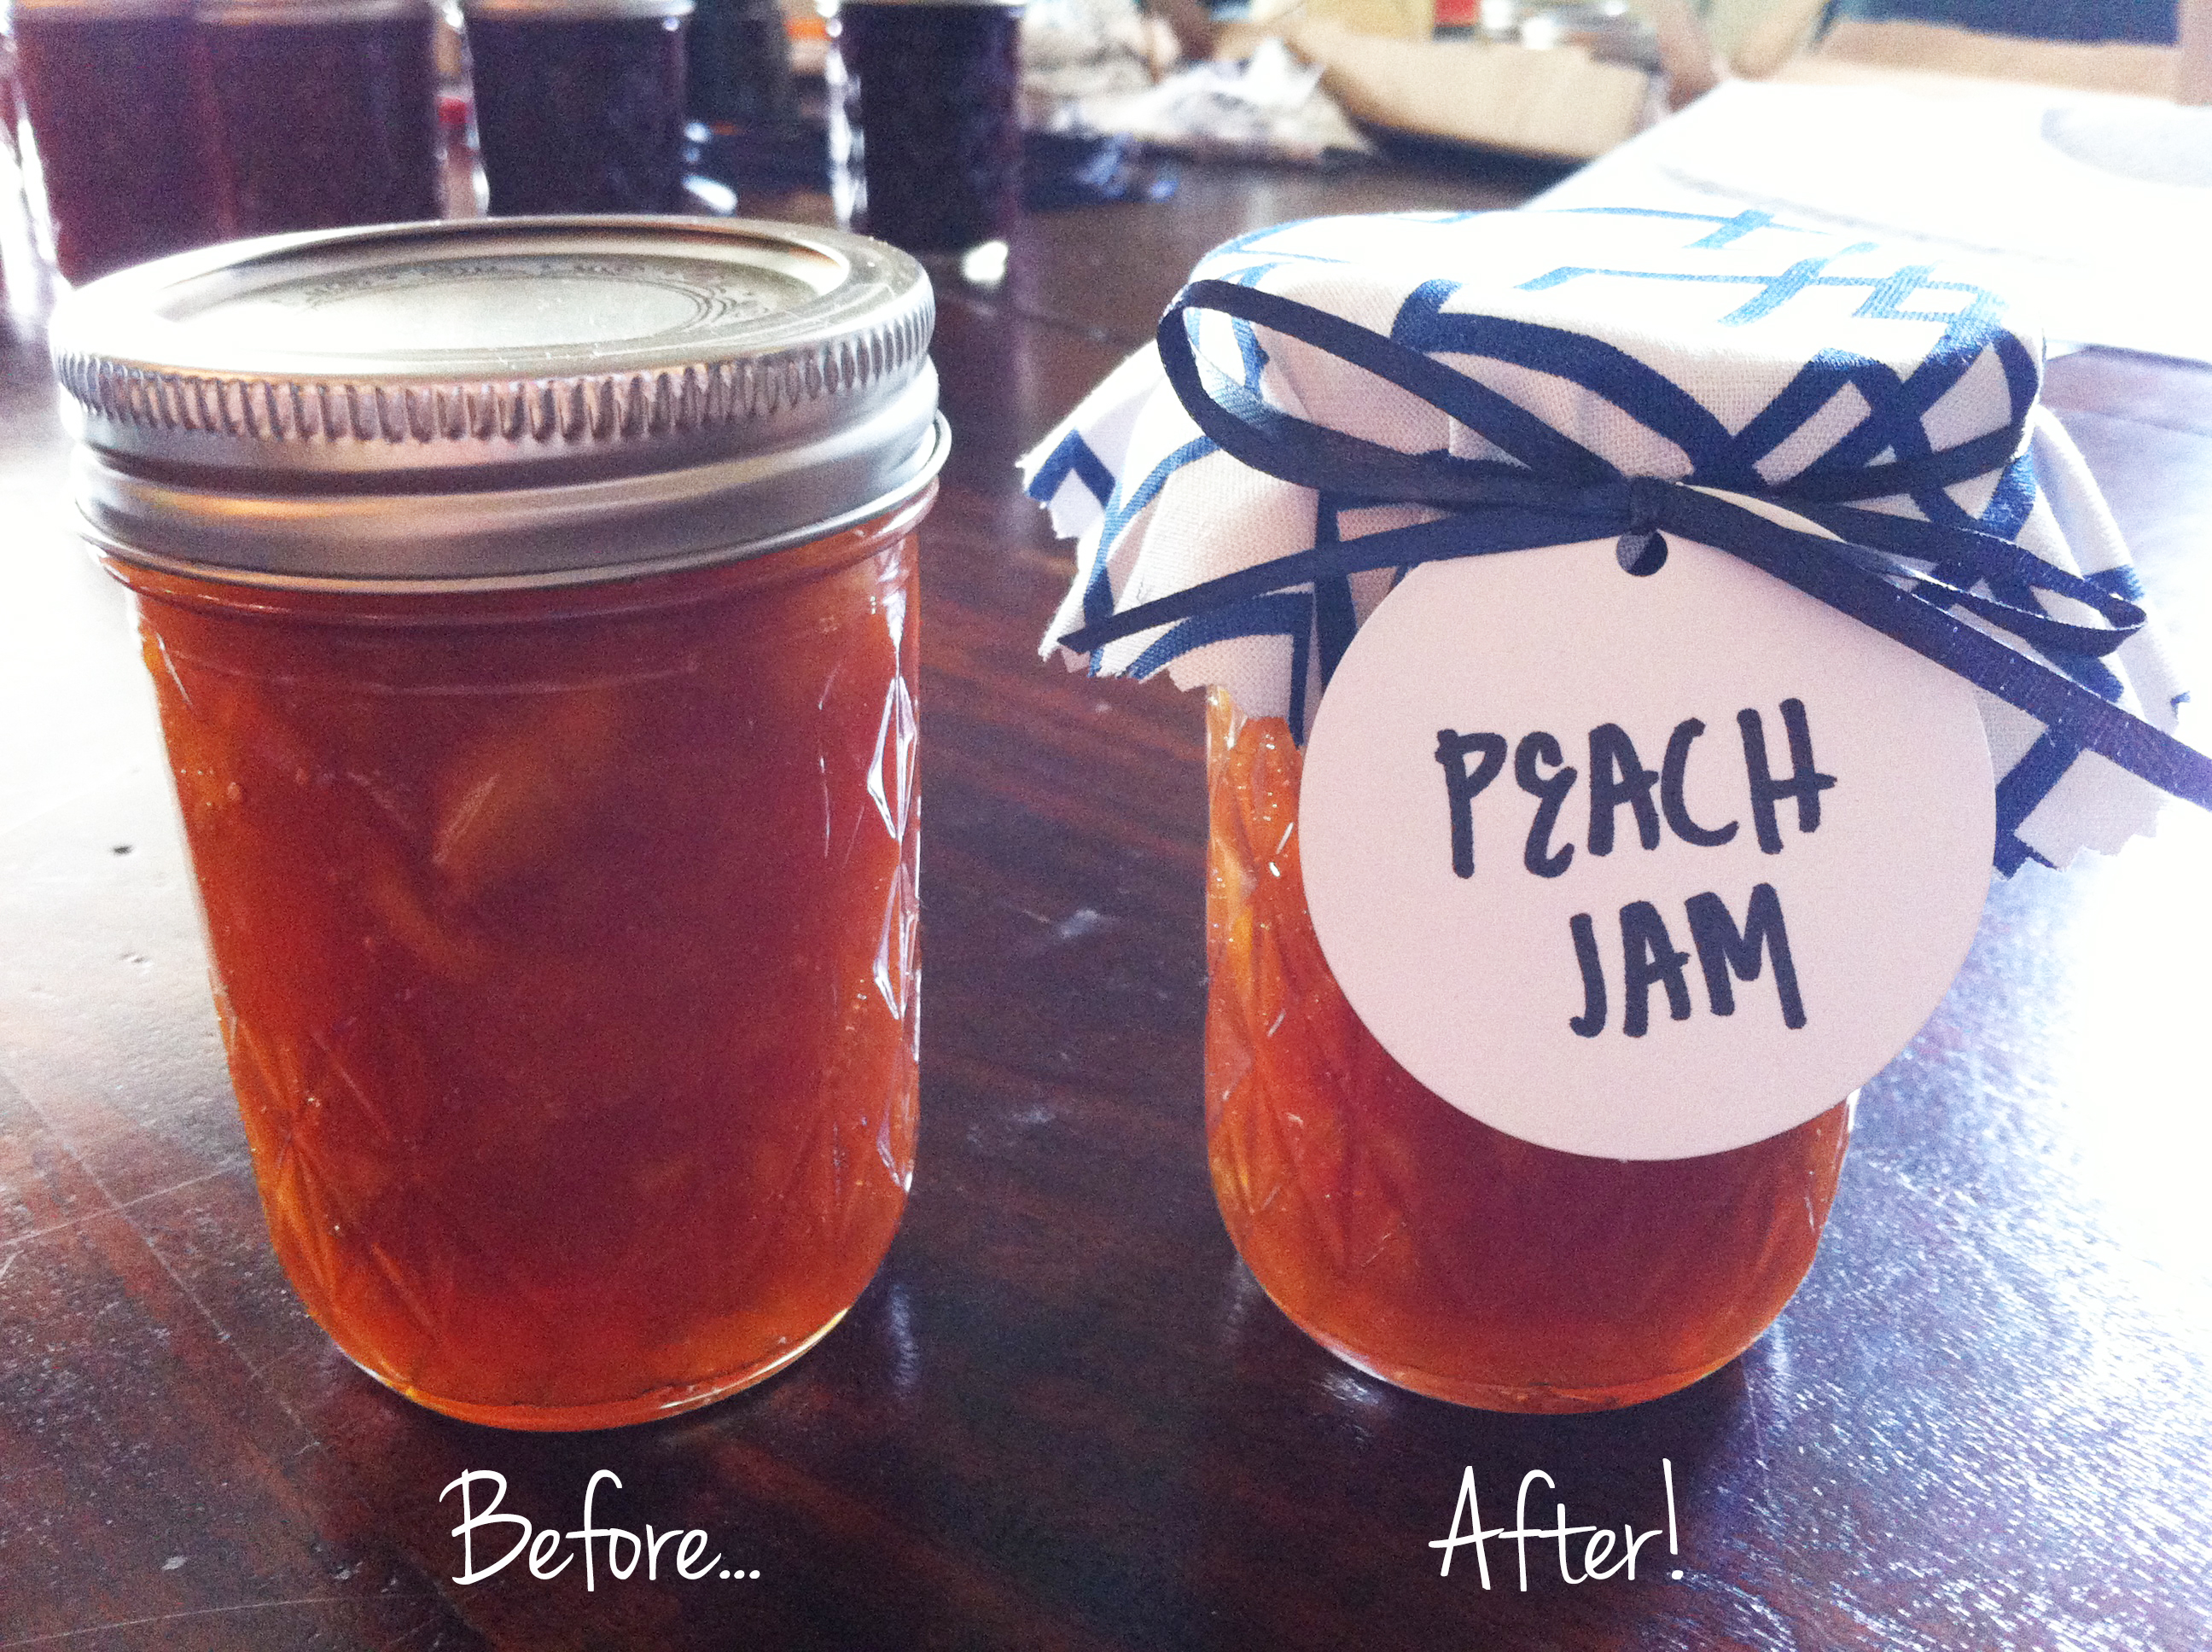
Create your own fabric jar covers for less than $5…in less than an hour! This may be my favorite DIY yet!
(I’ve only done two other DIY projects this year, so being my “favorite” isn’t that big of a feat. Although my DIY Framed Chalkboard Dinner Menu and DIY Framed Speech Bubbles are pretty cute.)
I’ve been canning up a storm this summer. (You can find my canning tips for beginners in a previous blog post.)
Since canned goods stay fresh for at least a year, I have grand plans of giving every friend and family member a homemade jar for Christmas this year. I’ll probably be giving them out for birthdays, housewarming parties, and new babies too.
I wanted to come up with a cute, easy way to cover and label my canning jars.
My super-crafty Mom told me that she made fabric covers for all of my Grandma’s homemade canned goods in the 80’s and 90’s. Genius!
I may not have inherited my Mom’s crafts skills and attention to detail, but this is a DIY even I can pull off. (Let’s be real. Most days I’d rather be running or cooking than crafting.)
I went to my local craft store and spent a whopping $4.00 on fabric, ribbon, and tags. Cute AND cheap?! Wahoo!
Here’s everything you need to make fabric jar covers for one batch of homemade peach slow cooker jam. (These covers would also look great on the Slow Cooker Strawberry Jam and Slow Cooker Applesauce in my newest cookbook.)

DIY Fabric Jar Covers
Materials
- Glass jars that are full of love and yummy, homemade canned goods
- One fabric “fat quarter” – You’ll find these in the quilting section of the craft store. Each one measures about 18″x22″ and there are 4 fat quarters per yard of fabric. (You can also use scrap fabric or fabric by-the-yard.) One fat quarter is enough fabric to cover 9, 8oz jelly jars – or 12, 4oz jelly jars or 4 quart-sized jars.
- One 10-yard spool of elastic ribbon that is 1/8″ wide or thinner – This is enough ribbon for 16, 8oz or 4oz jelly jars or 15 quart-sized jars.
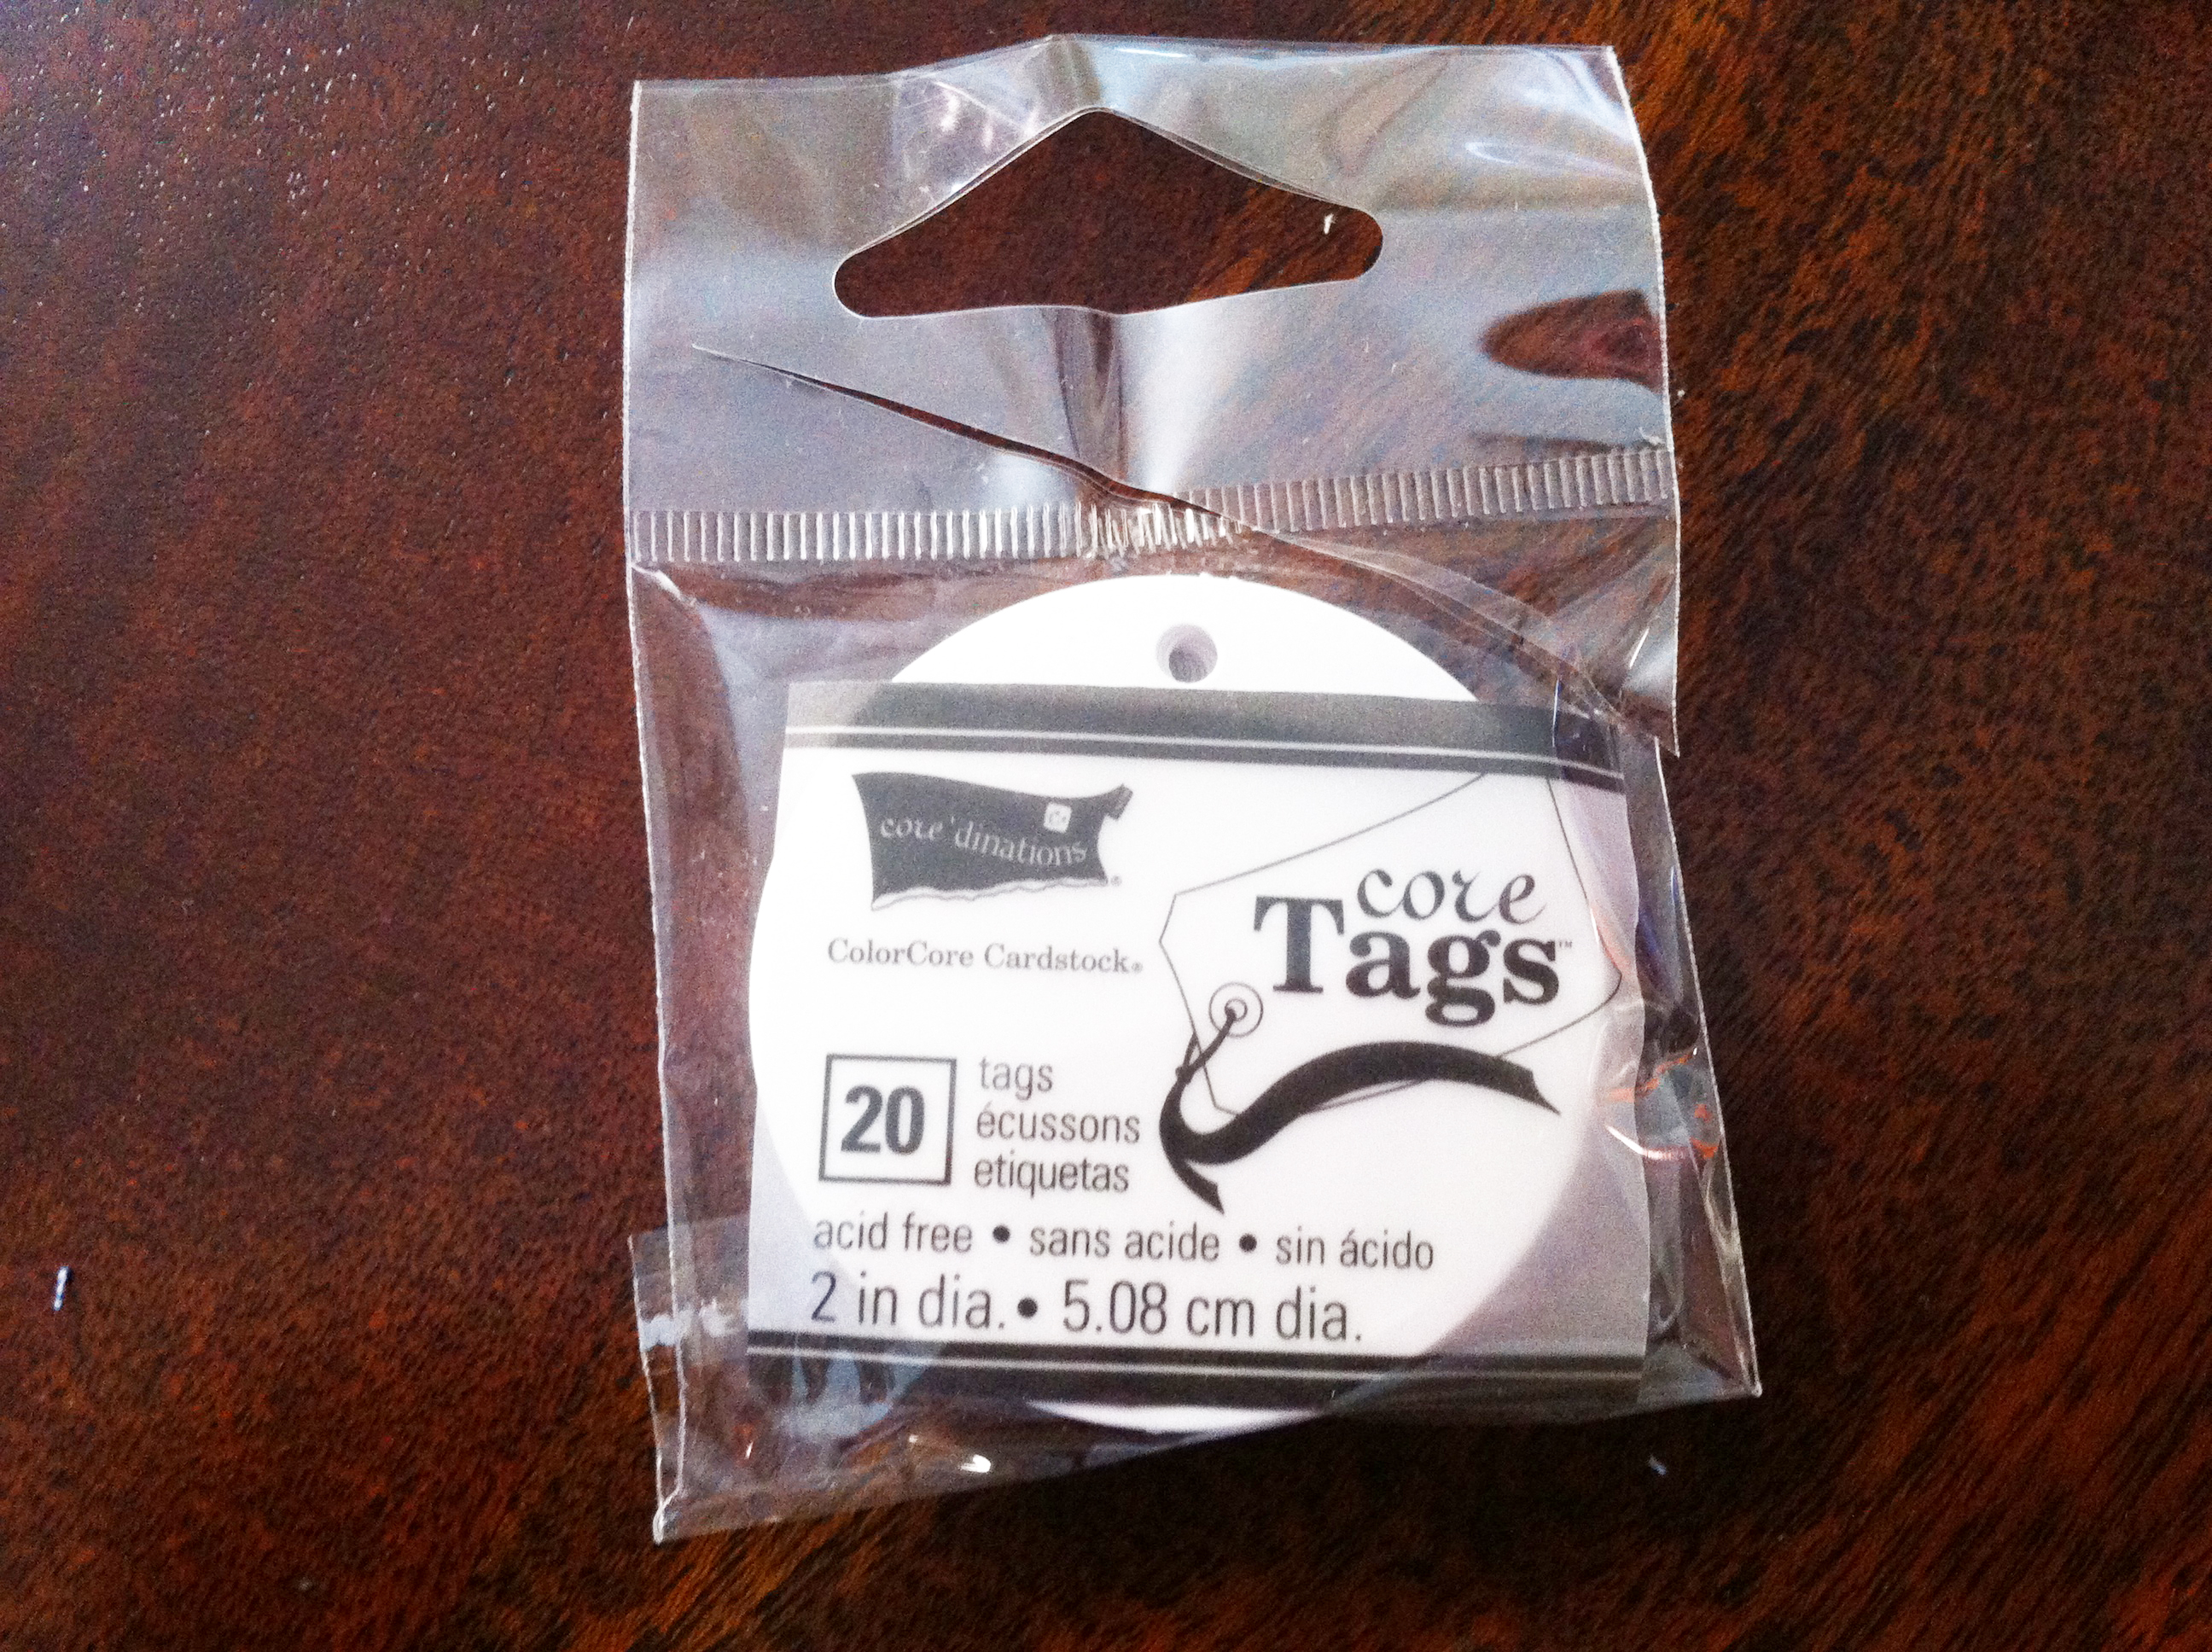
- Tags to label your jars (I used simple white circles that were 2″ in diameter.)
- Fabric pinking shears
- A pencil (to trace circles on your fabric)
- A pen or marker (to write on your tags)
- Something round that you can trace onto your fabric that is 2″ wider than the lids of your jars (like a coffee can or tupperware lid)
- One hair tie or rubber band that fits securely around the top of your jars
Directions
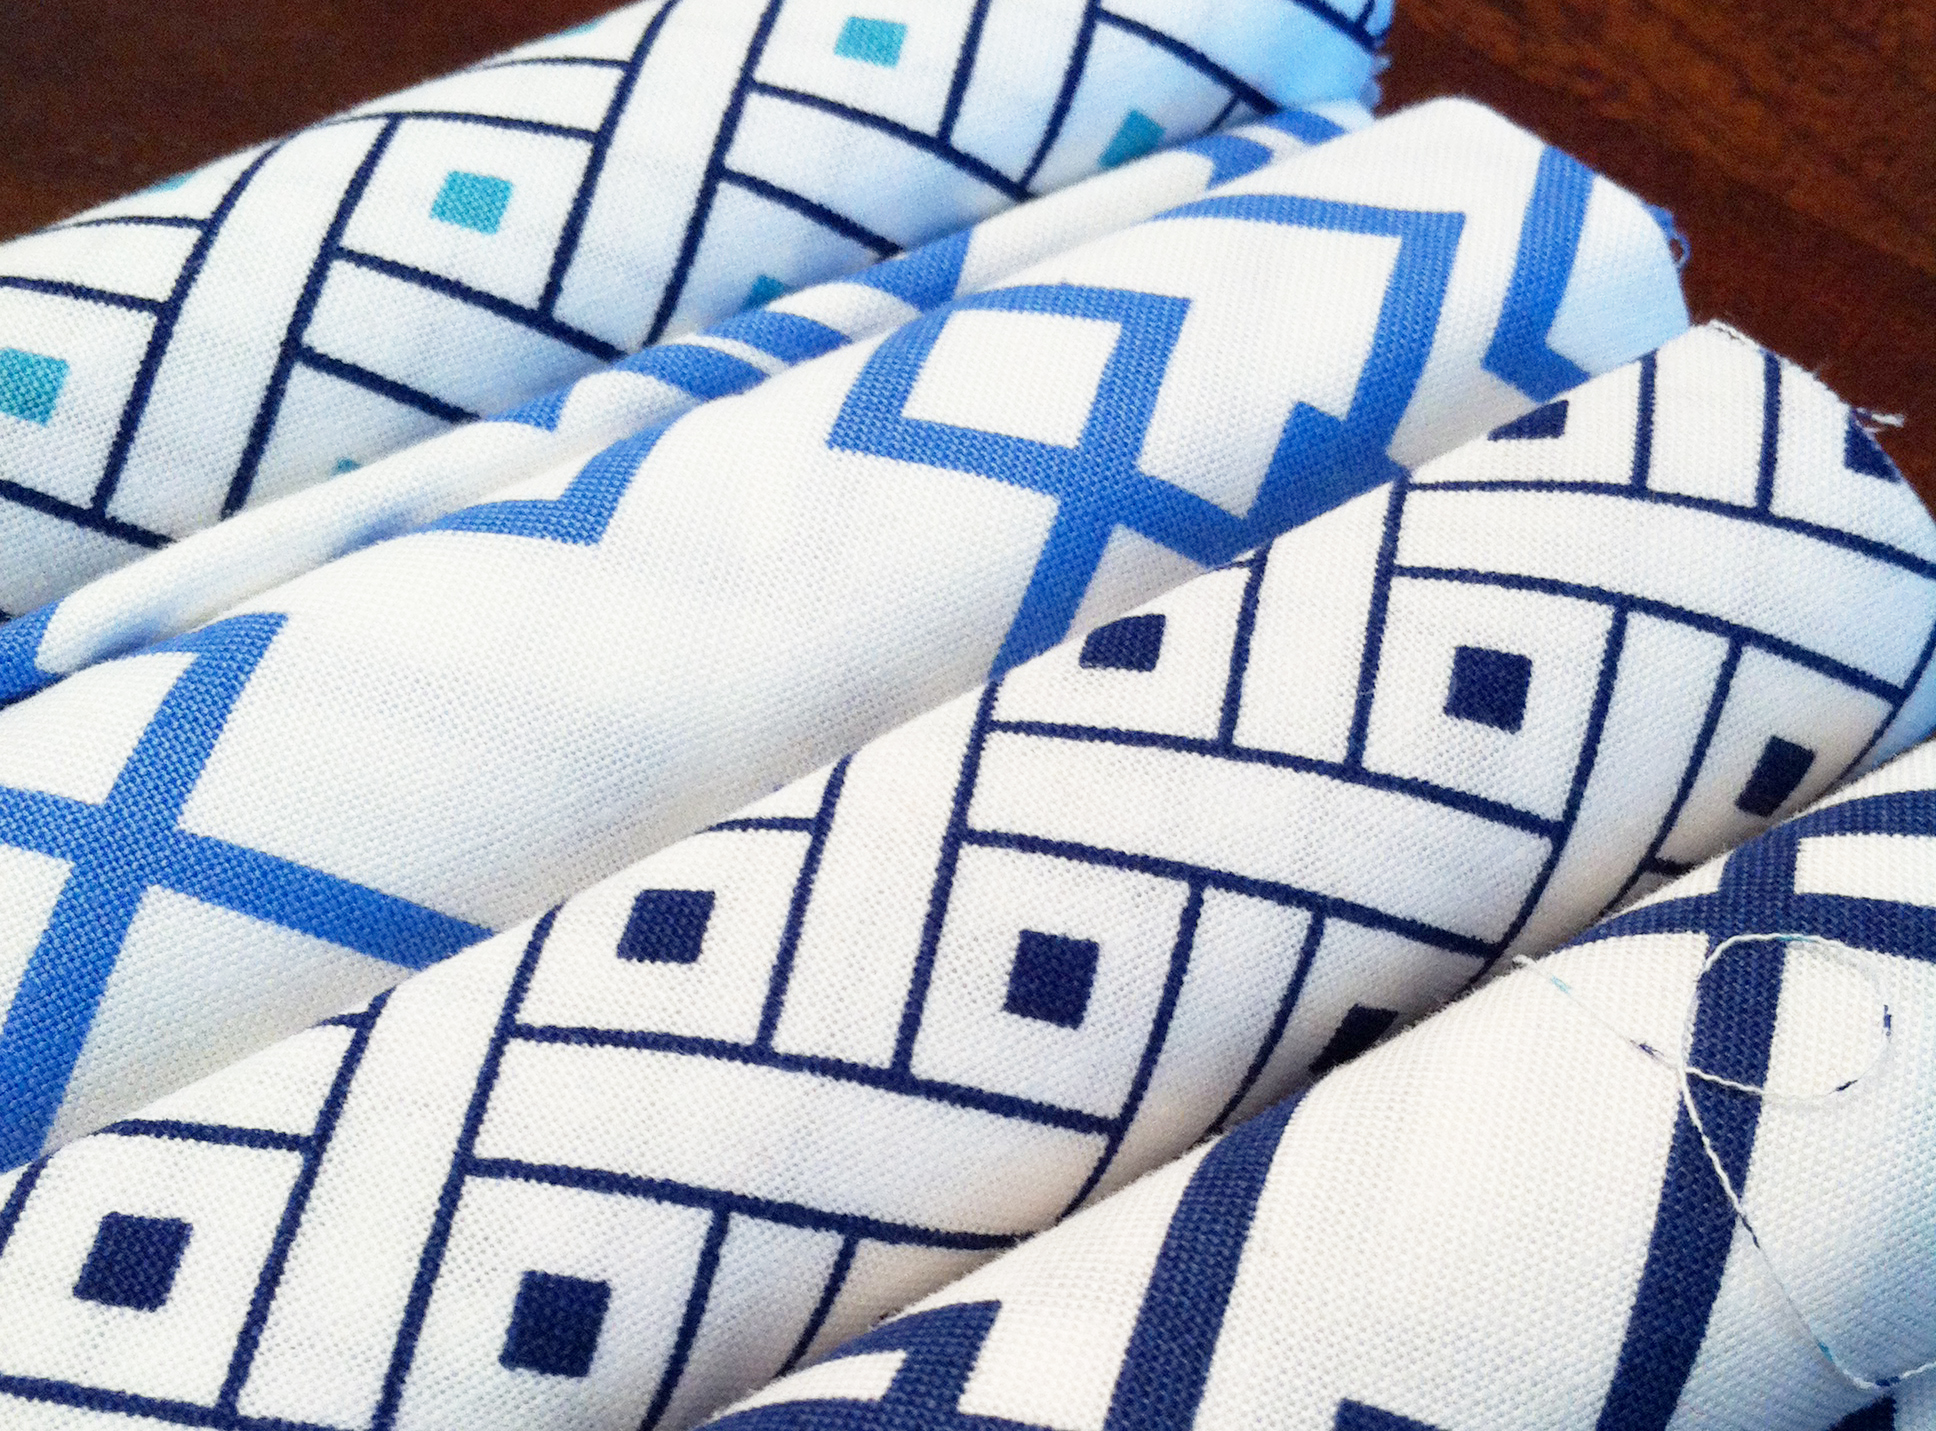
1. Iron your fabric to get rid of any lines and creases.
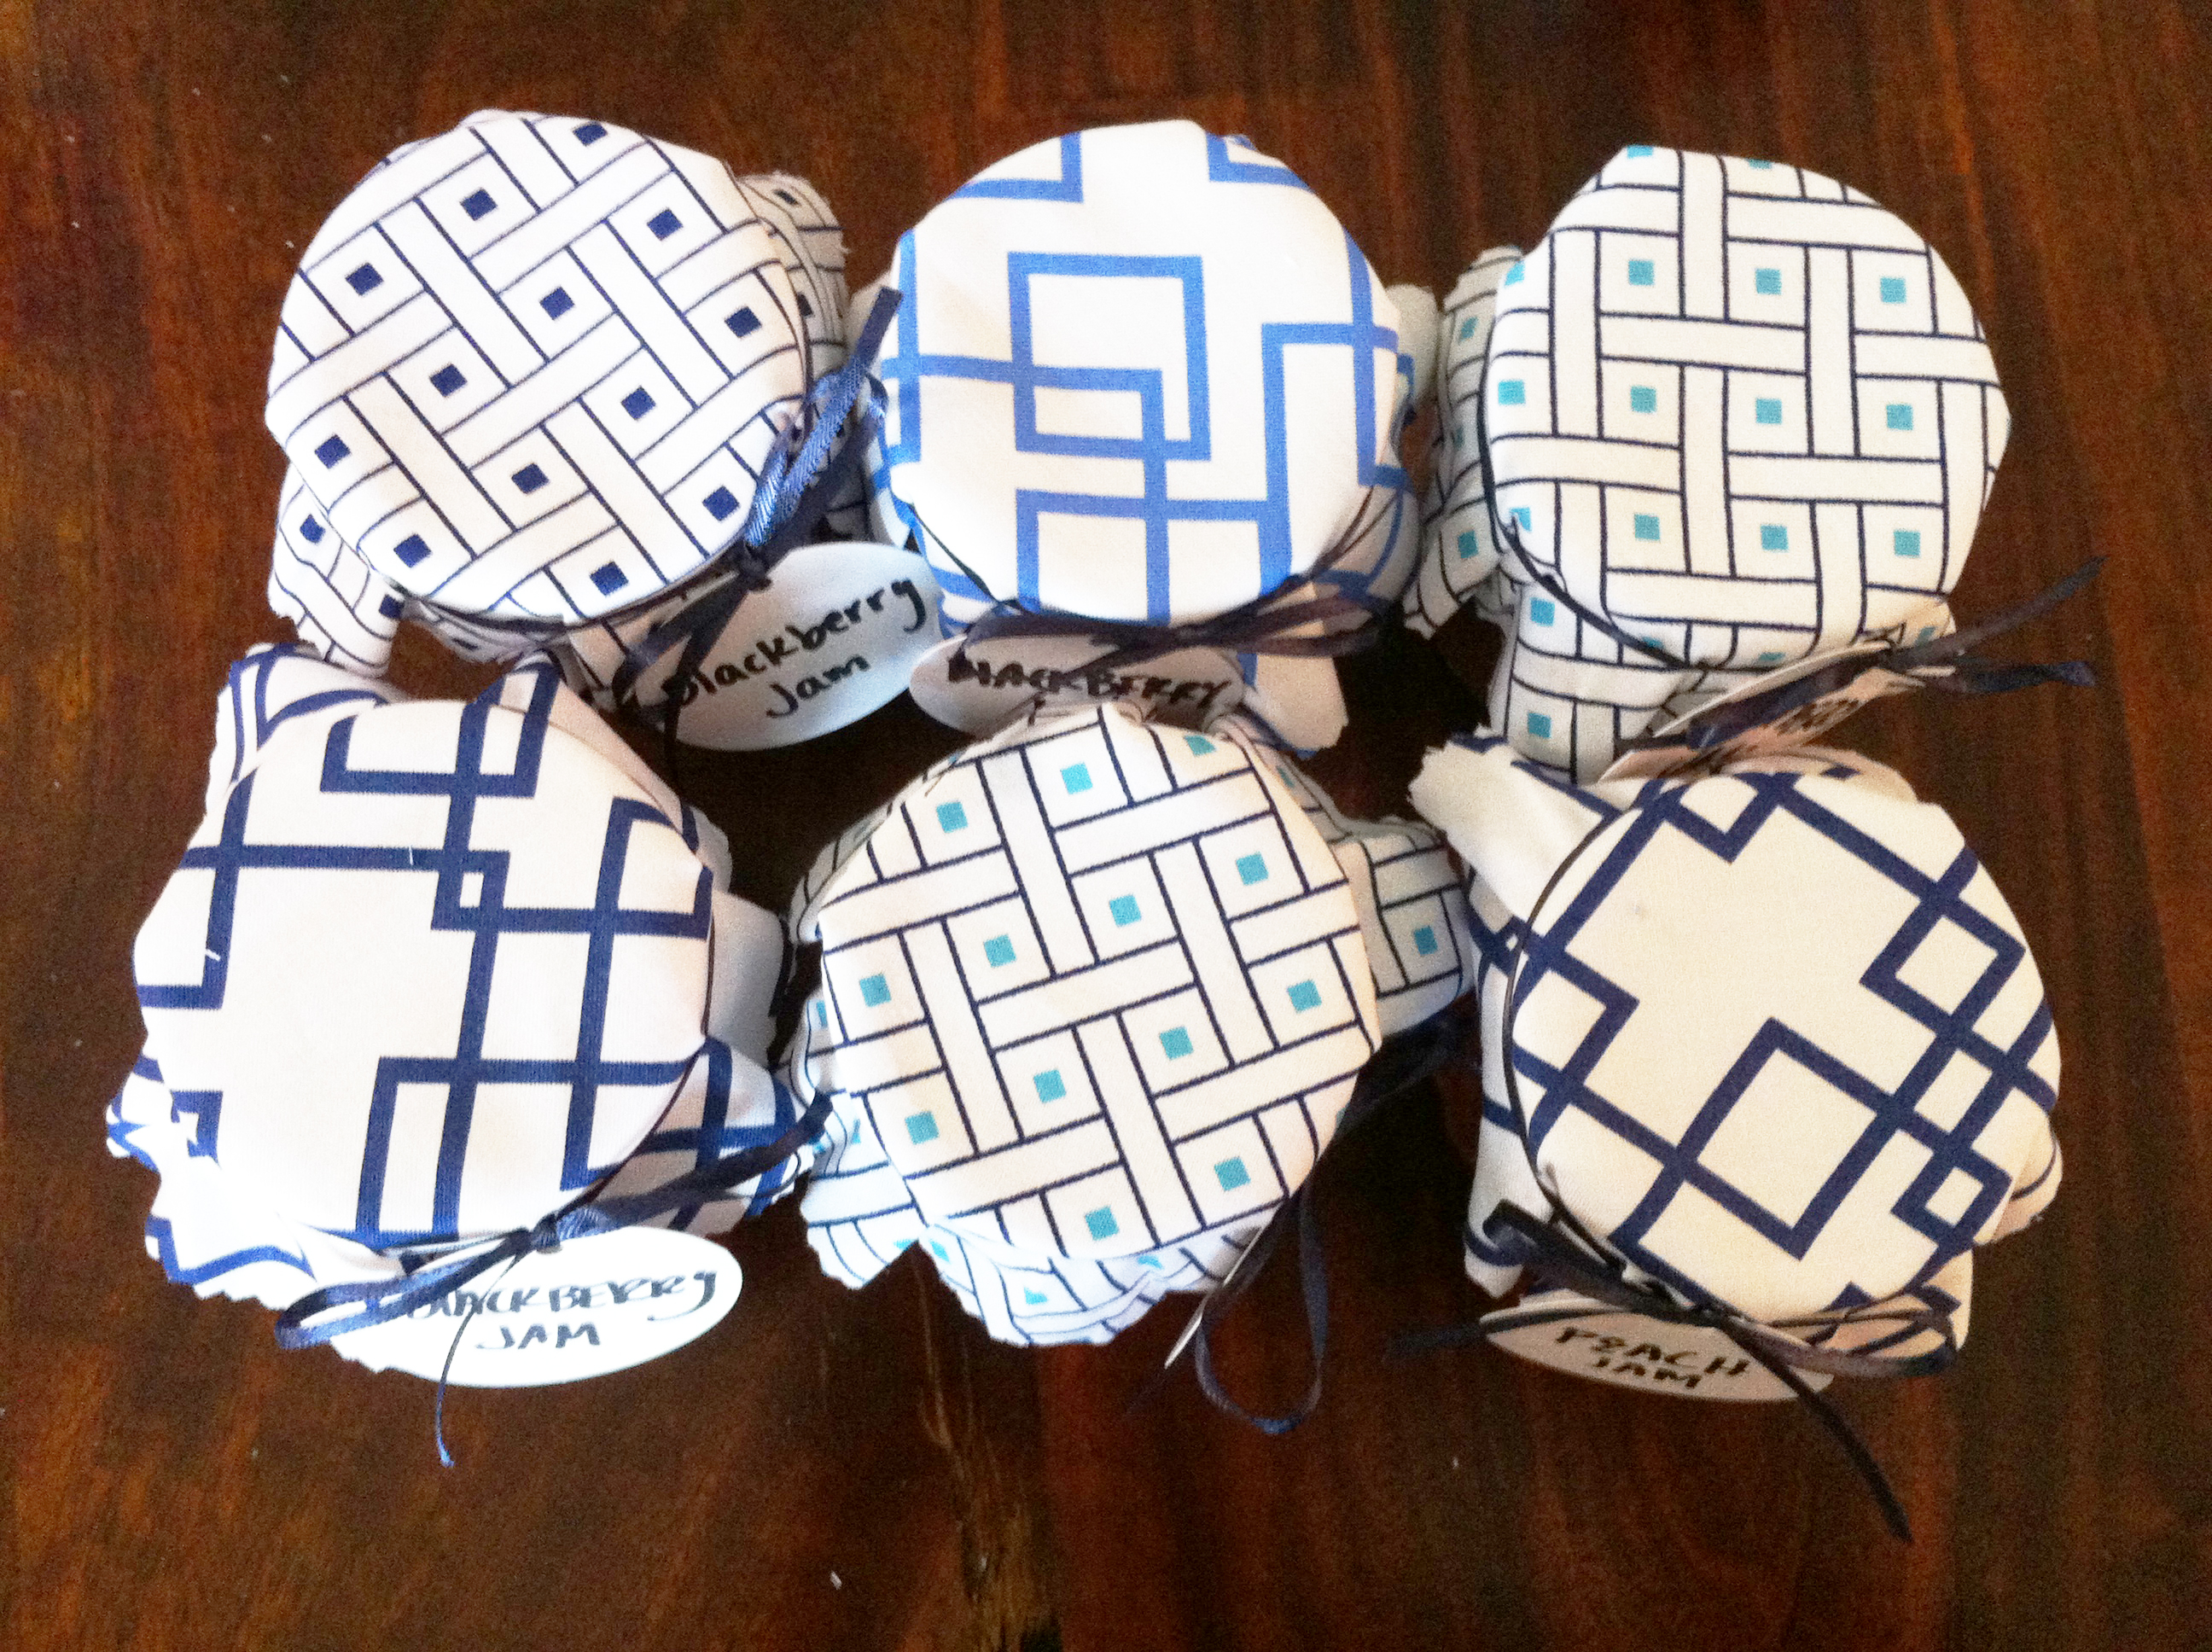
You’ll need to iron your fat quarter because they come rolled up like this. I bought four because I have a lot of jars to cover.
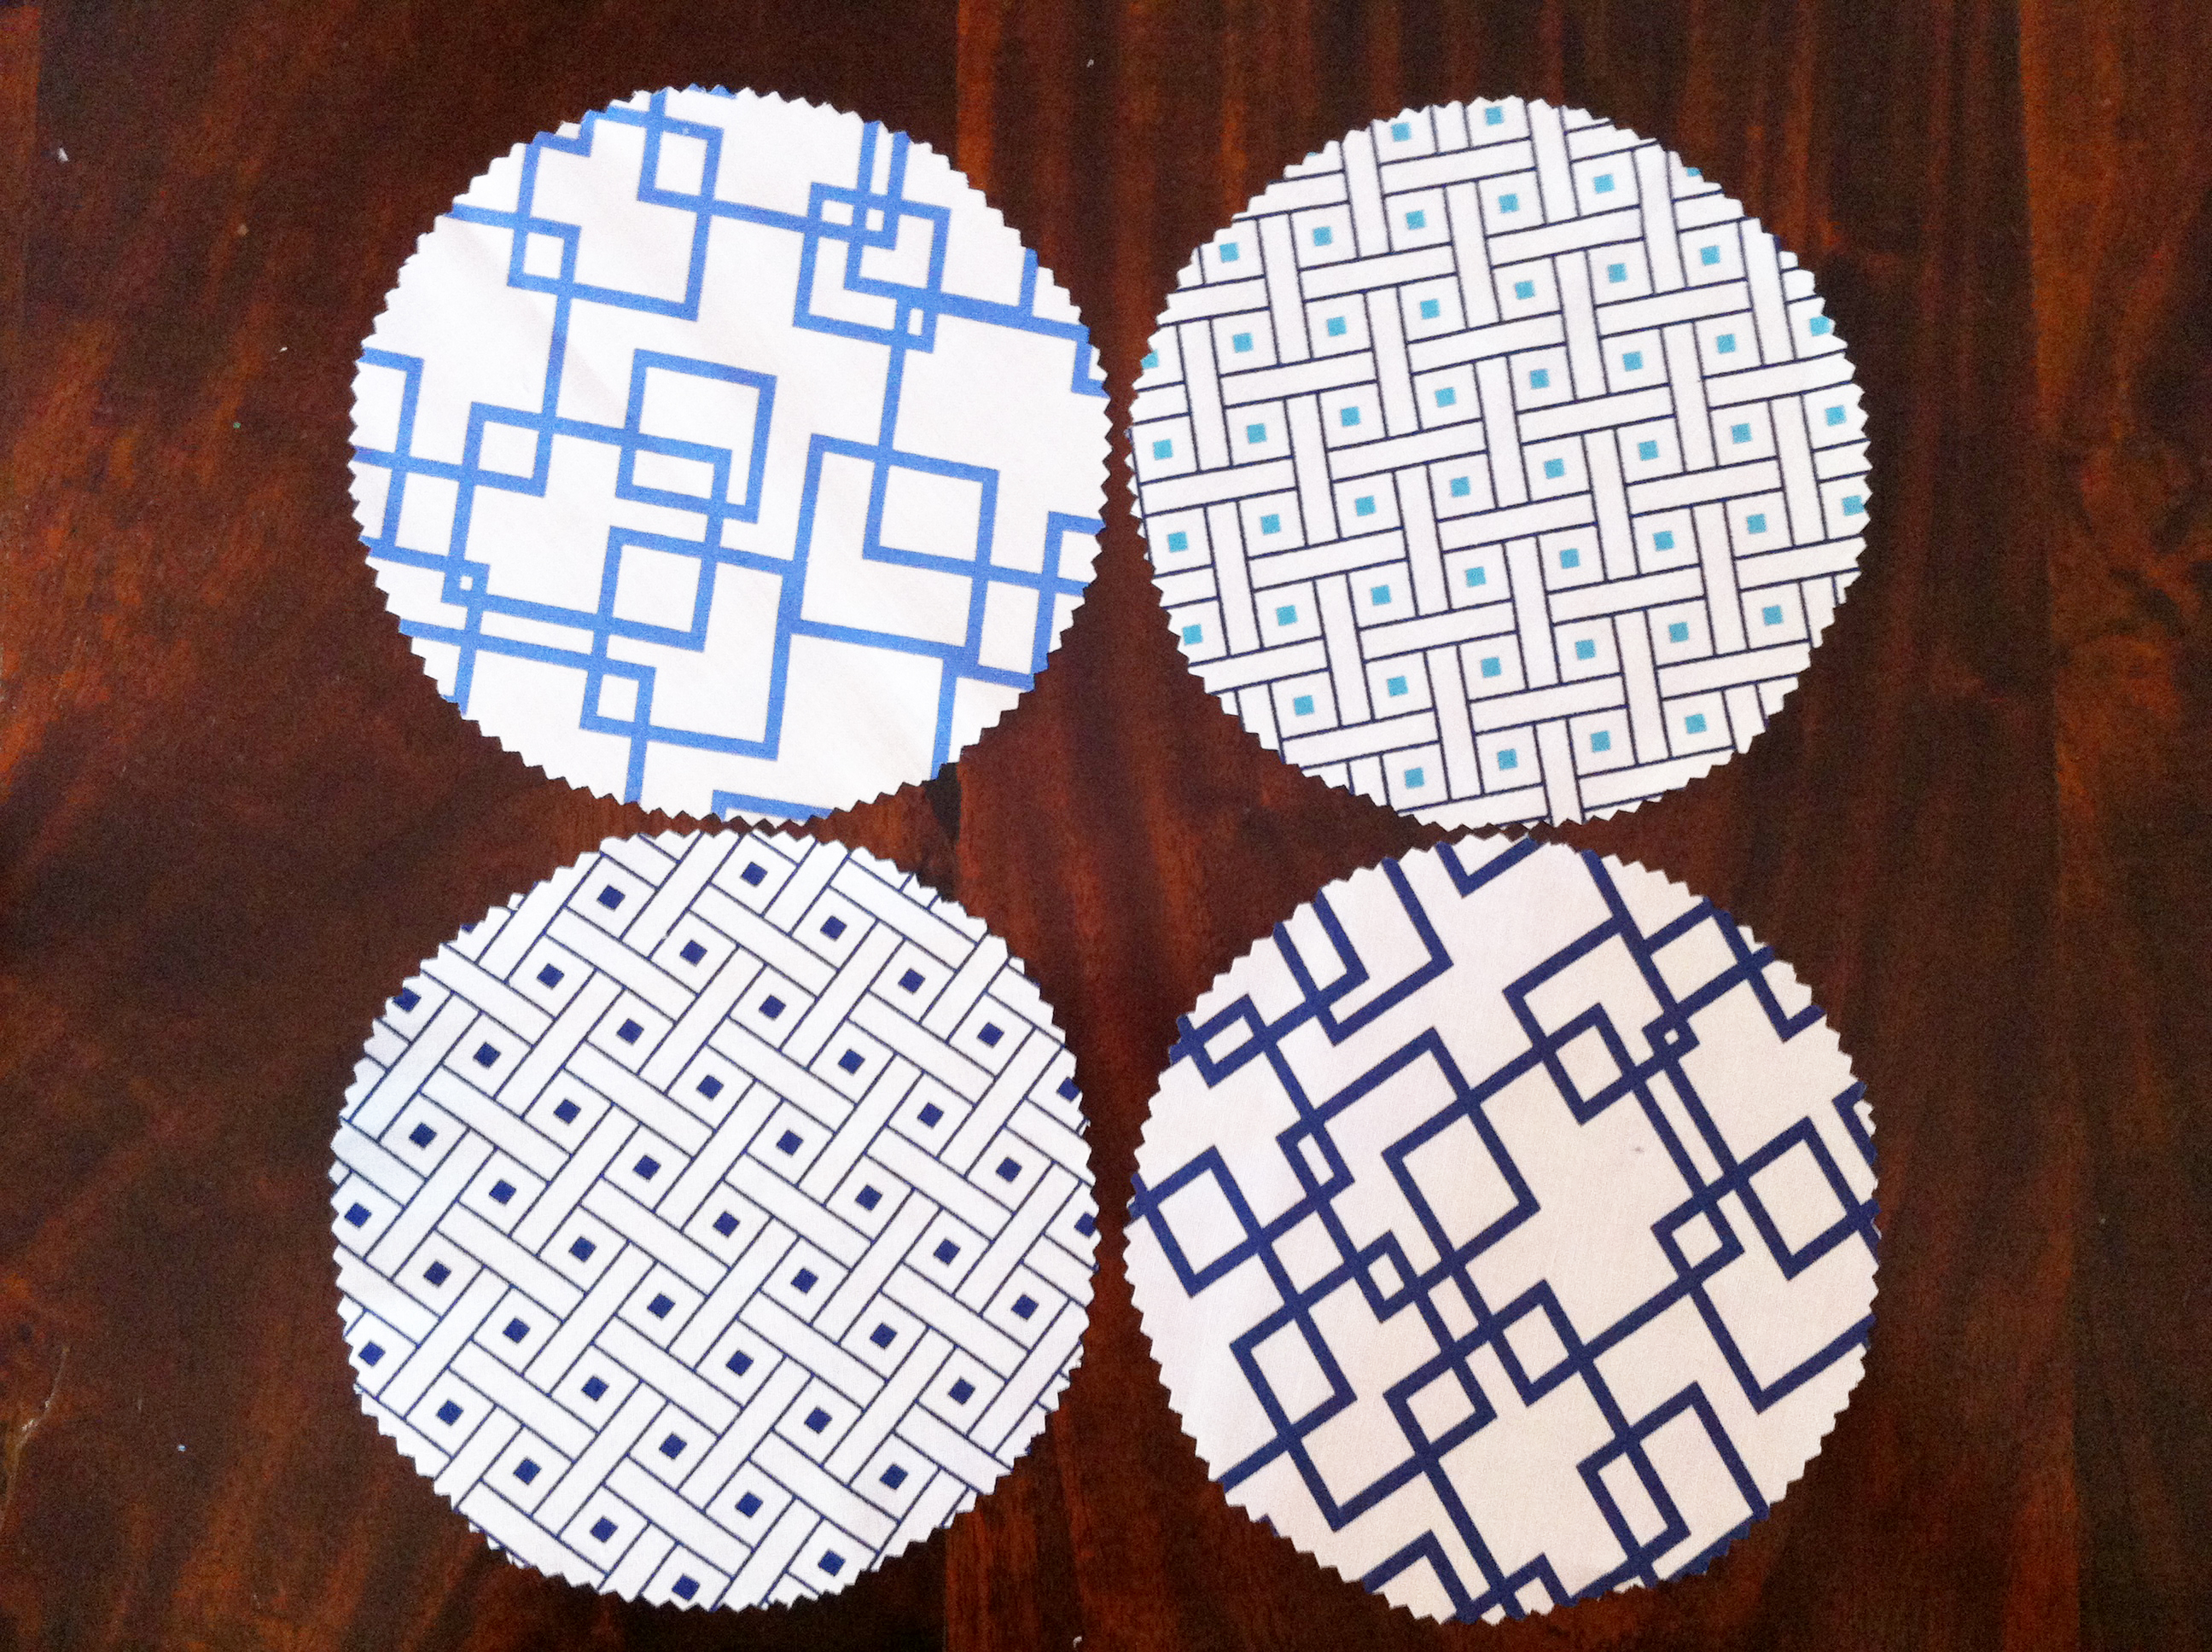
(Don’t you just love the patterns that I picked?!)
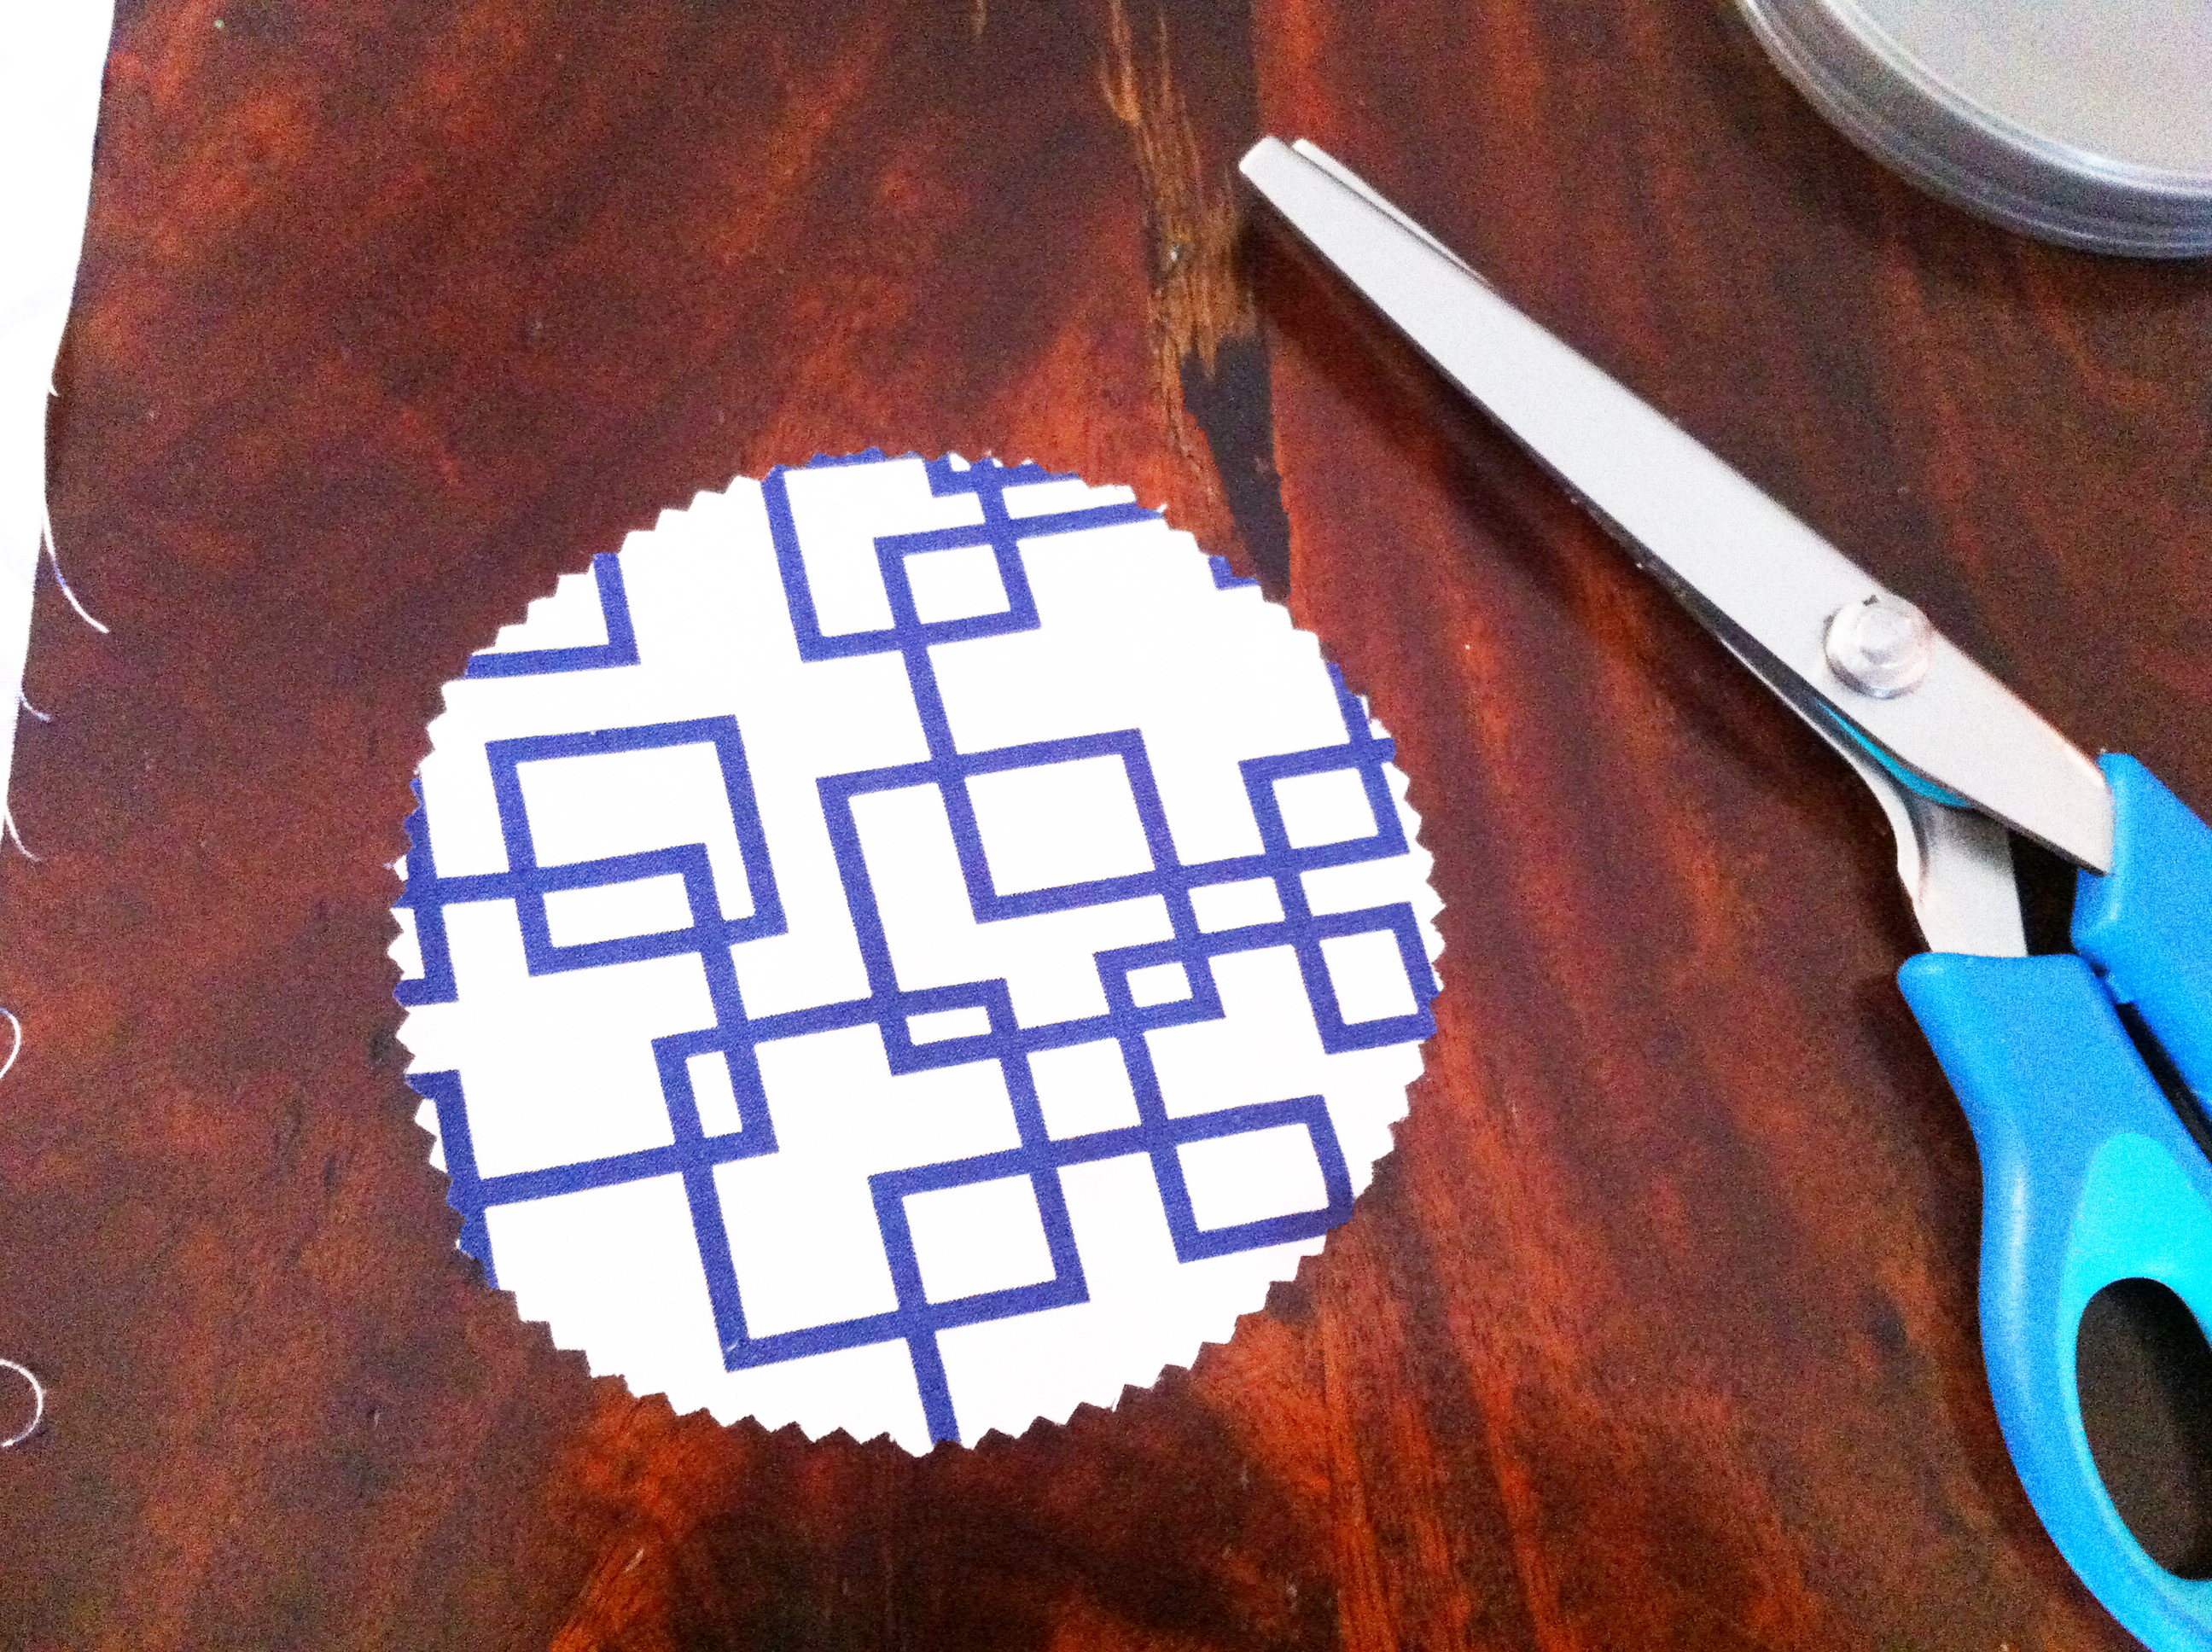
2. Place your round household item on the backside of your fabric and trace your circles with a pencil.
(It’s important that your item is 2″ wider than your jar lids because you want about an inch of extra fabric to hang down on each side of your jar.)
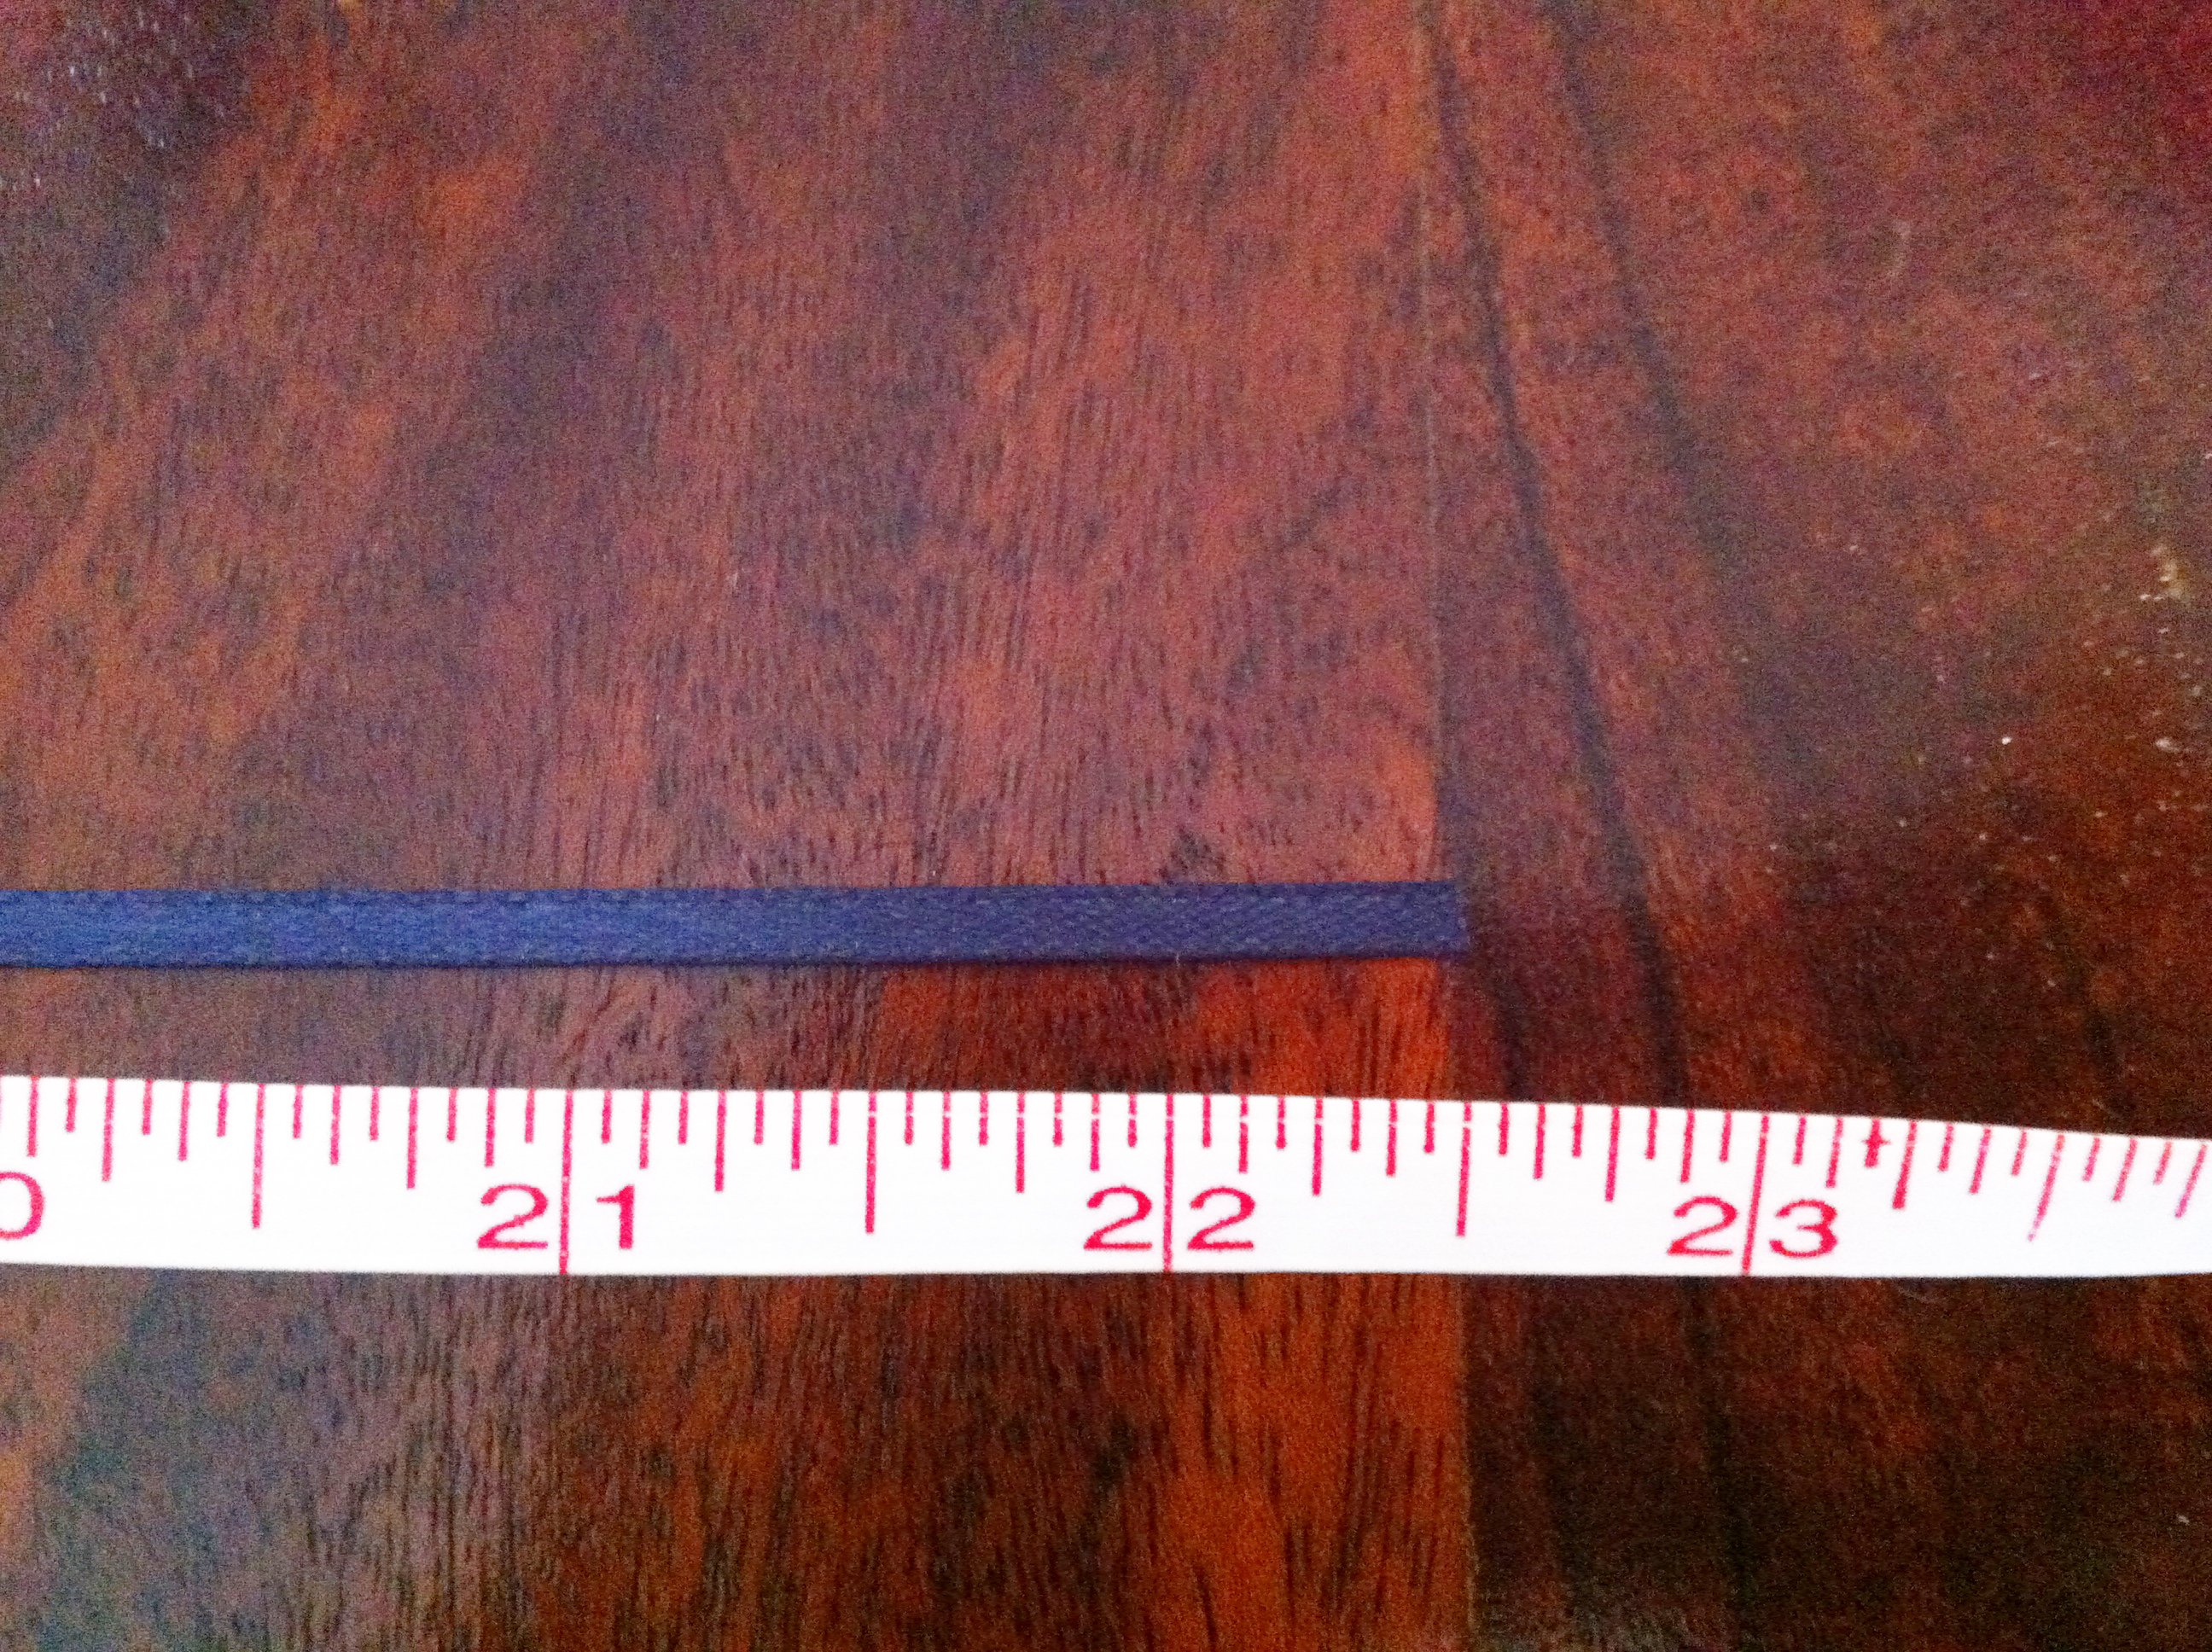
For 8oz jelly jars, you’ll want to draw circles that are about 5.5″ wide. (For 4oz jelly jars, you’ll want circles about 4.75″ wide and for quart-sized jars, you’ll want your circles to be about 8″ wide.)
I ended up using a part of my food processor. (Random, I know.)

3. Cut out the circles with your pinking shears.
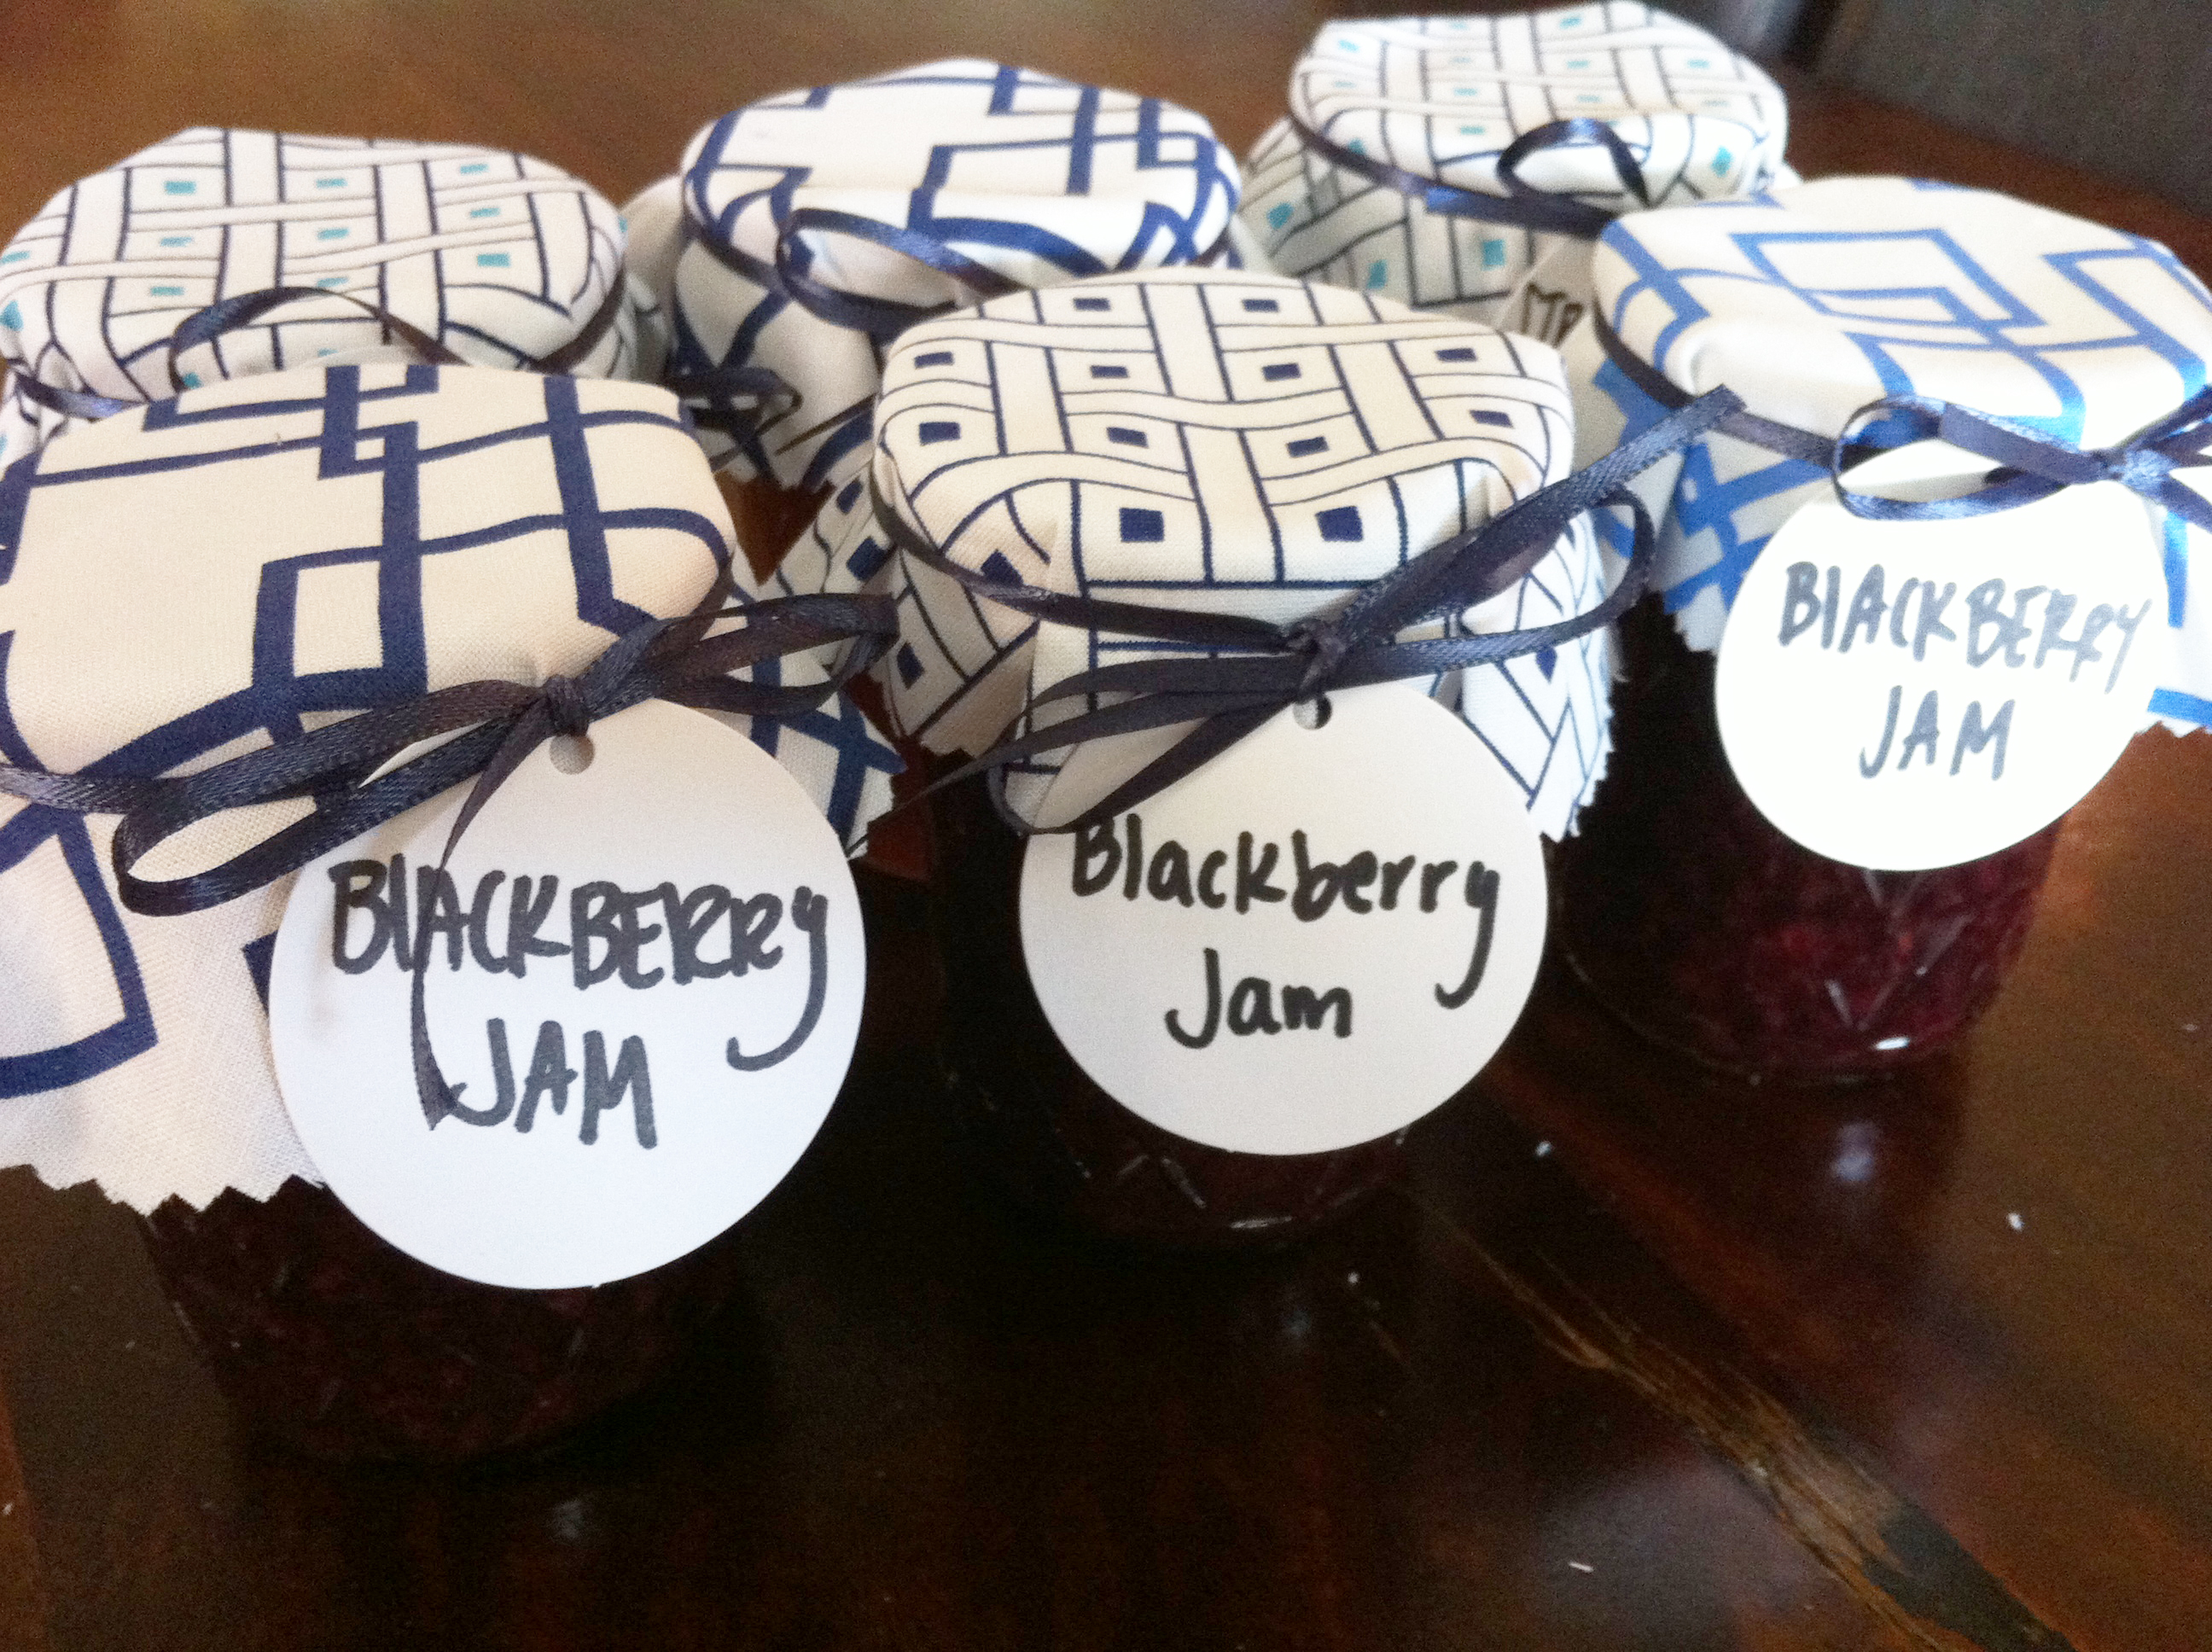
(I’m a sucker for modern, geometric prints.)
4. Cut your ribbon into strips that are 22.5″ long.
This is for 8oz or 4oz jelly jars. (You’ll need 24″ strips for quart-sized jars.)
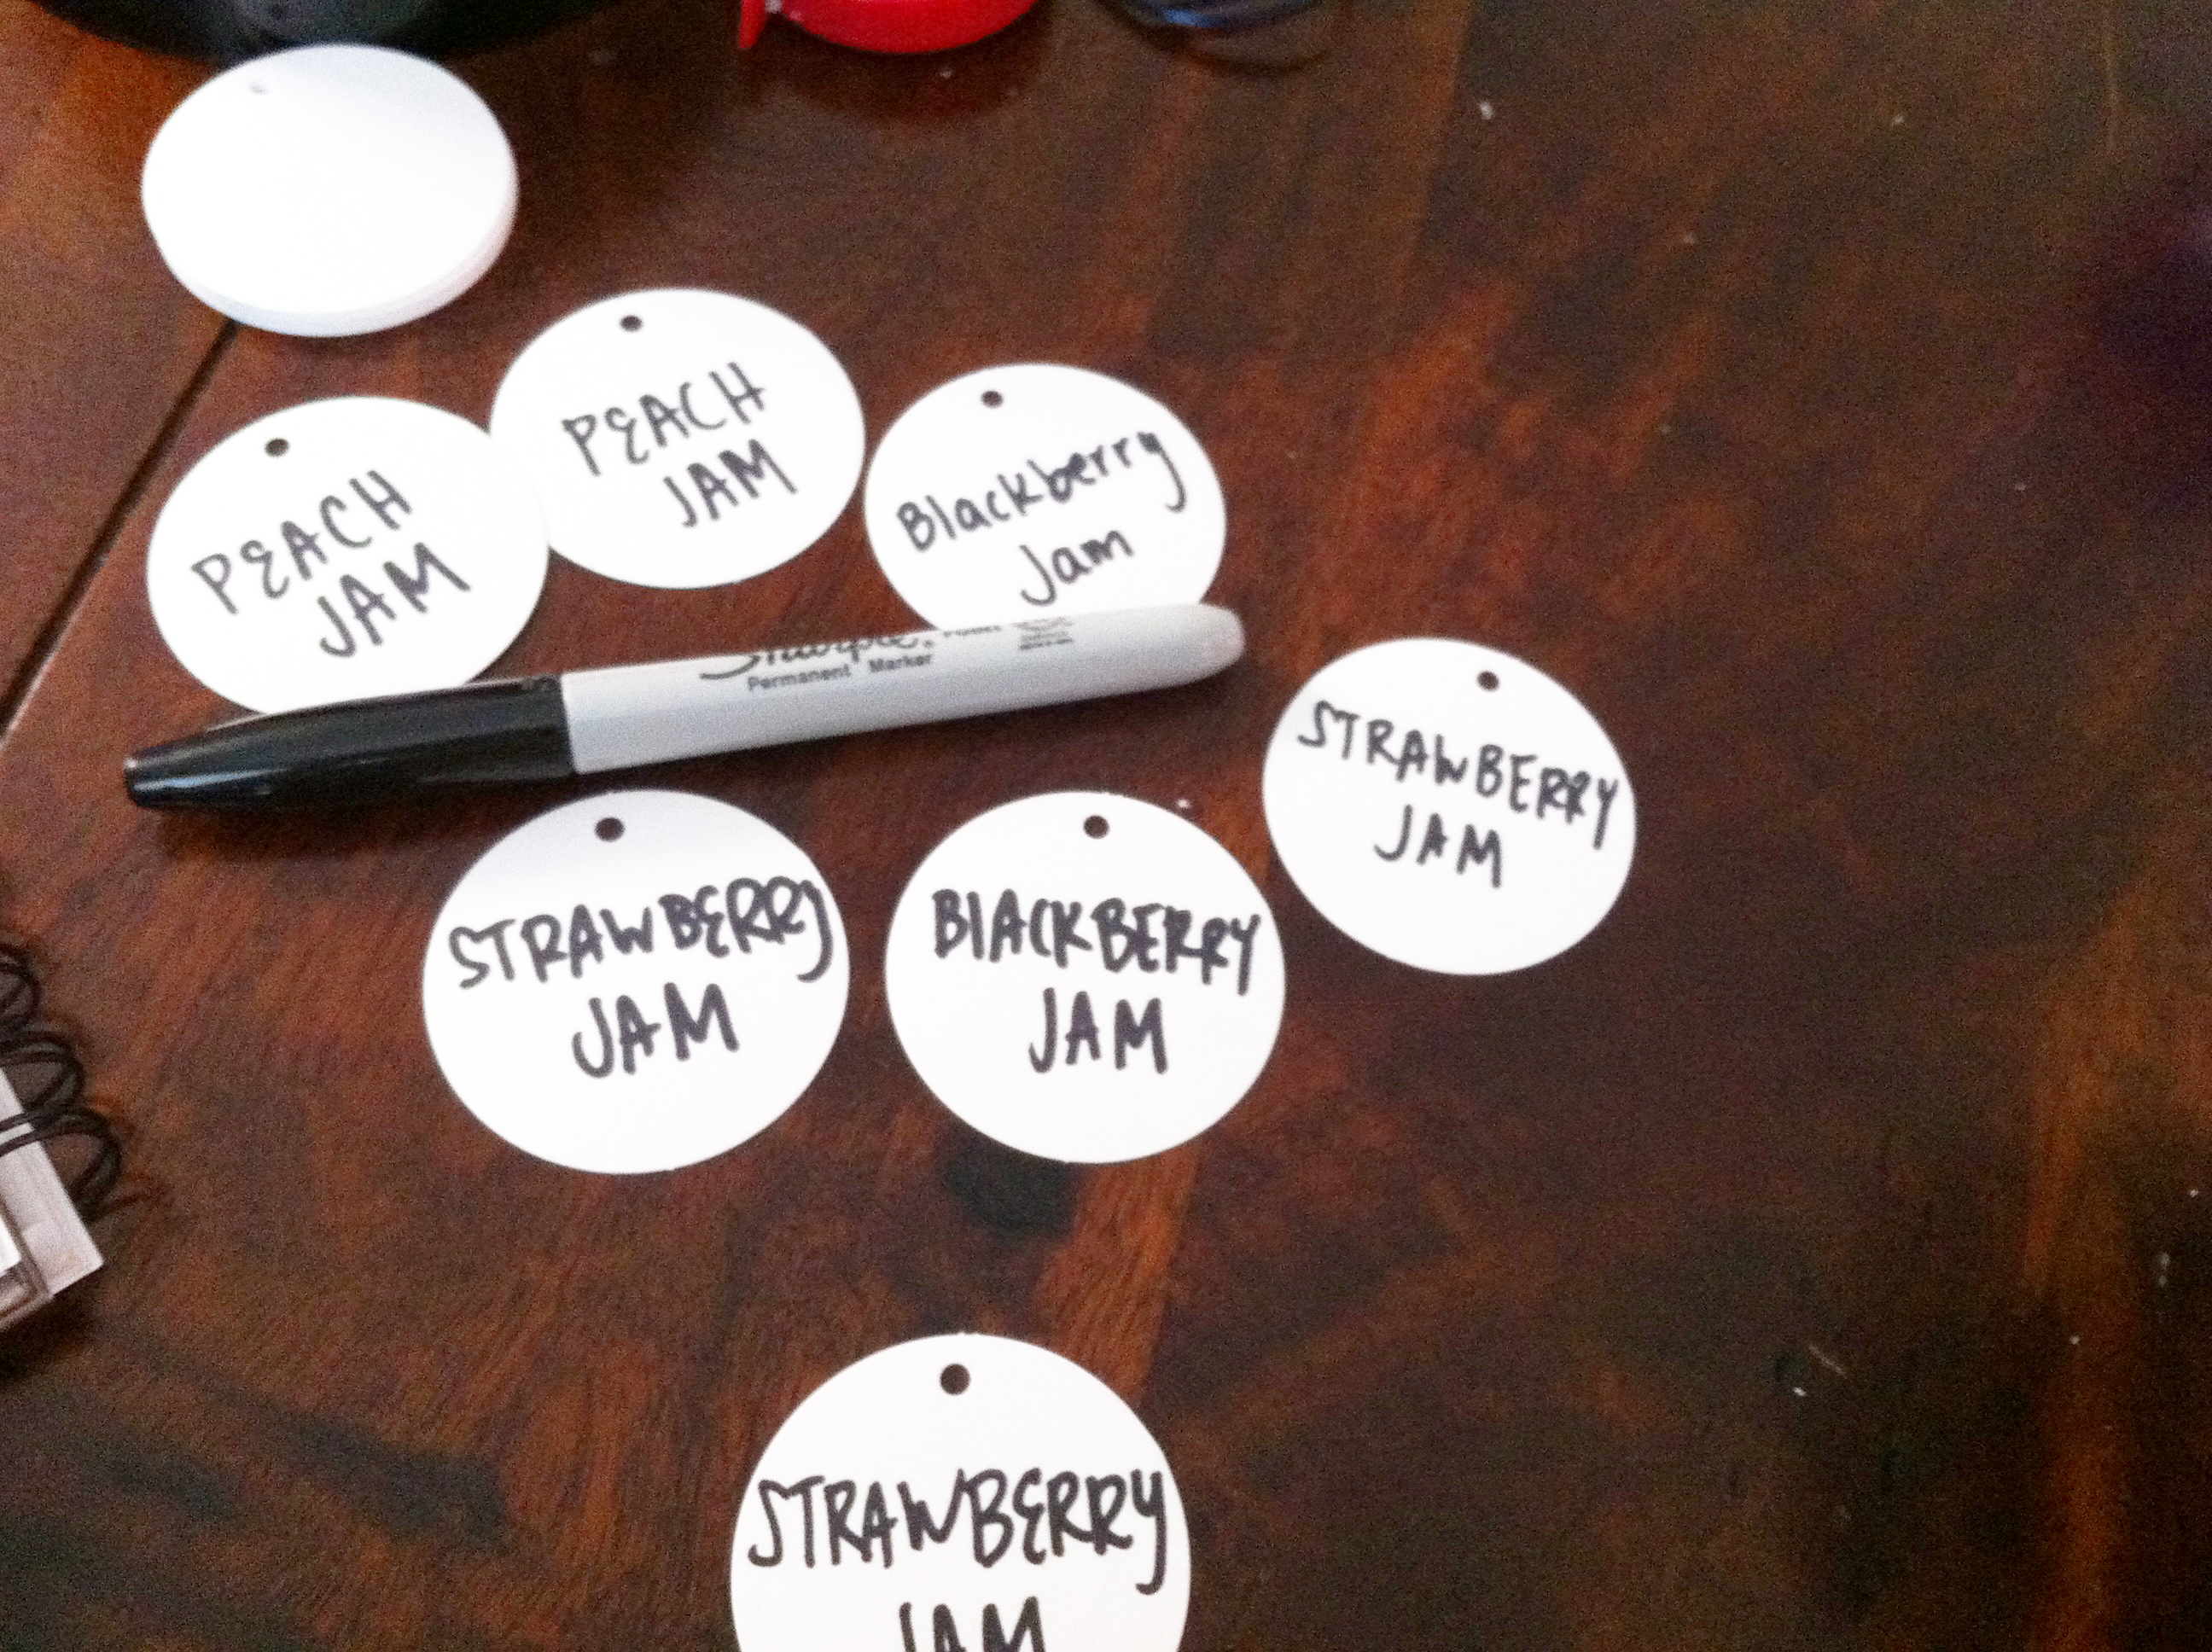
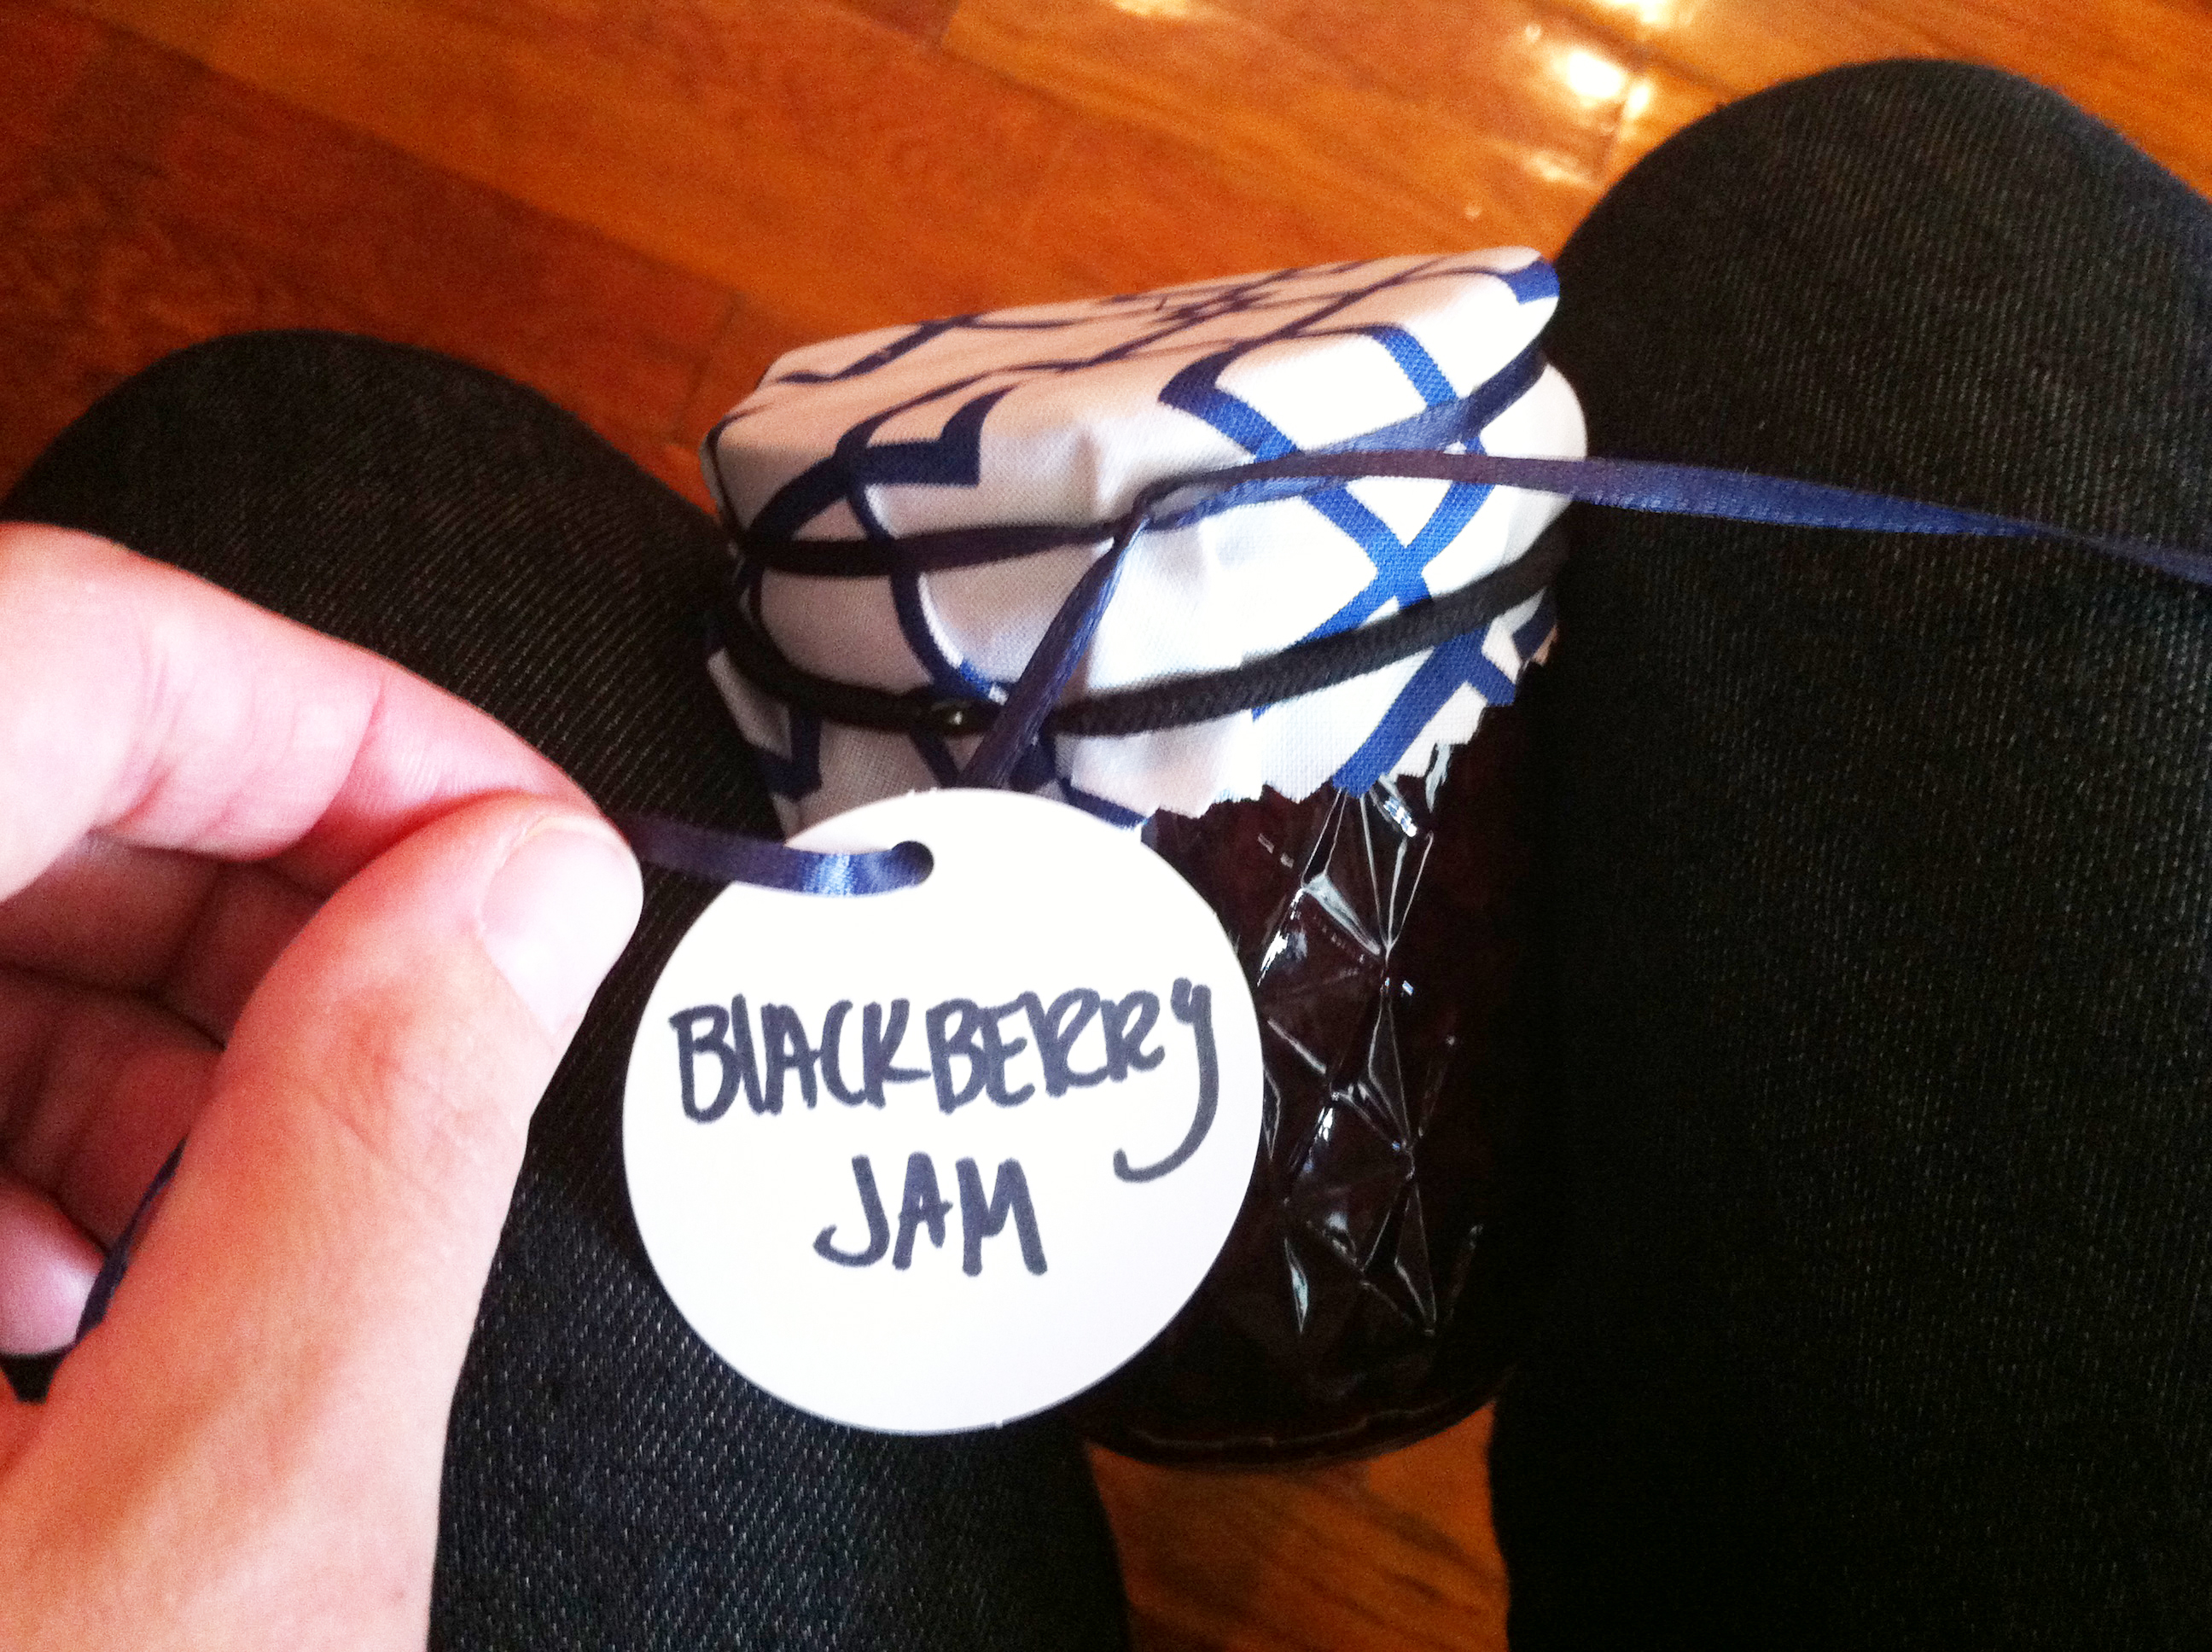
5. Write on your tags.
Here are the ones that I bought.
I so wish my handwriting was neater and cooler than this. (Is there such a thing as handwriting school for adults?!)
6. Pick up your first jar and center a fabric circle on the top. Secure with a hair tie below the screw band.
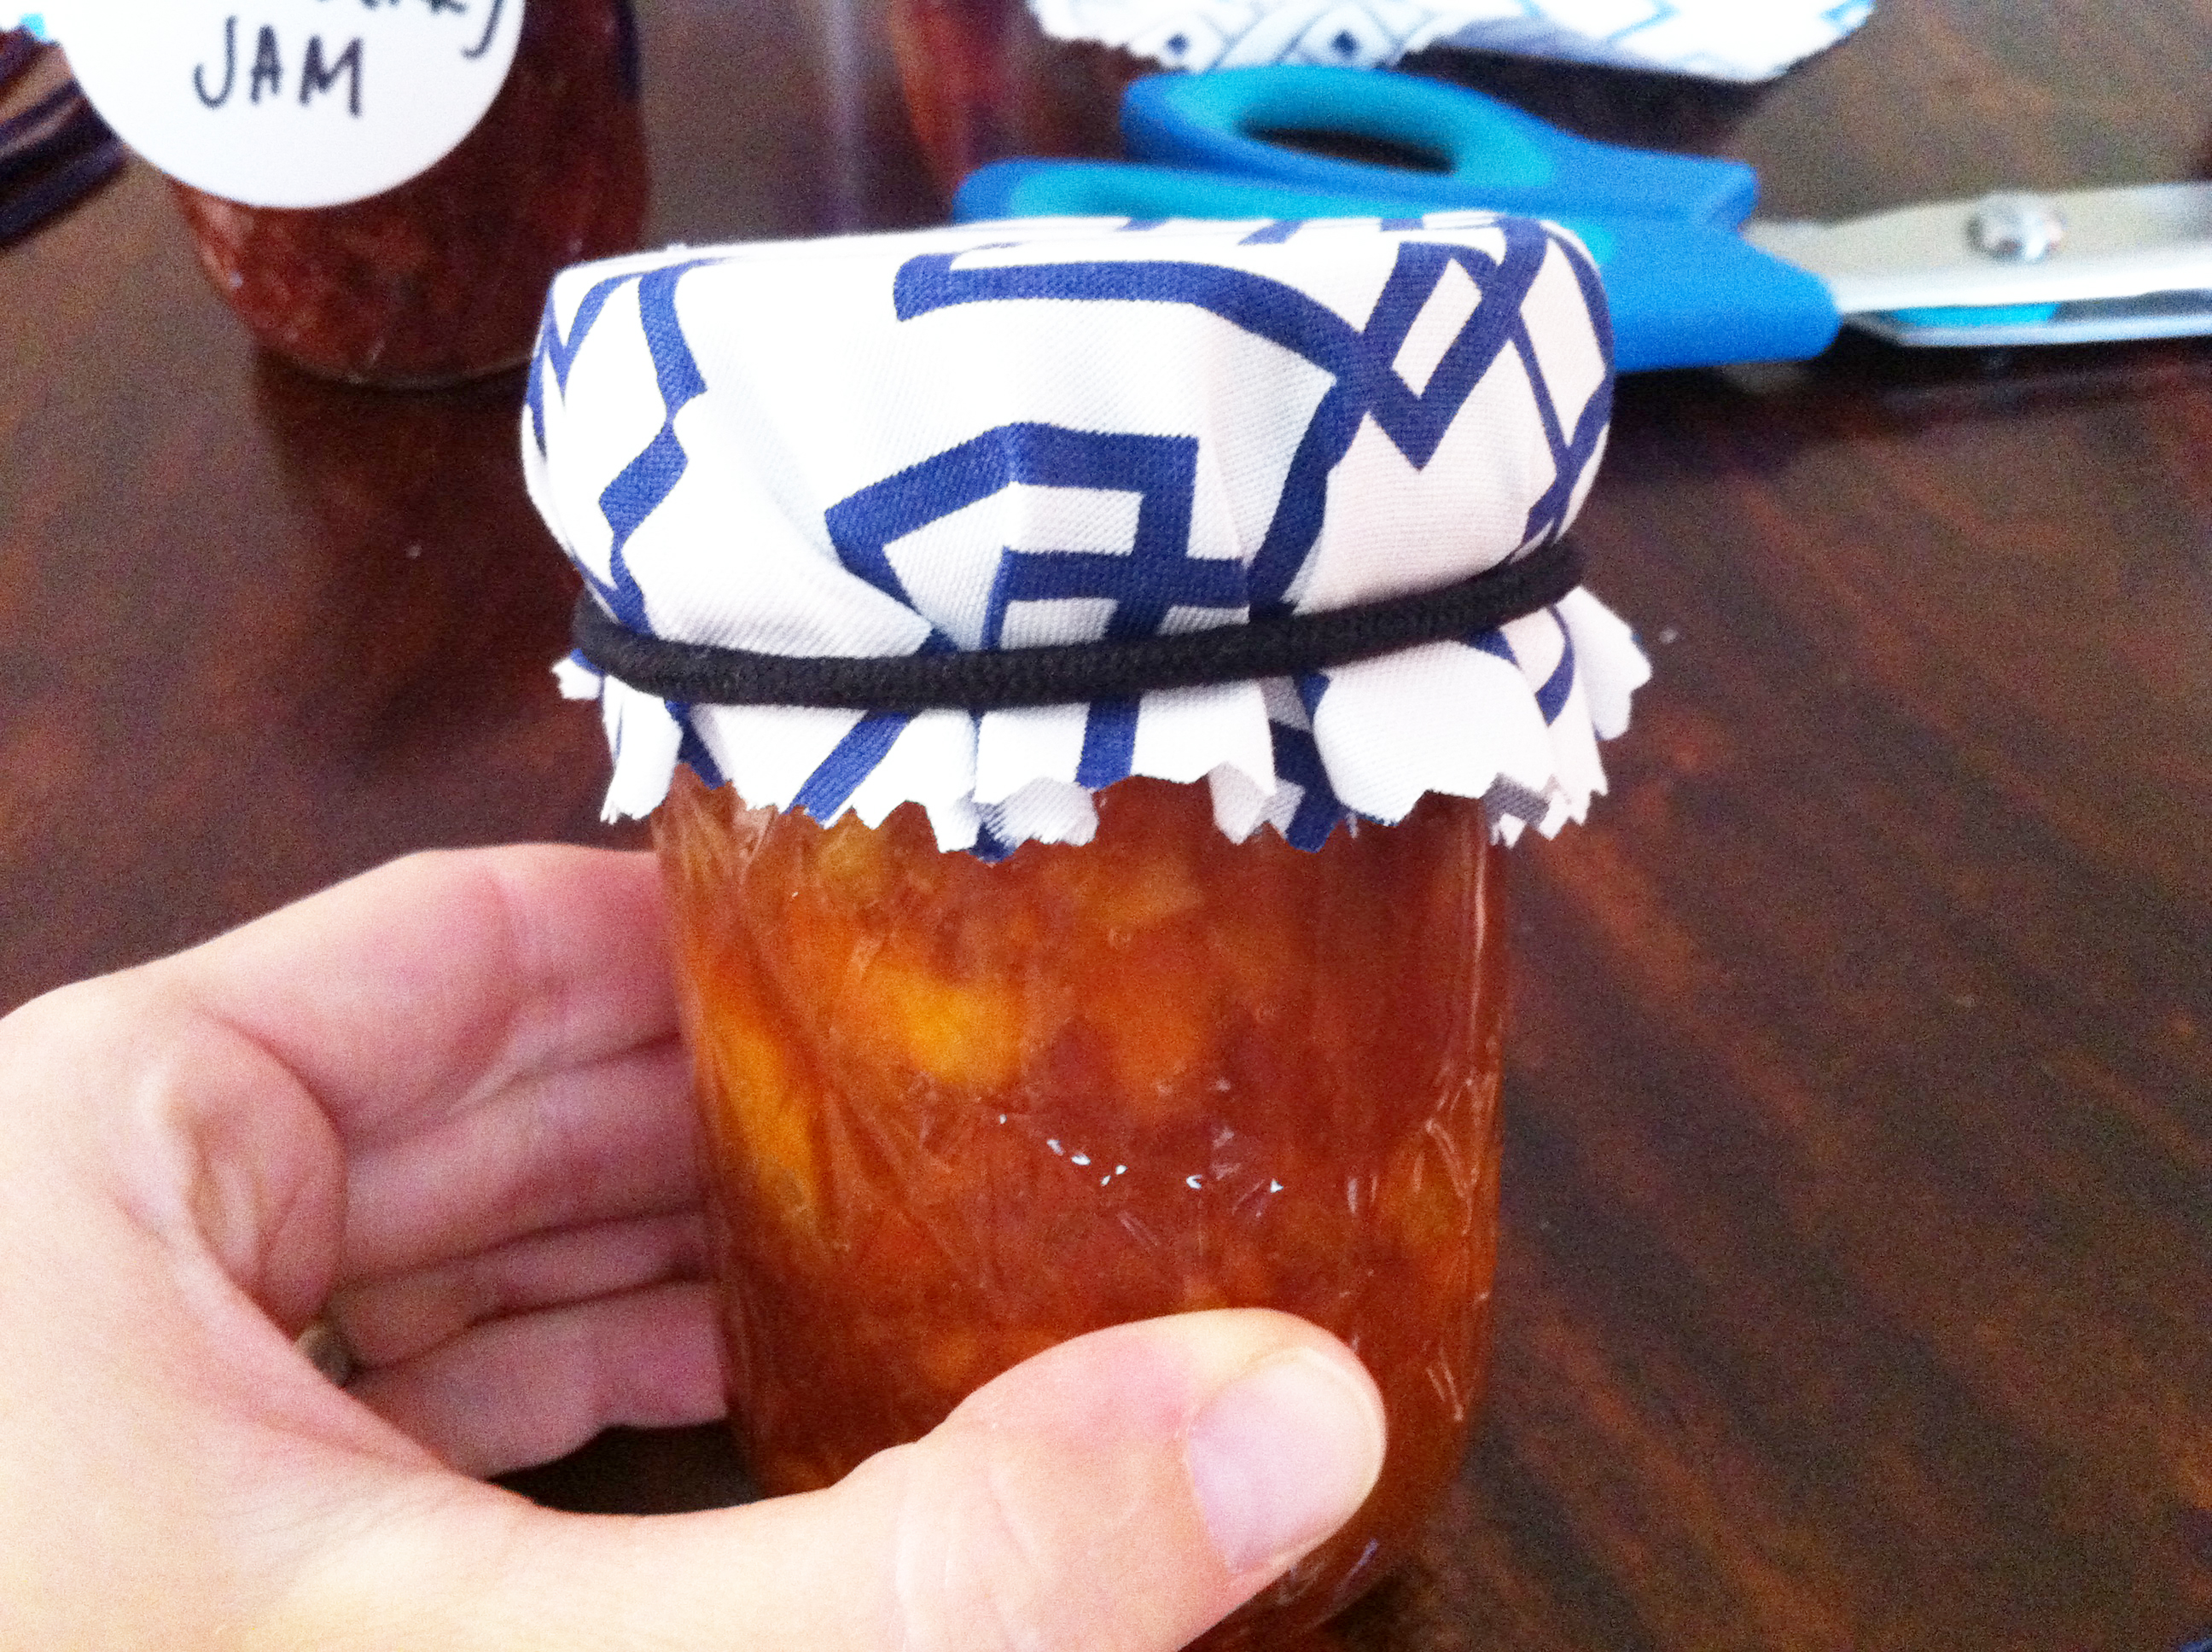
7. Loop a piece of ribbon around the top of your jar and tie into a tight knot. Add a tag and tie into a bow.
This was the most time-consuming task for me because I didn’t use elastic ribbon. Please make your life easy and buy the elastic ribbon, ladies!
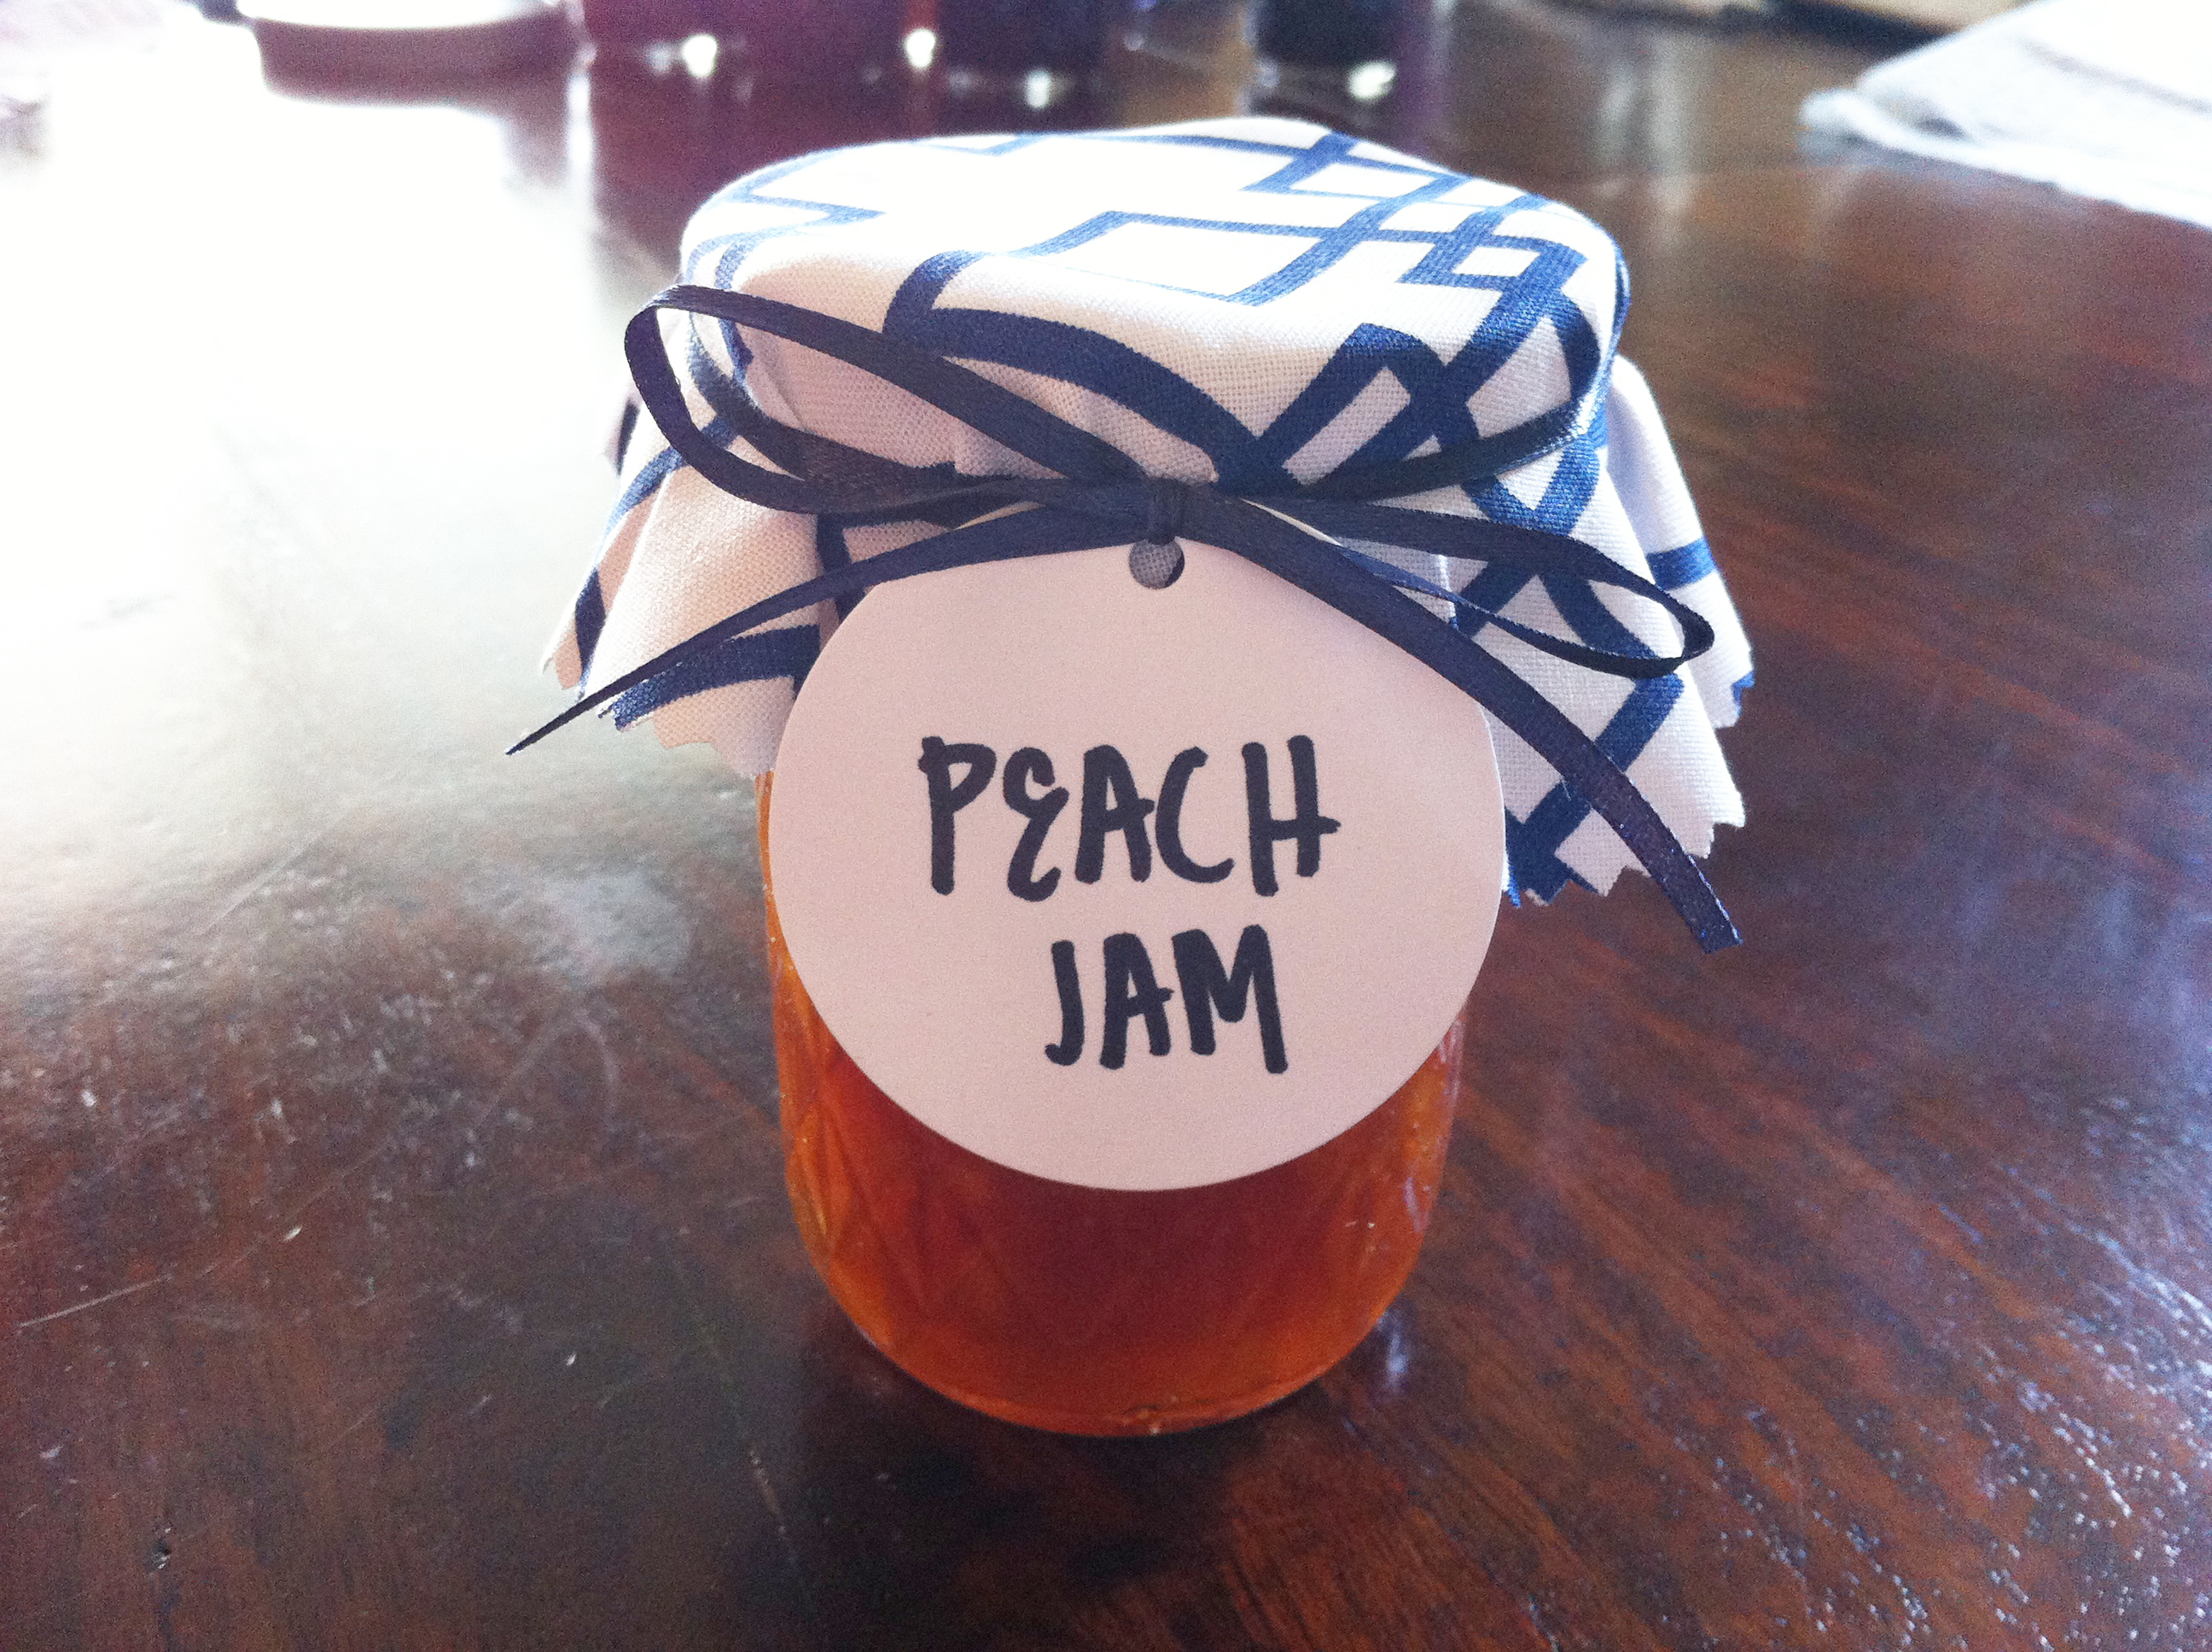
8. Cut excess ribbon.
Ta-da!
9. Repeat steps 6-8 for remaining jars.
Now is the time to Instagram pics showing off your craftiness! (Please tag me @kellymcnelis so I can see!!)

Nitty-Gritty Directions (without pics)
- Iron your fabric to get rid of any lines and creases.
- Place your round household item on the backside of your fabric and trace your circles with a pencil.
- Cut out the circles with your pinking shears.
- Cut your ribbon into strips that are 22.5″ long. (This is for 8oz and 4oz jelly jars. You’ll need 24″ strips for quart-sized jars.)
- Write on your tags.
- Pick up your first jar and center a cut piece of fabric on the top. Secure with a hair tie below the screw band.
- Loop a piece of ribbon around the top of your jar and tie into a tight knot. Add a tag and tie into a bow.
- Cut excess ribbon.
- Repeat steps 6-8 for remaining jars.
Tell me: What are you canning this year? Do you have any other tips for making canned goods look super cute?
——————————-
PS Be sure to follow me on Pinterest @kellymcnelis for more recipes and fun DIYs!
I used canning jars to make sand profiles of my local shoreline for thank you gifts to friends and relatives not in California and wanted a cute way to top off the jar. Instructions were easy to follow. Thank you!
Yay! Thanks so much for letting me know. Love the idea of creating sand profiles in jars.
Is it just me or is this kind of a waste of time? I mean it’s a pretty long tutorial for throwing a piece of fabric over a cap- it’s not rocket science.
No it’s not rocket science, so why are you on this site? It’s great information for those starting their business on a budget.
Exactly! I have a cute home decor store and receive jars for private label and I kept cutting squares for my tops and because I’ve only ever seen pics of these did not realize that I need to cut circles. It’s not rocket science but this lil diy helped me… 🙂
I actually appreciate the step-by-step instructions.
This was really helpful for me! I needed a basic guide to know how big to cut my fabric without a bunch of wasteful trial and error. Thank you so much! 🙂
Great tutorial, using it for my Sunday School class tomorrow as it is Mother’s Day and we are making jars with bath salts in them. This will make them so pretty. Thanks!
Great idea!! I may use Christmas fabric! Thanks so much.
Thank you! This is exactly what I was looking for, as I’m not as intelligent or crafty as the “rocket science comment” person. And…would have used the wrong scissors… Appreciate your step by step process.