It takes a special kind of project to motivate me to DIY. This is one of them.
Earlier this year I set my sights on a DIY framed chalkboard. My husband helped me turn my dream into a reality, and I love having it hanging in our kitchen.
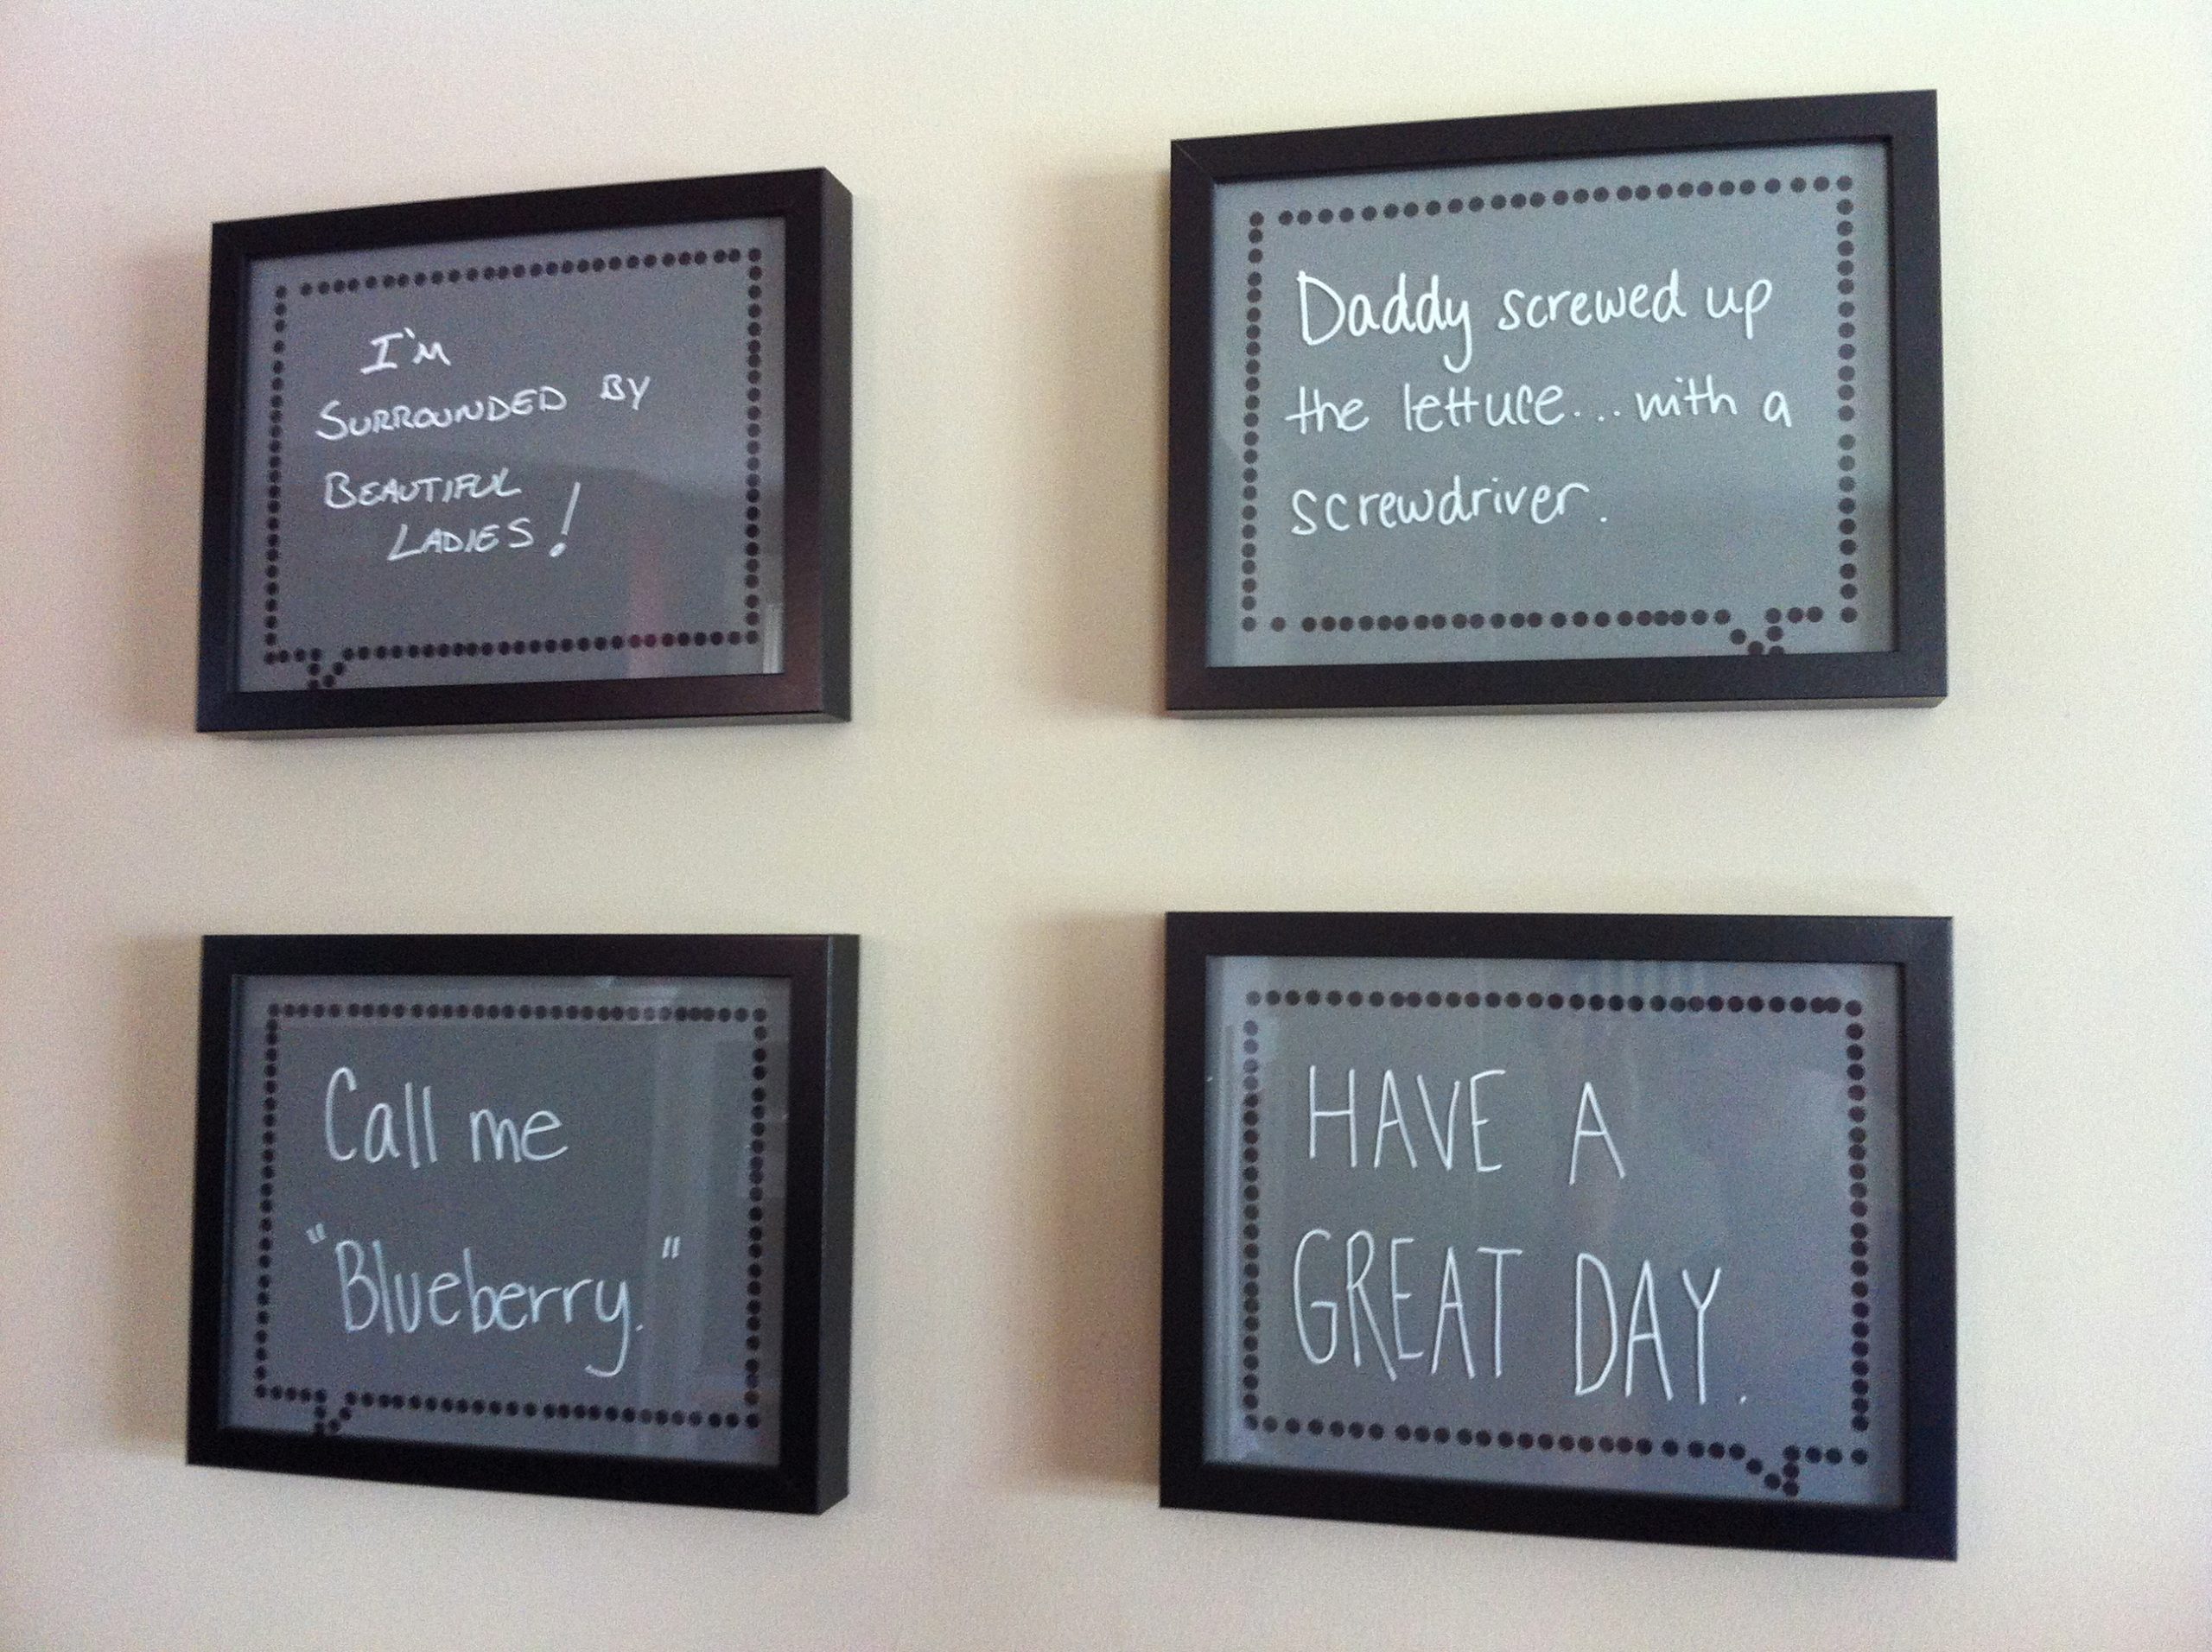
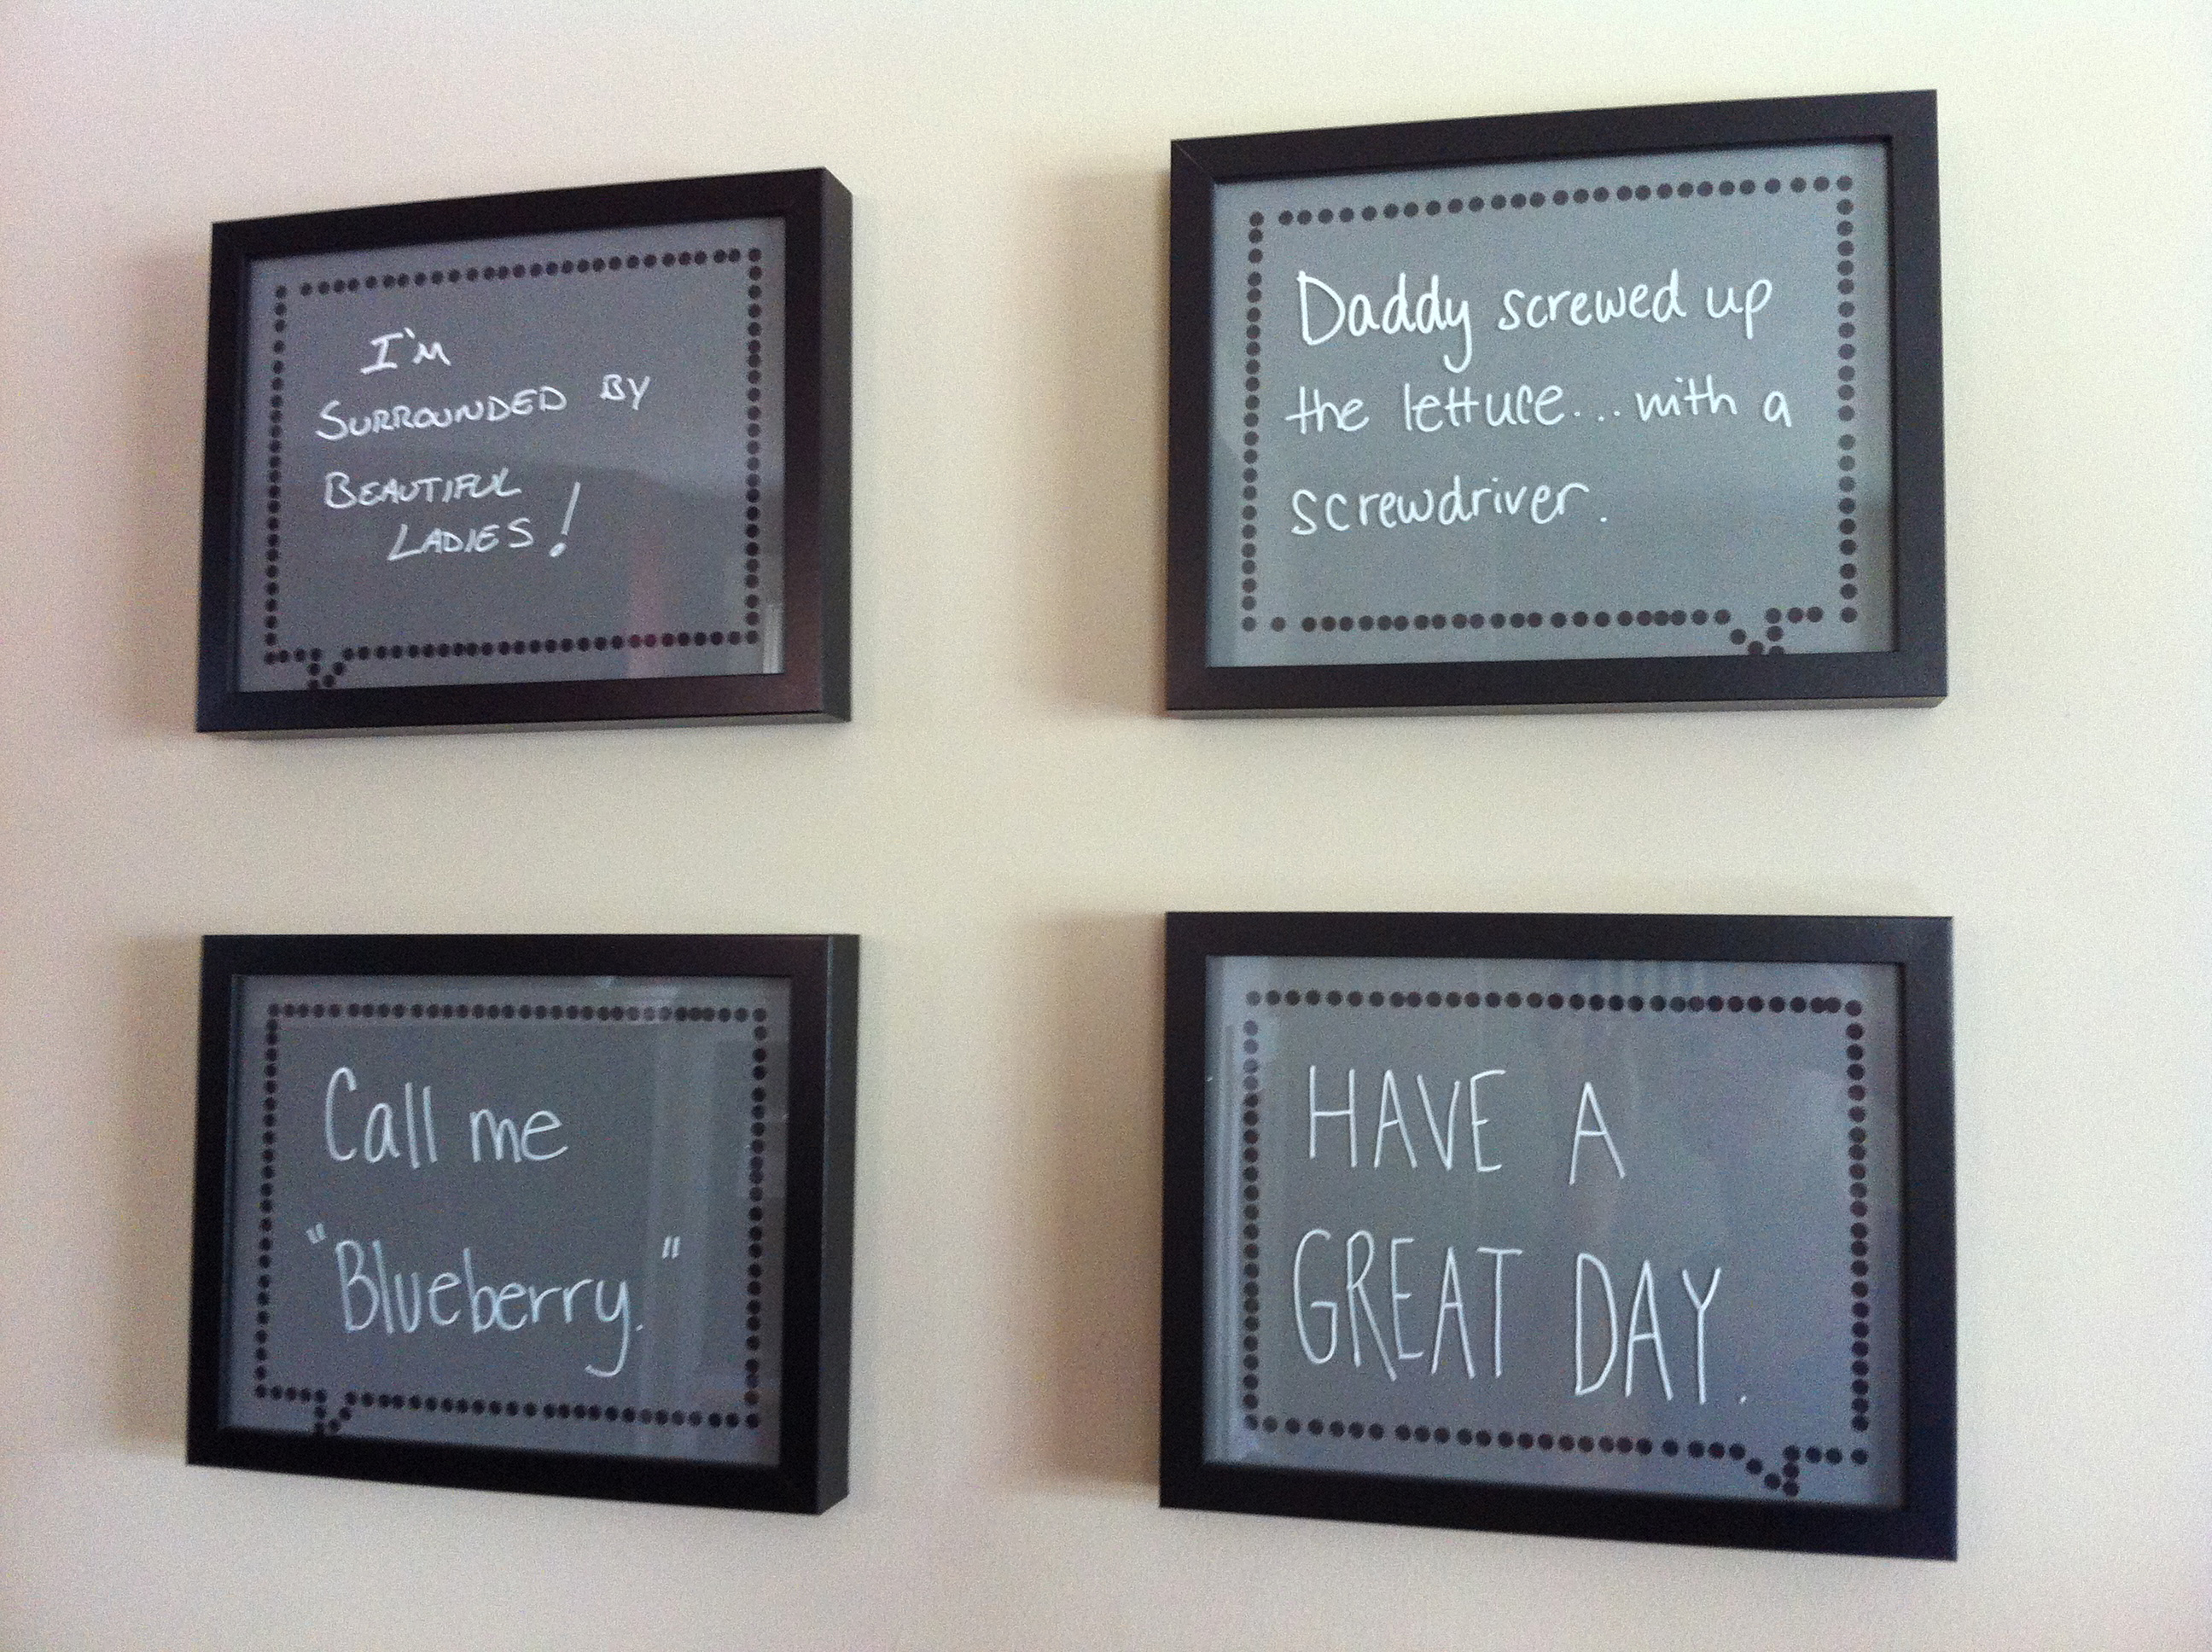
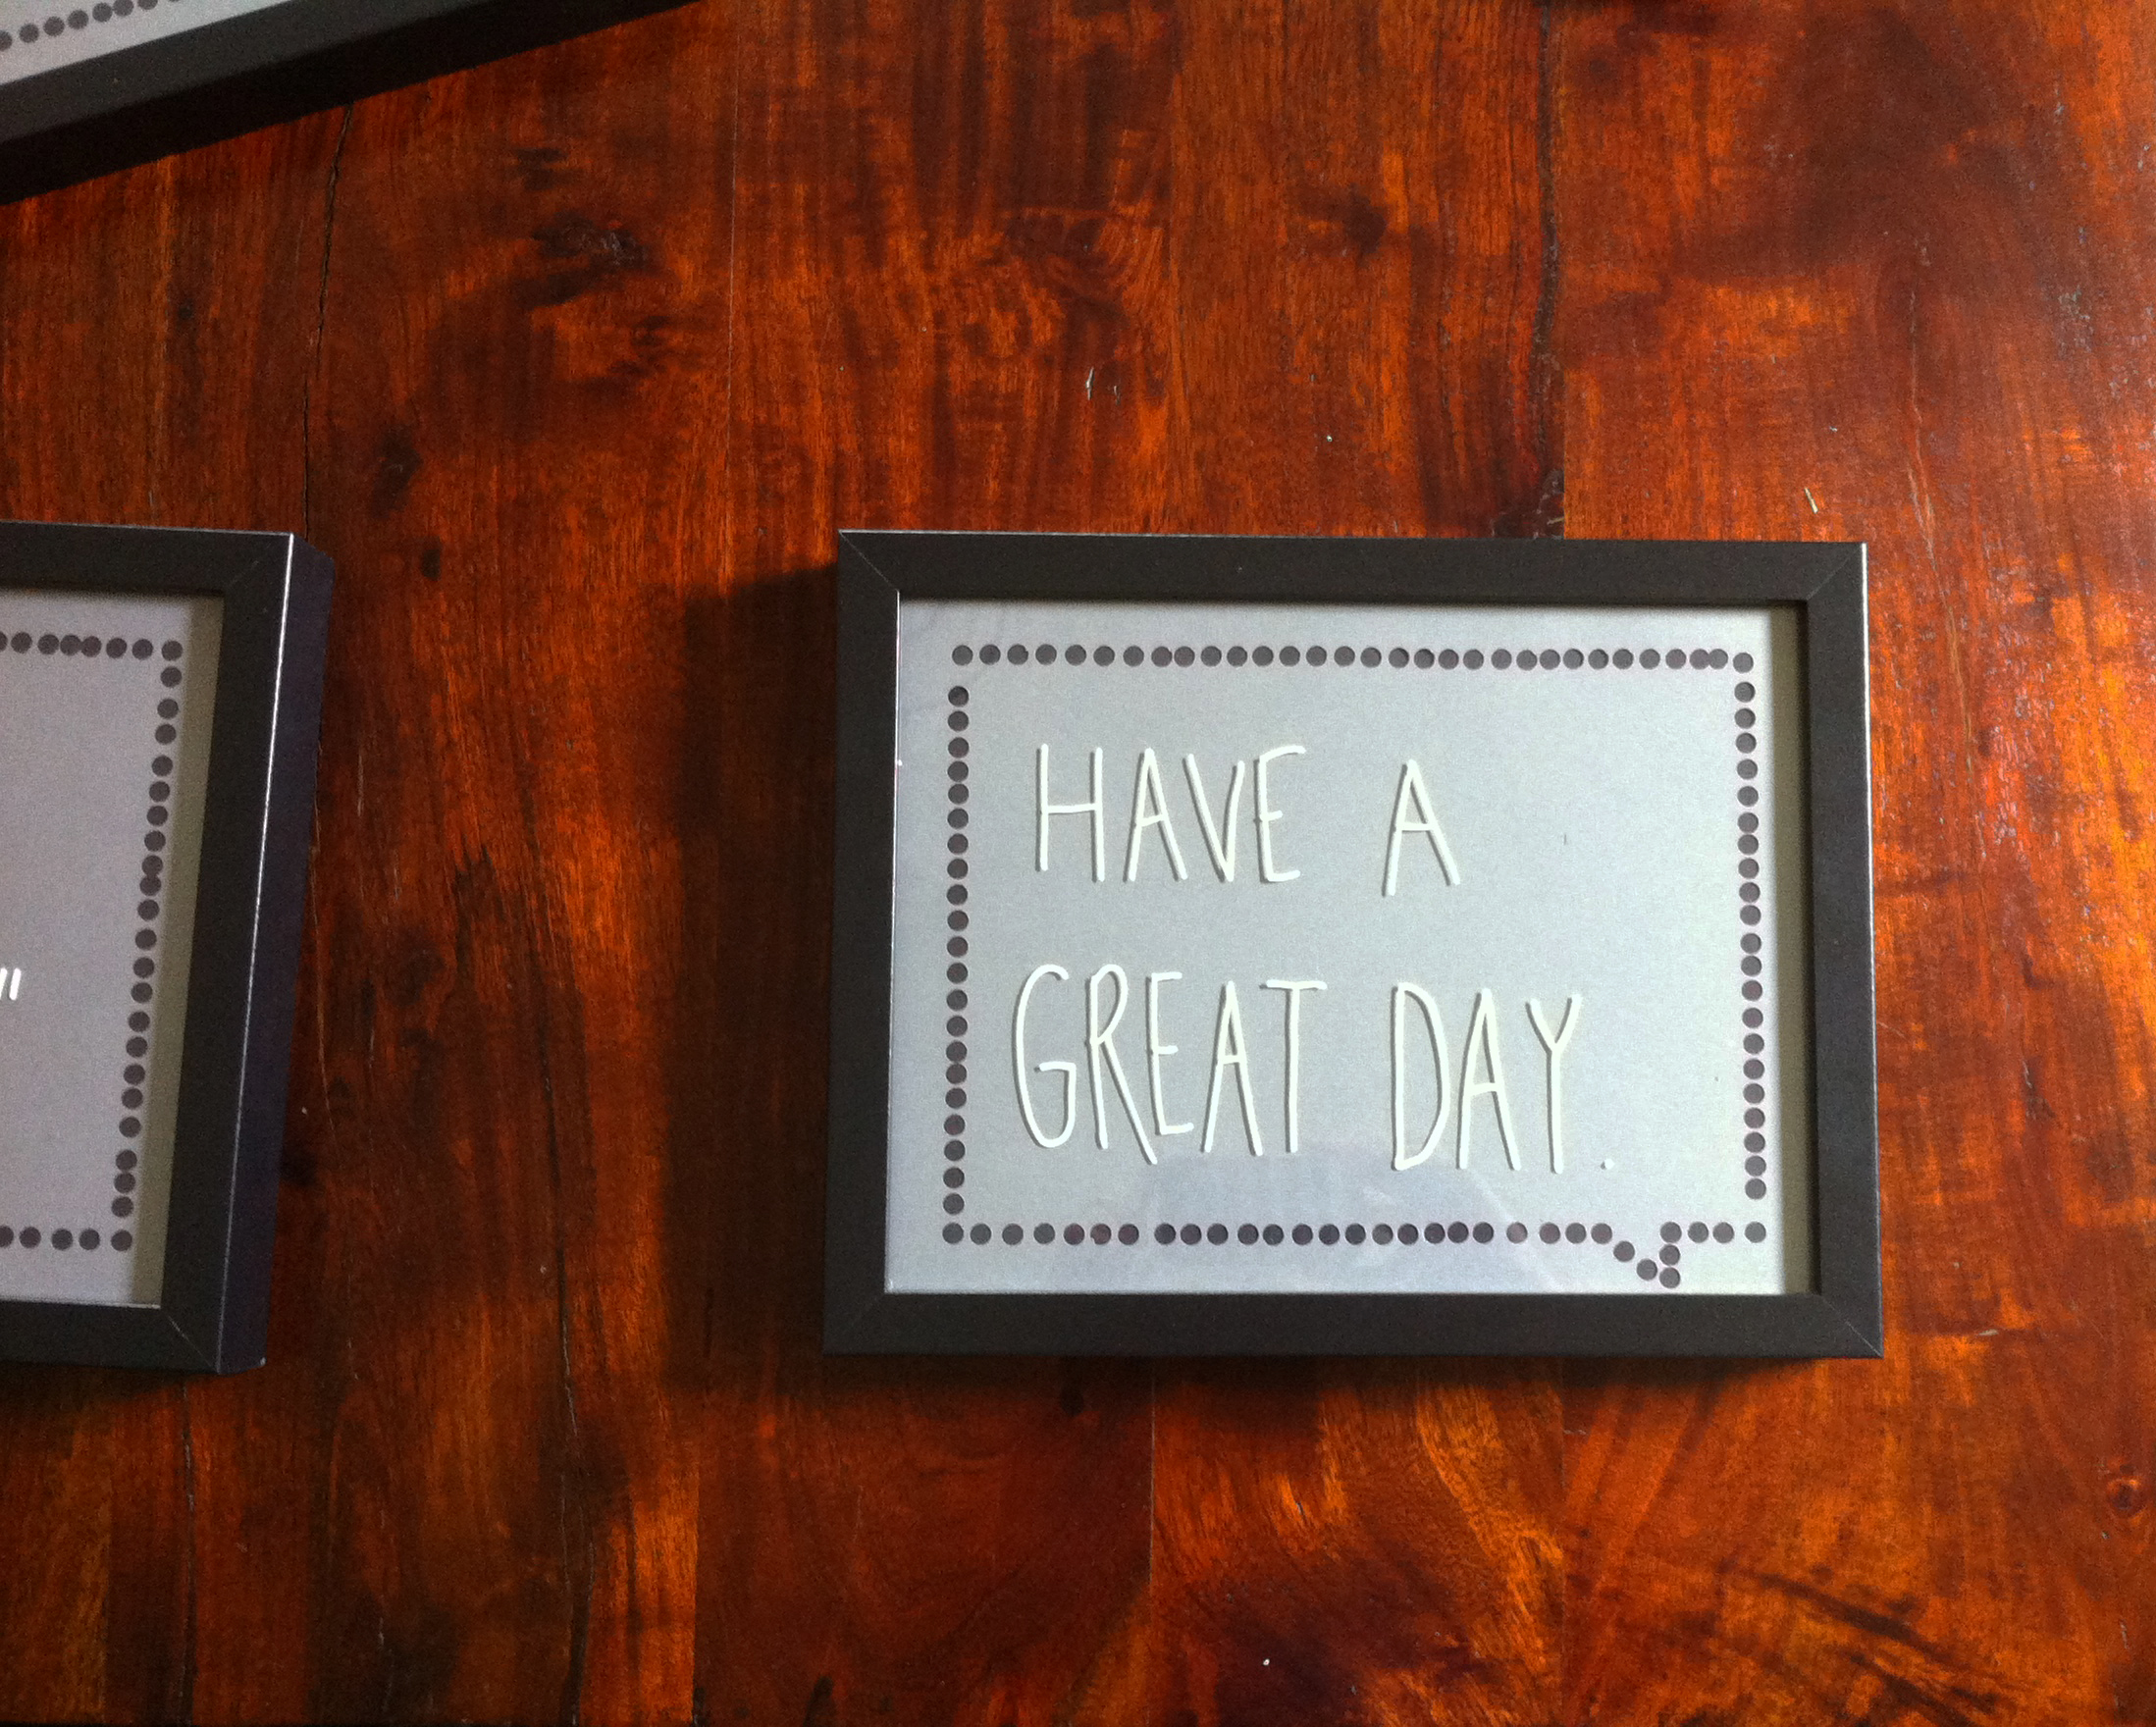
When I saw this photo of framed speech bubbles on Pinterest, I knew they had to be my next project.

Such a cute way to leave messages around the house.
I decided to make four of them so we could also capture funny quotes said by our toddlers.
Here’s everything you need to make some of your own.
DIY Framed Speech Bubbles
Materials
- Frames (I bought mine at IKEA for super cheap.)
- Cardstock – one foreground color and one background color per frame (I bought mine at a local craft store in the scrapbooking aisle. Buy a couple of extra pieces in case you mess up.)
- Hole Punch
- Scissors
- A Pen
- Dry Erase Markers or Chalk Markers (So you can start writing on your frames right away!)
Directions
1. Cut your cardstock to fit your frames.
2. Punch holes in your first piece of foreground cardstock. Start by figuring out where your corners will be. (You’ll only be able to punch so far in from each side of the paper.)

3. Use a pen to draw straight lines connecting the corner holes on the back side of the cardstock. (You’ll end up with one large rectangle that is about an inch inside the border of the paper.) These lines will be your guide when punching the rest of the holes.
(Trust me, you don’t want to skip this step. I skipped it with a practice piece of paper and my holes weren’t straight at all.)
4. Punch holes along the lines that you drew. Make sure to leave space where you’re going to put the bottom of the speech bubble.
5. To create the bottom of the speech bubble, punch a couple of holes down in a row. Then punch up at an angle until you reach the height of the rest of your holes.
6. Repeat steps 2-5 for each piece of foreground cardstock.
7. Assemble each frame and start writing!
Easy-peasy, right?
How cute is this photo of my daughter Cameran with a framed speech bubble?
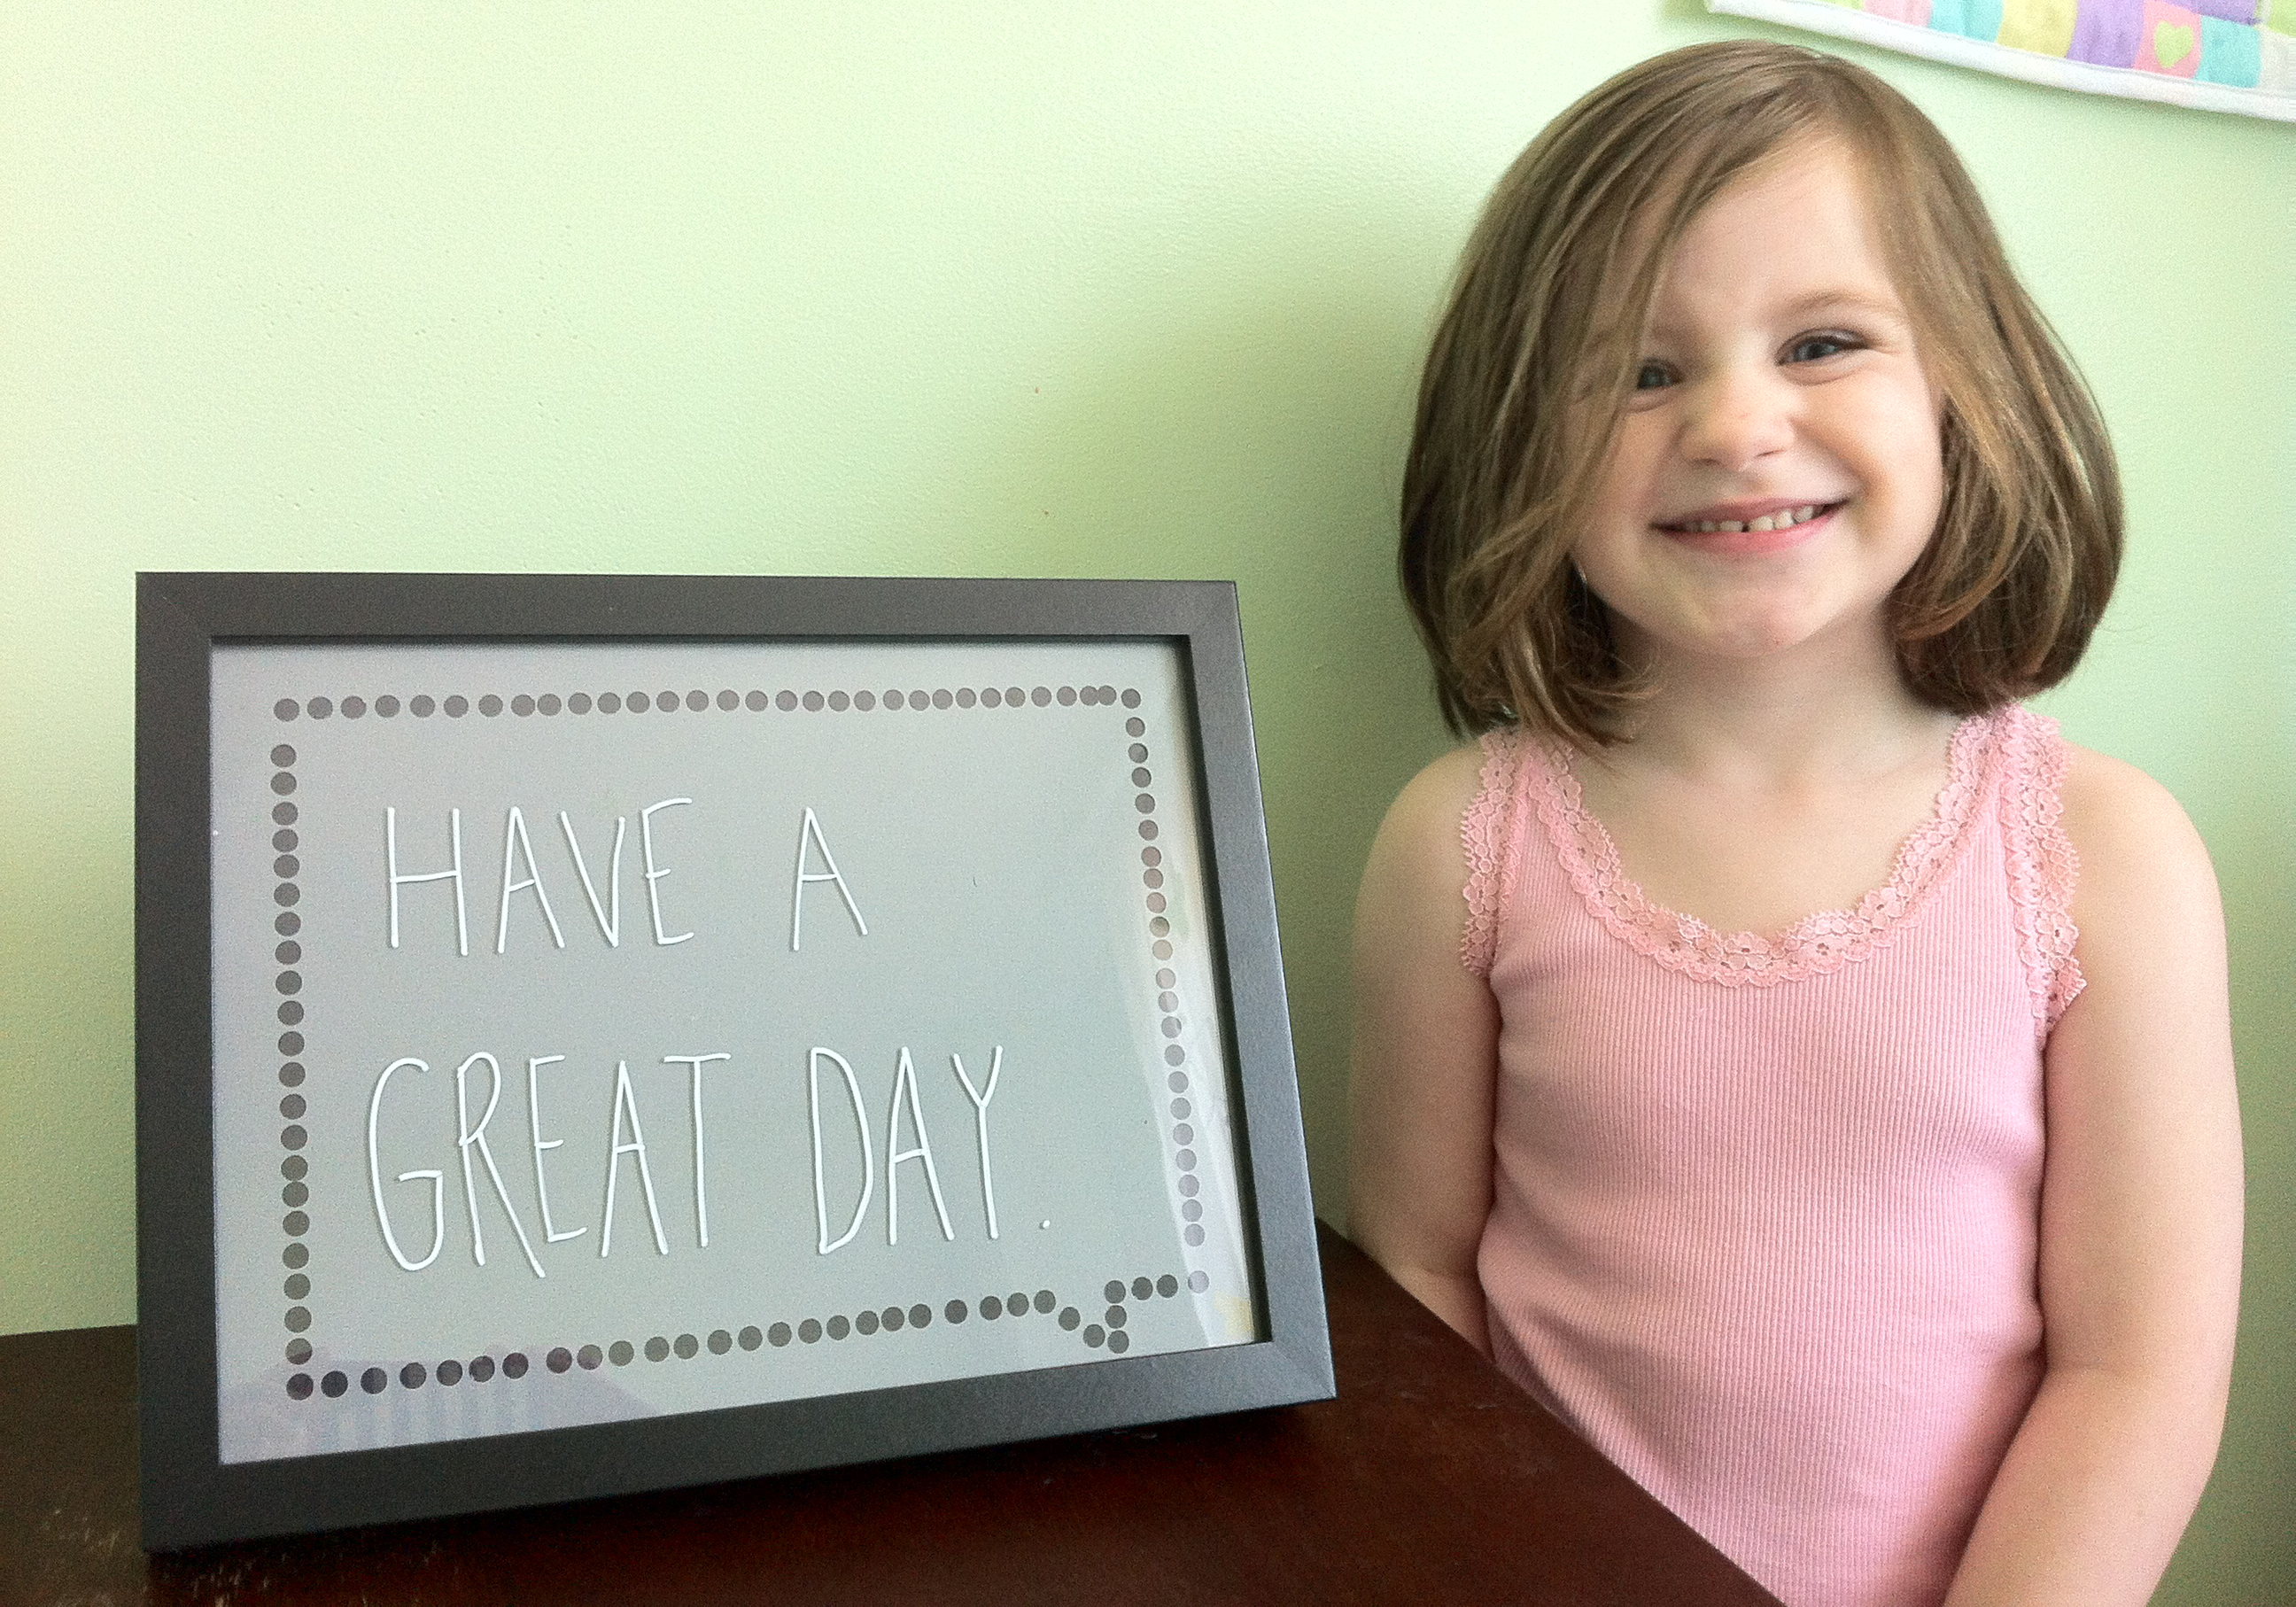
(The girl never smiles for photos anymore. She must really love this DIY!)
I decided to hang our framed speech bubbles on a wall between our living room and dining room so everyone can see them, but I also think it would be super cute to make one to display on a table or bookshelf.
So there you have it, my latest easy DIY project.
Do you DIY? Have you seen any projects lately that you want to make?